How to Draw a Leprechaun Hat: Easy 10-Step Guide
Bring some Irish luck to your sketchbook with this fun, festive leprechaun hat tutorial. Designed for artists ages 5 and up, this activity requires only a pencil, eraser, and paper. Follow along to master simple shapes and create a charming holiday accessory.
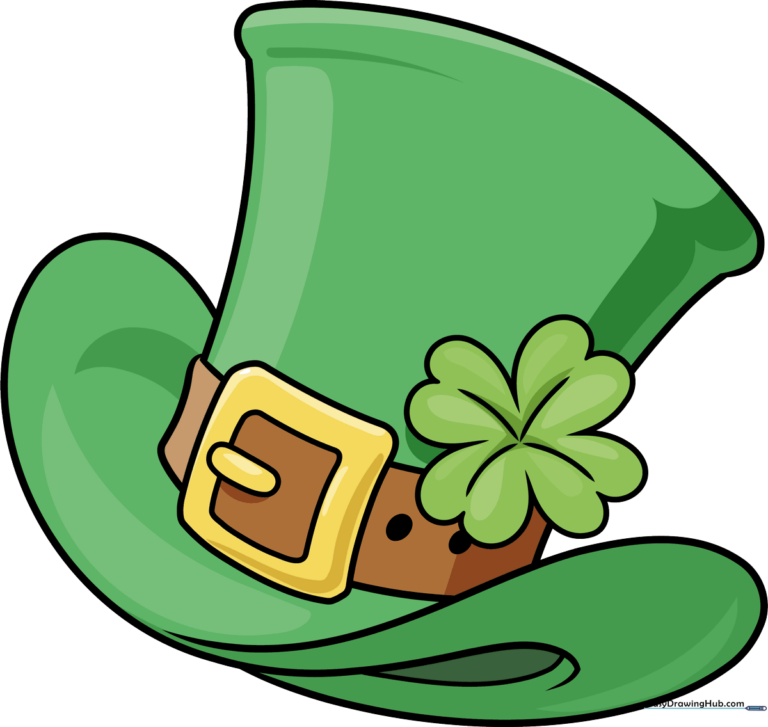
🎯 Final Result
Step-by-Step Instructions
Step 1: Sketching the Brim

Draw a long, gentle curved line that dips slightly at the ends. Teacher's Tip: Think of this as the base of your hat; keeping it wide provides a sturdy foundation for the rest of the drawing.
Step 2: Defining the Brim's Depth

Enclose a teardrop-like shape around the ends of your first line to give the brim 3D volume. Add a second curved line inside to show the hat's inner edge. Tip: Use smooth, fluid motions to keep the curves looking natural.
Step 3: Sketching the Buckle
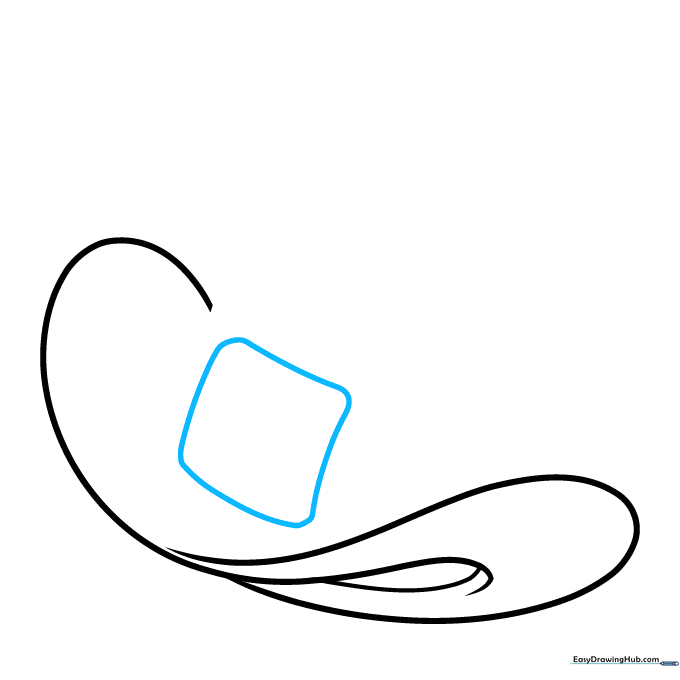
Draw a square with rounded corners in the center of the hat band. Tip: If you struggle with perfect squares, draw a light 'plus' sign first to help center your shape.
Step 4: Adding Buckle Detail

Draw a smaller rounded rectangle inside your square to create the buckle's frame. This adds a realistic metallic look to your drawing.
Step 5: Building the Crown
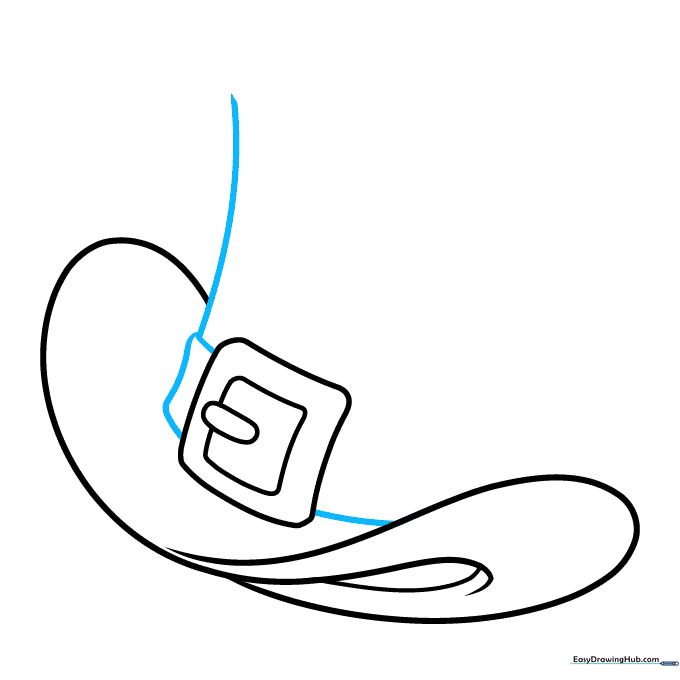
Connect the buckle to the brim with small lines, then extend lines upward to form the tall crown of the hat. Tip: Keep the sides of the crown slightly vertical to give it that classic top-hat shape.
Step 6: Starting the Clover
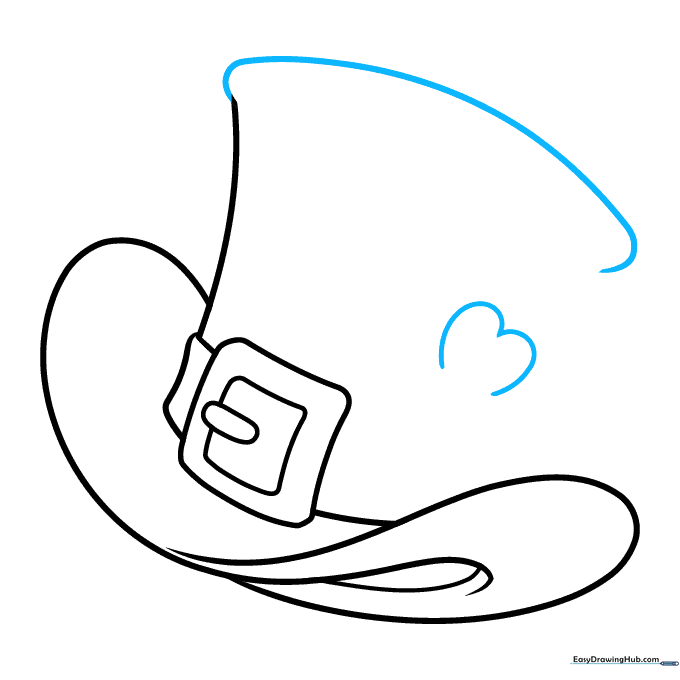
Draw a curved top for the hat and begin the first leaf of a four-leaf clover using a partial heart shape. Tip: Don't press too hard; clover leaves should look soft and organic.
Step 7: Growing the Clover
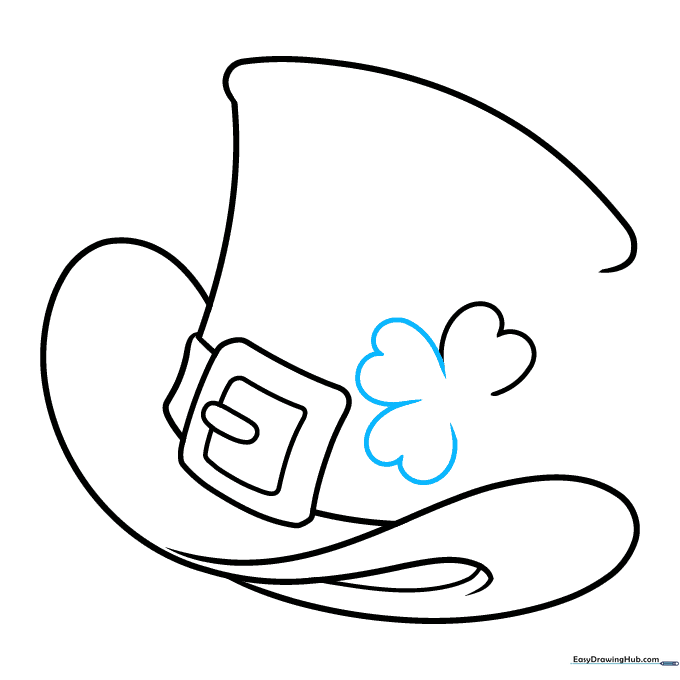
Add two more heart-shaped leaves connected to the first one. Tip: Vary the size of the leaves slightly to make the clover look more realistic.
Step 8: Finishing the Clover
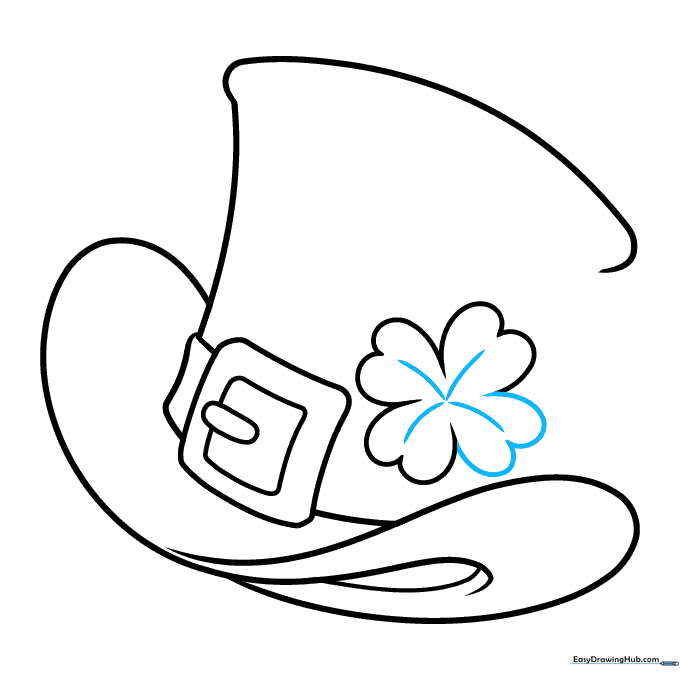
Add the final heart-shaped leaf and draw a small line down the center of each leaf to show detail. This adds texture to your drawing.
Step 9: Final Touches
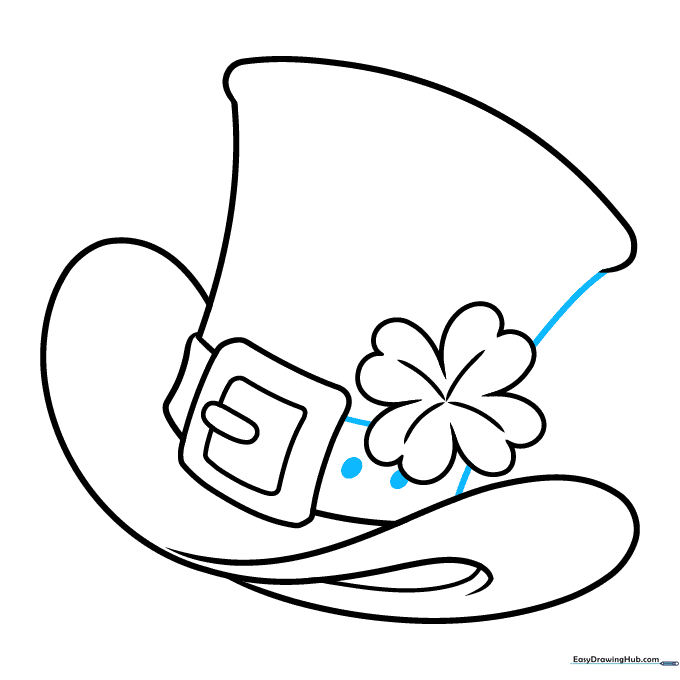
Connect the clover to the hat band and add a few small circles along the band for decorative studs. Clean up any stray pencil marks with your eraser.
Step 10: Coloring Your Hat
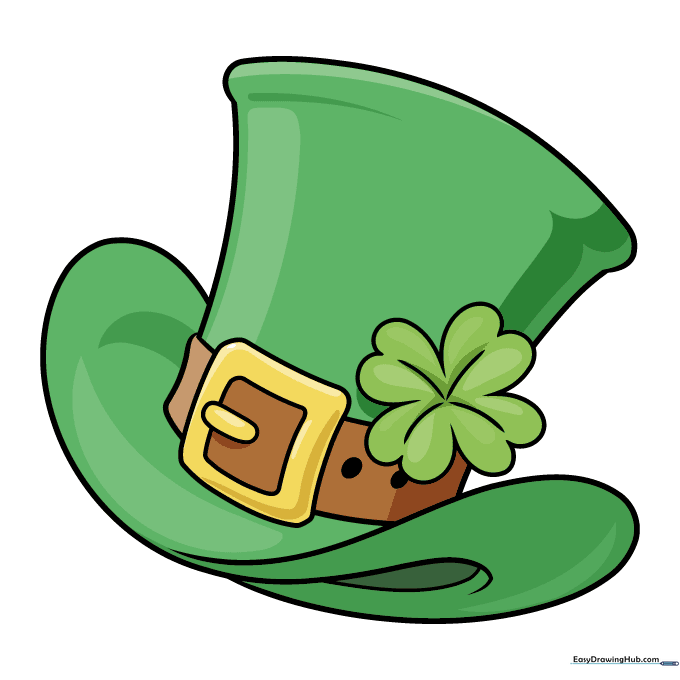
Bring your hat to life! Use vibrant greens for the hat and bright yellow or gold for the buckle. Tip: Use a darker shade of green on one side of the crown to create a simple shadow effect.
More Tutorials


