How to Draw a Lemon: Easy 10-Step Guide for Kids
Ready to add some zest to your sketchbook? This tutorial is perfect for young artists ages 5 and up to practice basic shapes and shading. Grab a pencil, an eraser, and some colored pencils to create a vibrant, citrus-inspired masterpiece.
🎯 Final Result
Step-by-Step Instructions
Sketching the Inner Slice

Draw a slanted oval to represent the center of your sliced lemon. Teacher's Tip: Keep your pencil grip loose to ensure the oval remains light and easy to adjust.
Defining the Peel

Draw a long, curved line that wraps around the bottom of your oval to form the rind. Teacher's Tip: Imagine the peel is the 'skin' of the fruit—keep the line smooth and consistent.
Adding a Whole Lemon

Draw an irregular, rounded shape behind your slice to create a whole lemon. Add a tiny dash where the stem would attach. Teacher's Tip: Lemons aren't perfect circles; a slightly bumpy outline makes it look more natural.
Drafting the First Leaves

Extend two pointed leaf shapes from beneath the lemons. Draw a center vein in each and add smaller lines for side veins. Teacher's Tip: Use short, quick strokes for the veins to keep them looking delicate.
Adding More Foliage

Draw two more leaves on the opposite side, letting them overlap slightly for depth. Teacher's Tip: Overlapping objects is a great way to make your drawing look 3D instead of flat.
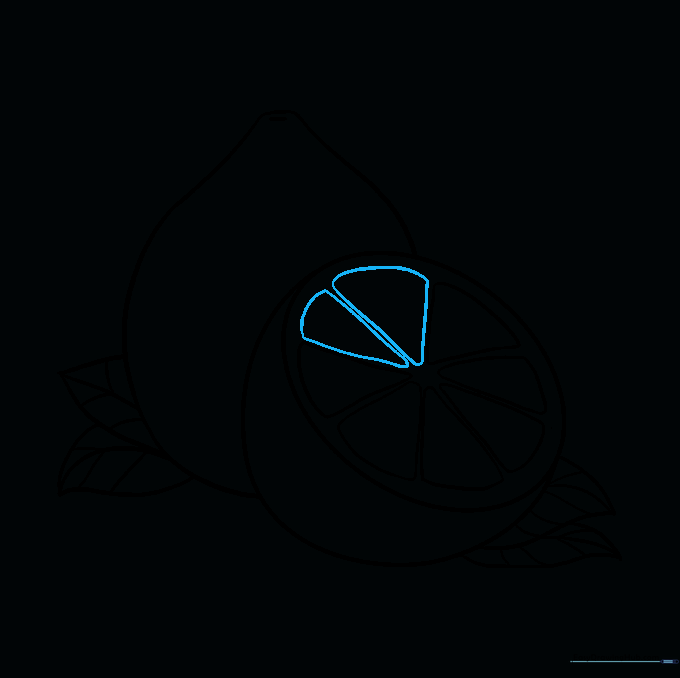
Starting the Fruit Segments

Draw small, rounded triangles inside your oval slice. Teacher's Tip: Keep these segments close together to mimic the actual structure of a citrus fruit.
Continuing the Segments

Add more rounded triangles to fill out the slice. Teacher's Tip: Don't worry if they aren't perfect; nature is rarely symmetrical!
Adding Detail to Segments

Continue adding segments until the slice is nearly full. Teacher's Tip: Focus on keeping the corners rounded to give the fruit a juicy, soft look.
Finalizing the Outline
Complete the circle of segments. Teacher's Tip: Now is the time to darken your final lines and erase any stray pencil marks from your initial sketch.
Adding Color
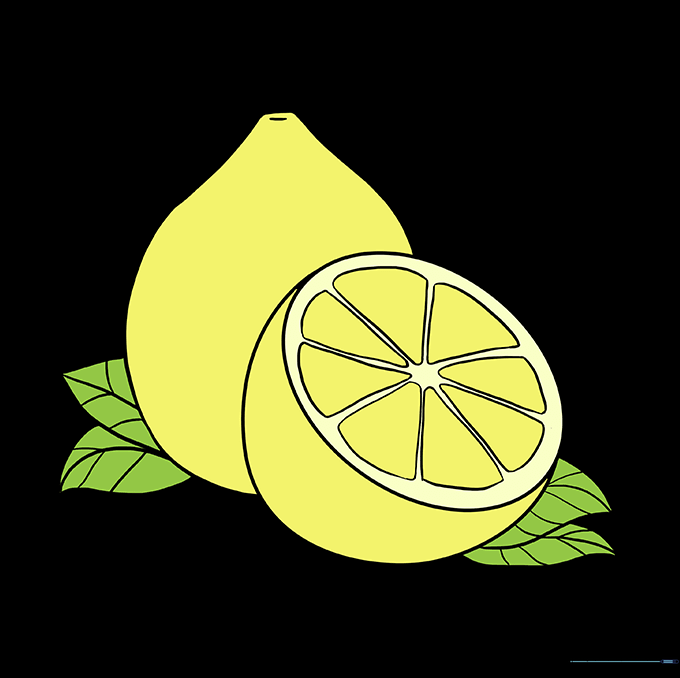
Bring your lemon to life with bright yellow. Use a darker yellow or orange for shading to make it pop. Teacher's Tip: Try using green if you want to draw a lime instead!
More Tutorials


