How to Draw a Leaf Outline: Easy 10-Step Guide
Looking for a fun, nature-inspired drawing project? This tutorial is perfect for artists ages 5 and up to practice organic shapes and fine motor control. All you need is a pencil, an eraser, and a piece of paper to bring these botanical outlines to life.
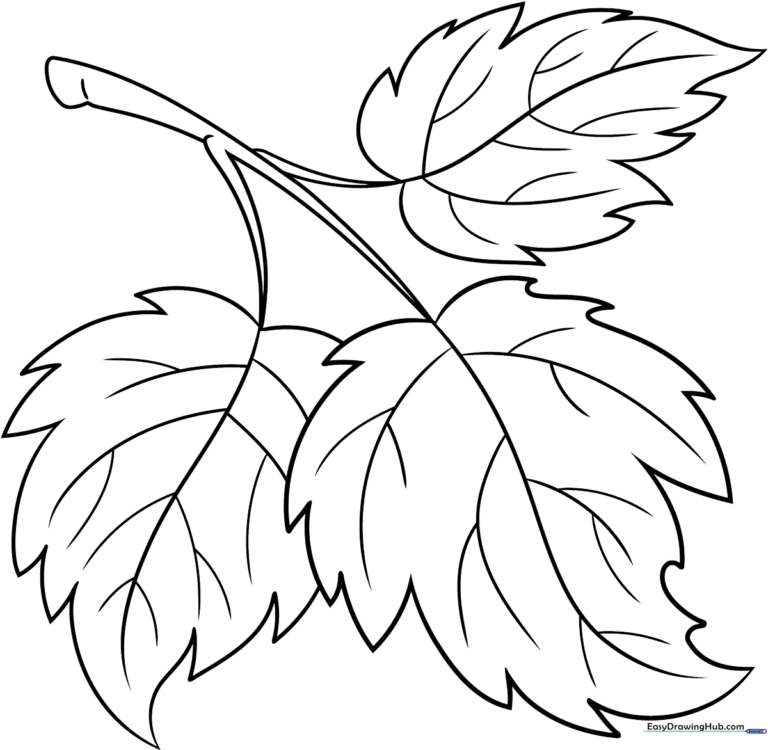
🎯 Final Result
Step-by-Step Instructions
Step 1: Sketching the Stem
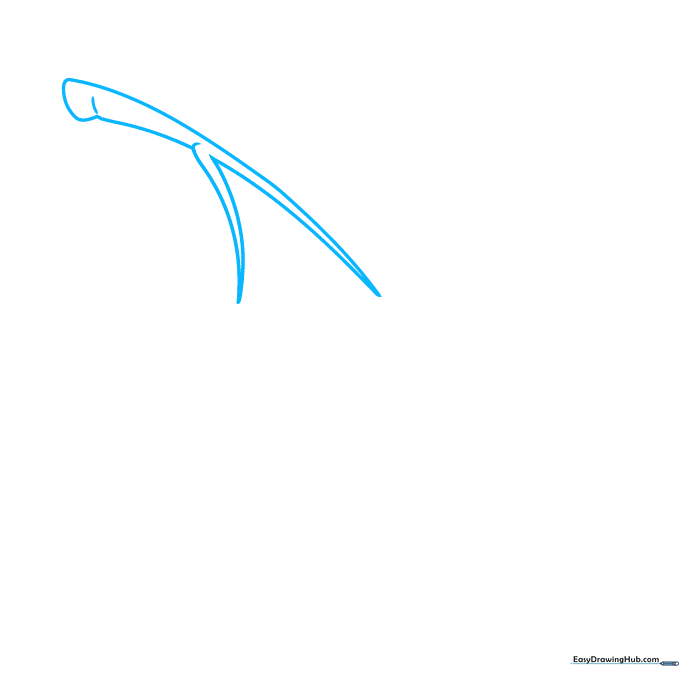
Start by drawing the stem using two curved lines that meet at a sharp point to form a 'Y' shape. Teacher's Tip: Keep your pencil pressure light so you can easily adjust the curve if it looks a bit stiff.
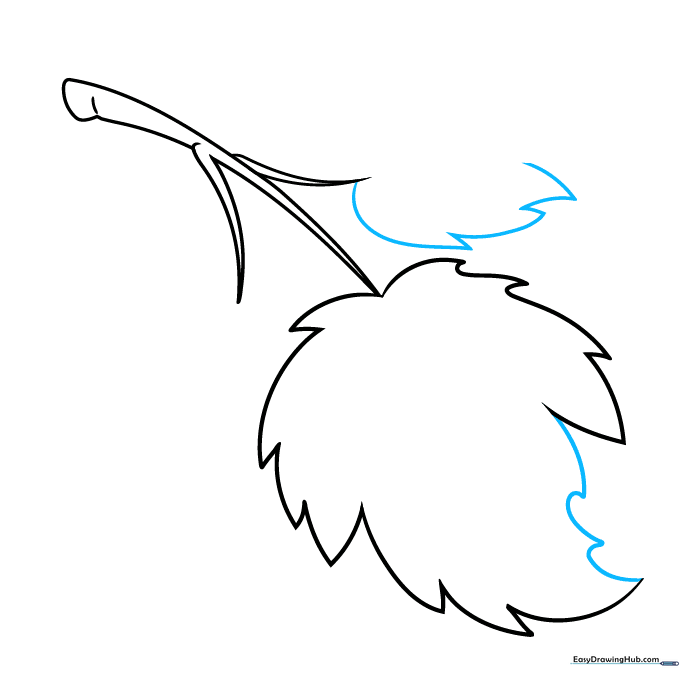
Step 2: Starting the First Leaf
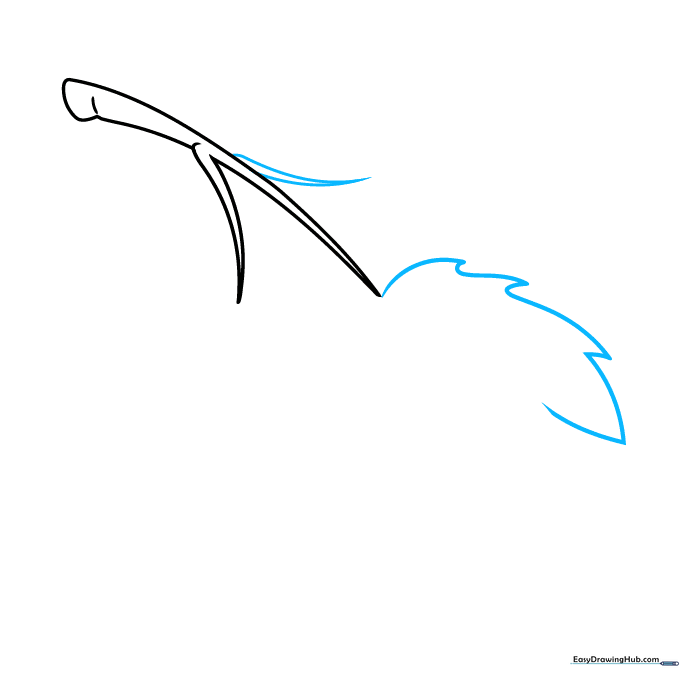
Enclose the stem with a second set of lines, then begin the outer edge of your first leaf. Use short, rhythmic 'zig-zag' curved lines. Tip: Think of these as little waves—don't worry about making them perfectly symmetrical!
Step 3: Defining the Leaf Edge
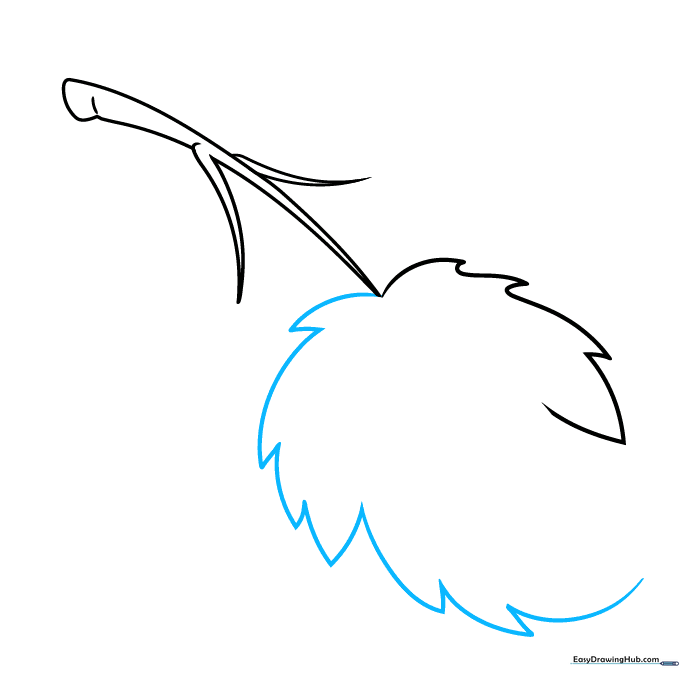
Continue tracing the perimeter of the leaf. Keep your hand loose to create natural-looking, jagged points. Tip: If your lines look too straight, try rotating your paper to get a better angle for the curve.
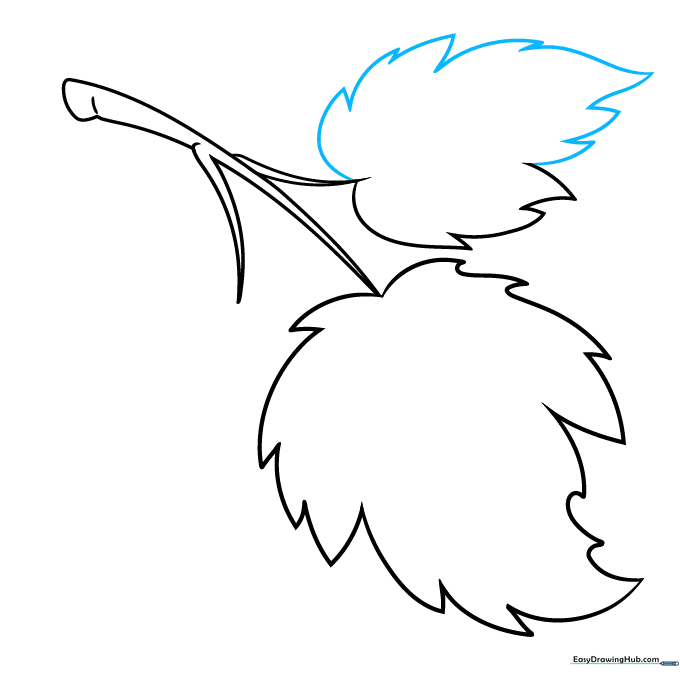
Step 4: Adding Lobes
Finish the first leaf by creating a pinnately lobed shape. Start the second leaf nearby using the same jagged, short-stroke technique. Tip: Overlapping shapes makes your drawing look more professional and three-dimensional.
Step 5: Shaping the Second Leaf
Focus on the three distinct lobes of the second leaf. Use short, confident strokes to connect the points. Tip: Remind children that leaves in nature are rarely perfect, so 'mistakes' just make them look more realistic!
Step 6: Adding the Third Leaf
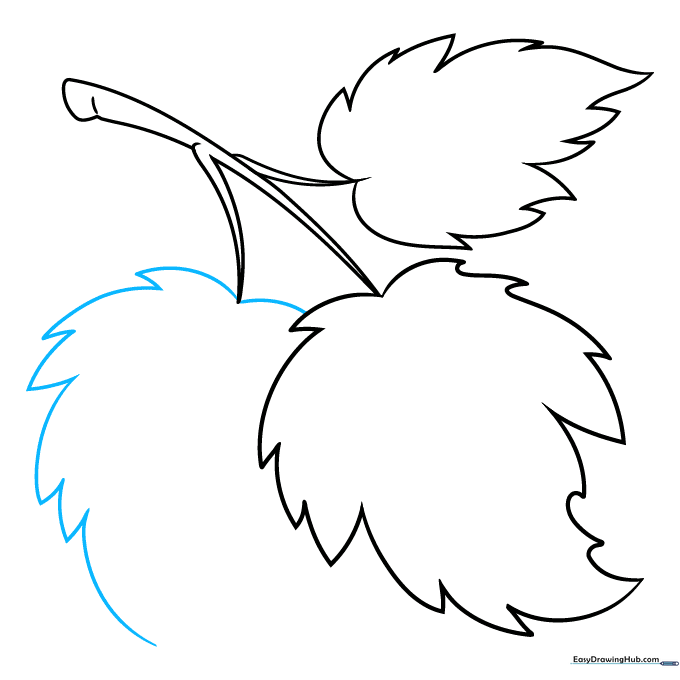
Sketch the third leaf so it appears partially hidden behind the first. This creates depth. Tip: Draw the hidden leaf slightly smaller to give the illusion that it is further away.
Step 7: Drawing Central Veins
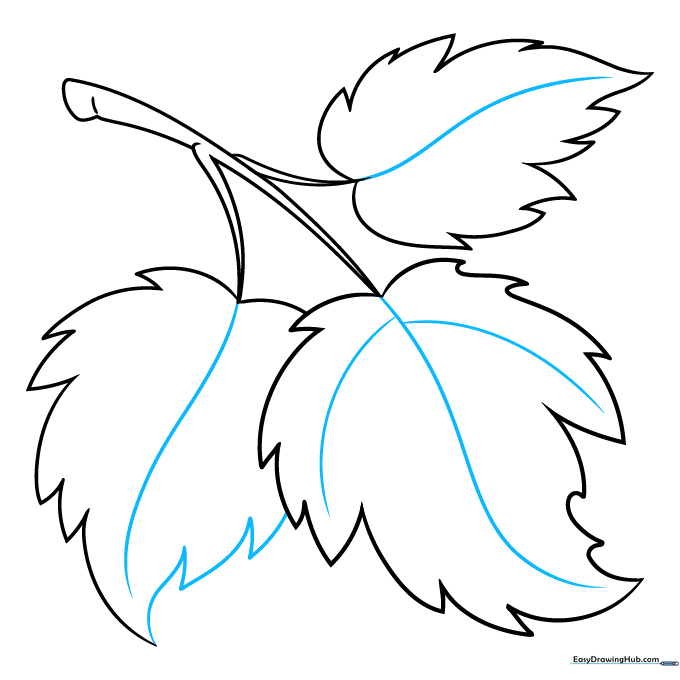
Draw a long, graceful line down the center of each leaf to act as the main vein. Extend smaller lines from the center into the lobes. Tip: Use a sharper pencil point here to keep these interior lines delicate.
Step 8: Adding Fine Vein Details

Branch out from your main veins with smaller, curved lines. These represent the smaller capillaries of the leaf. Tip: Keep these lines sparse; too many can make the drawing look cluttered.
Step 9: Finalizing the Vein Pattern
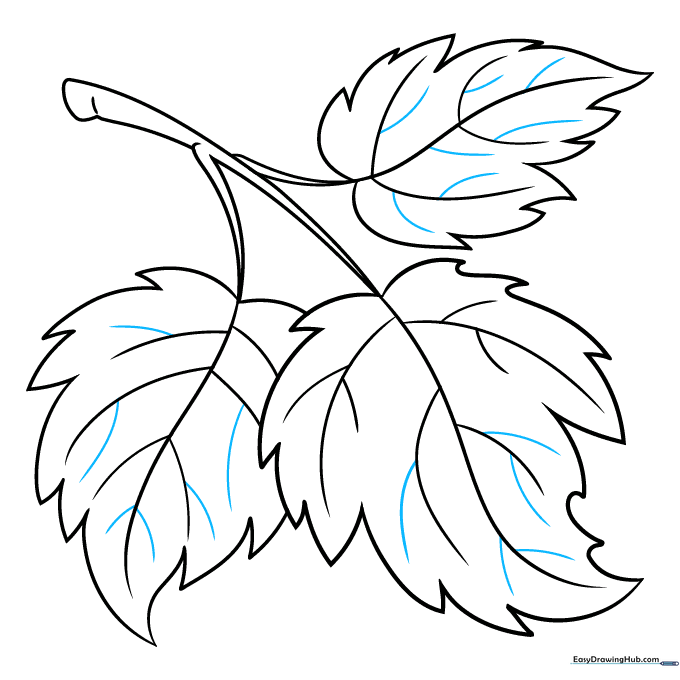
Complete the pattern by adding a few more short, branching lines to fill in the empty spaces. Tip: Look at a real leaf outside to see how veins naturally fork and connect!
Step 10: Adding Color
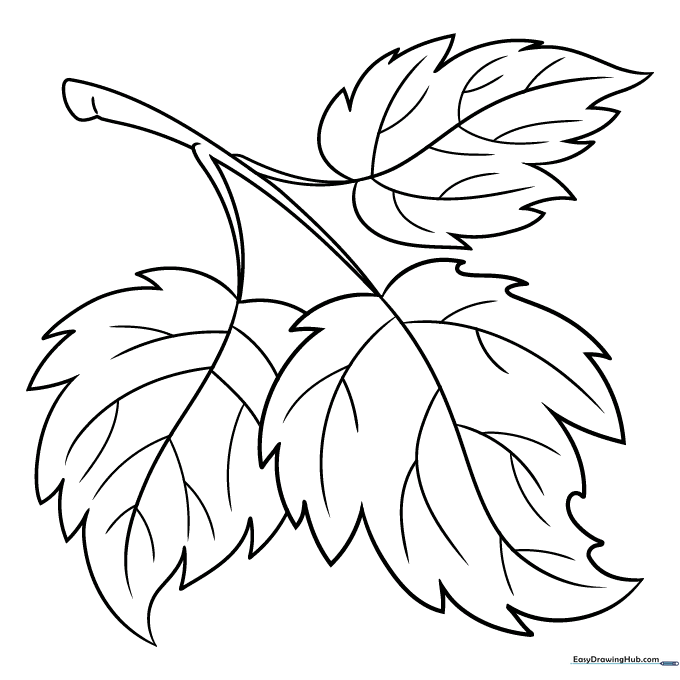
Your outline is complete! Use bright greens for a spring look, or experiment with warm oranges, reds, and yellows for a fall theme. Tip: Use light pressure with colored pencils to blend colors together for a more natural look.
More Tutorials


