How to Draw a Maple Leaf: Easy 10-Step Guide for Kids
Capture the beauty of autumn with this simple maple leaf drawing guide, perfect for artists ages 5 and up. You only need a pencil, eraser, and paper to get started. Follow these steps to master the iconic lobed shape and delicate vein patterns of a classic maple leaf.
🎯 Final Result

Step-by-Step Instructions
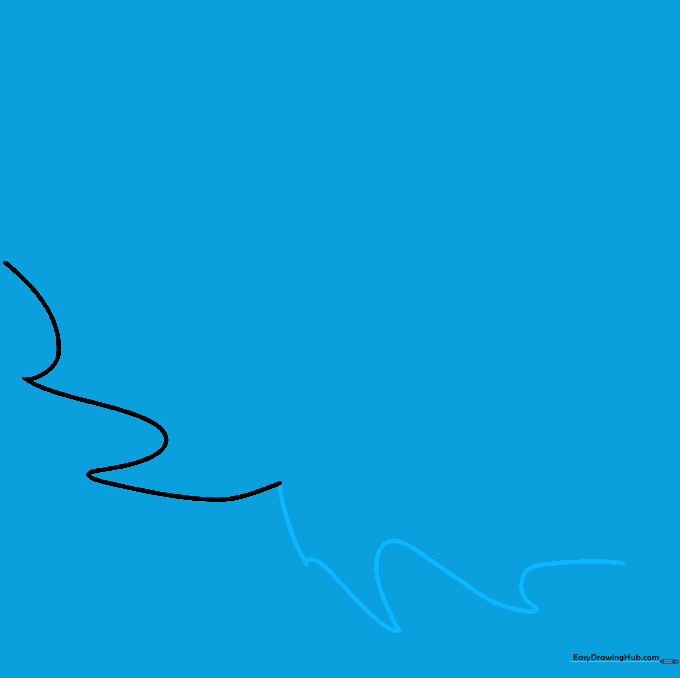
Step 1: Sketching the First Lobe

Start by drawing the upper edge of the leaf using a series of gentle, connected curves that meet at a sharp point. Teacher's Tip: Keep your pencil pressure light; this helps you adjust the shape if the lobe looks a bit too wide.
Step 2: Outlining the Side Lobe
Continue the edge downward, creating a second, slightly smaller lobe. Tip: Try to mirror the curve you made in the first step to keep the leaf looking balanced.
Step 3: Developing the Leaf Structure
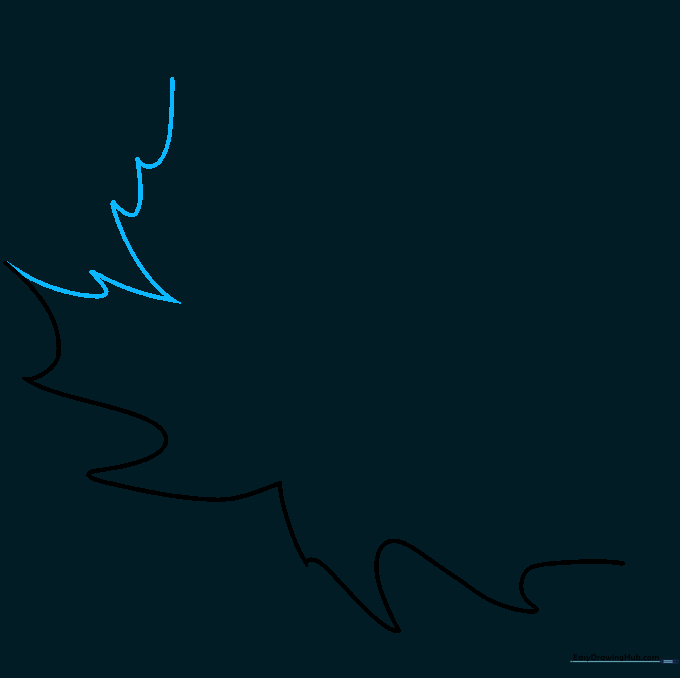
Extend the outline further down the side. Use a variety of curve sizes to make the leaf look natural and organic. Tip: Nature isn't perfect, so don't worry if your points aren't identical!
Step 4: Balancing the Opposite Side

Now, repeat the process on the opposite side. Draw the corresponding lobes using the same jagged, pointed technique. Tip: Check your spacing to ensure the leaf doesn't look lopsided.
Step 5: Defining the Upper Lobes
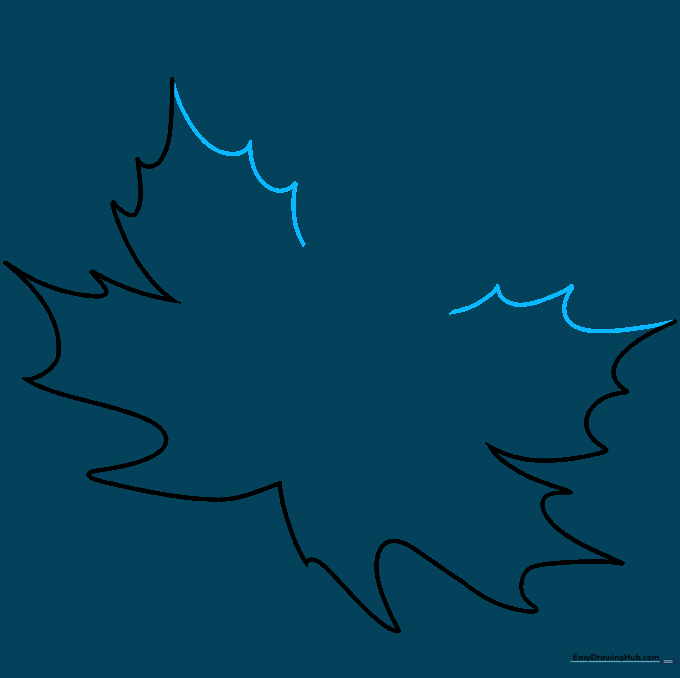
Add the top lobes by connecting your lines at sharp, serrated points. This is where the leaf starts to look like a true maple leaf. Tip: Use quick, flicking motions with your pencil to get those sharp points.
Step 6: Completing the Leaf Blade
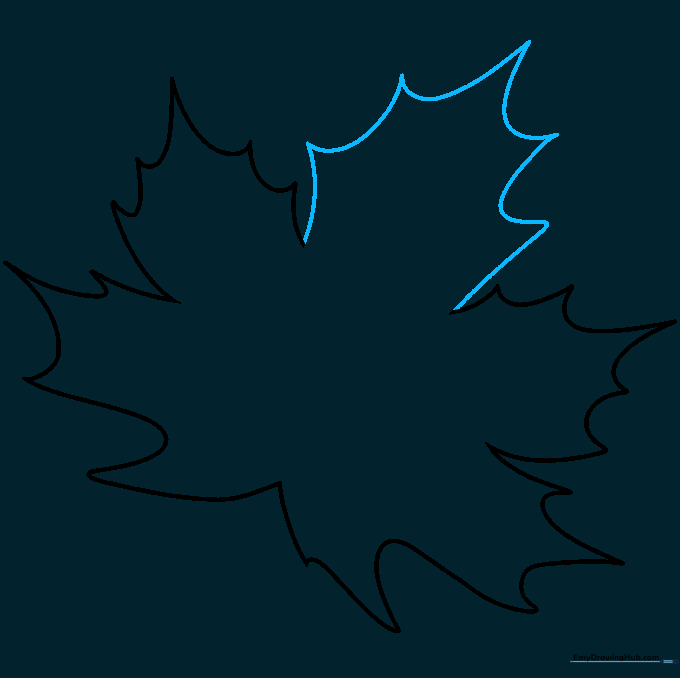
Finish the top tip of the leaf with a final set of curved, pointed lines. This closes the outline of the leaf blade. Tip: Make sure the top point is the most prominent part of your drawing.
Step 7: Drawing the Main Veins
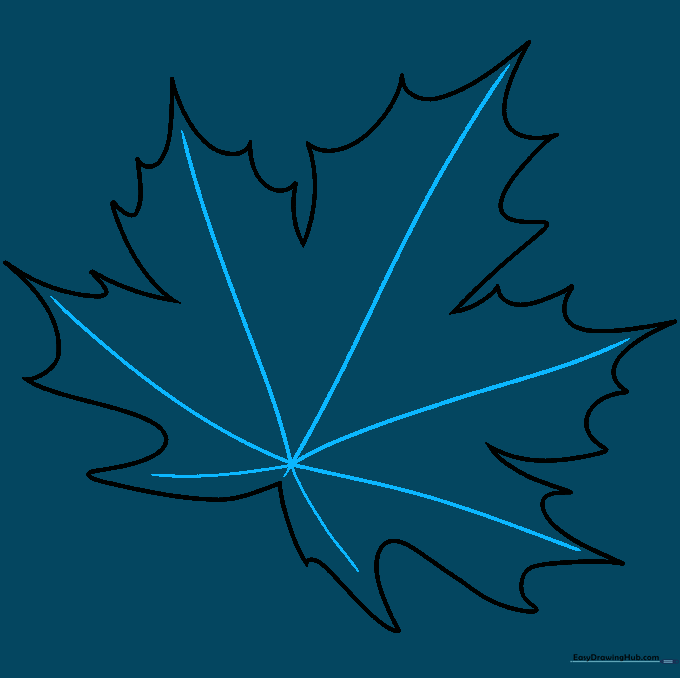
Draw a starburst pattern of lines starting from the base and reaching toward each lobe tip. The center line is the midrib. Tip: Draw these lines lightly, as they act as a guide for the final details.
Step 8: Adding Secondary Veins
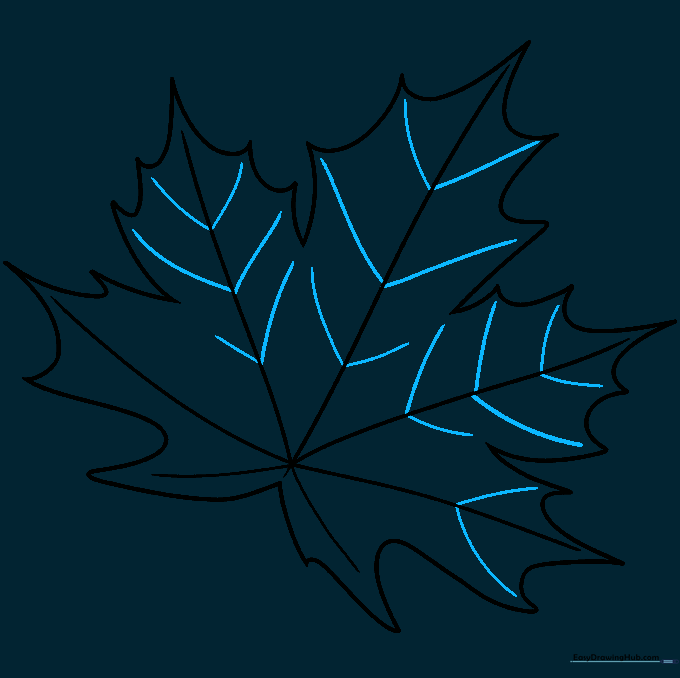
Add smaller 'V' shaped lines branching off the main veins. These are the secondary veins. Tip: Keep these lines short and delicate to avoid cluttering the drawing.
Step 9: Drawing the Stem
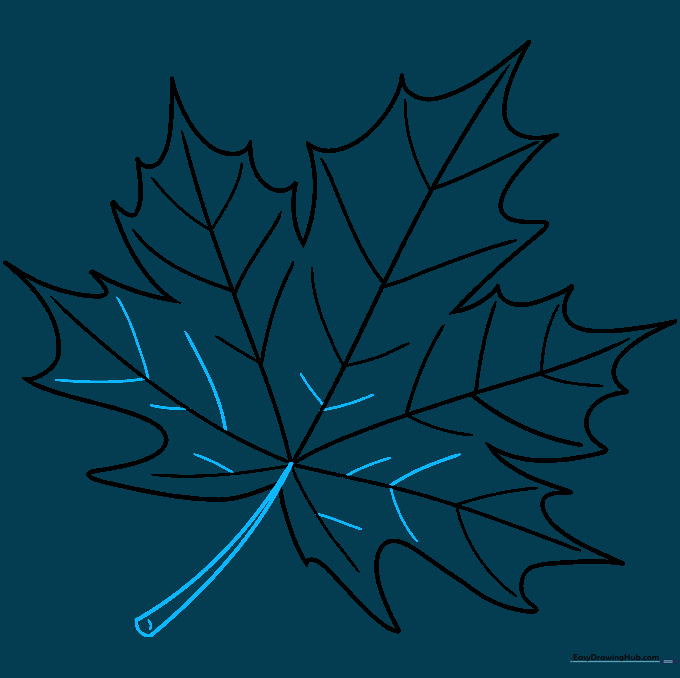
Draw the petiole (stem) by extending two curved lines from the base. Tip: Give the stem a slight curve to make the leaf look like it’s hanging naturally.
Step 10: Final Touches and Coloring

Add a small line at the end of the stem for depth. Now, bring your leaf to life with color! Use warm autumn tones like red, orange, and yellow. Tip: Use a darker shade of your chosen color along the veins to add a realistic 3D effect.
More Tutorials


