How to Draw a Laughing Face: Easy 9-Step Guide
Capture the joy of a genuine laugh with this beginner-friendly drawing guide. Designed for artists ages 5 and up, you only need a pencil, an eraser, and a sheet of paper to get started. Follow these steps to master the expressive lines that bring a happy face to life.
🎯 Final Result
Step-by-Step Instructions
Step 1: Sketching the Expressive Eyes
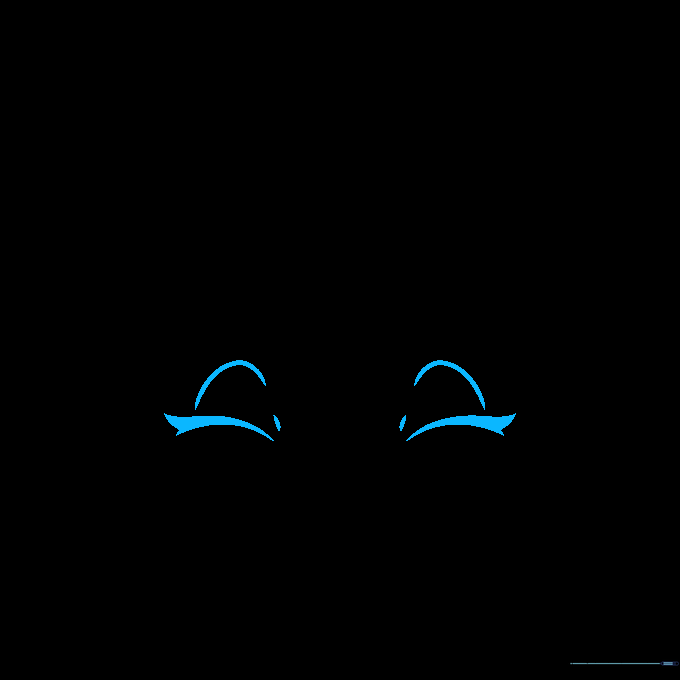
Draw the lidded eyes using thick, curved lines for the lash line. Notice the single point on the inner corner and the double point on the outer corner. Teacher's Tip: Keep your pencil pressure light so you can easily adjust the shape if the eyes look uneven.
Step 2: Adding Brows and Nose
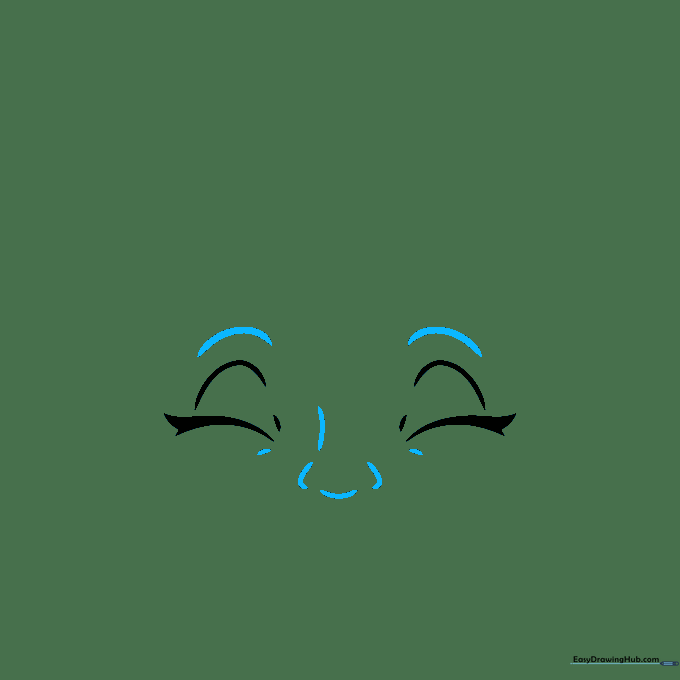
Add curved eyebrows above the lids, then sketch the bridge, nostrils, and tip of the nose. Add small 'laugh lines' at the corners of the eyes. Teacher's Tip: Those tiny wrinkles near the eyes are the secret to making the expression look truly joyful!
Step 3: Drawing the Open Mouth
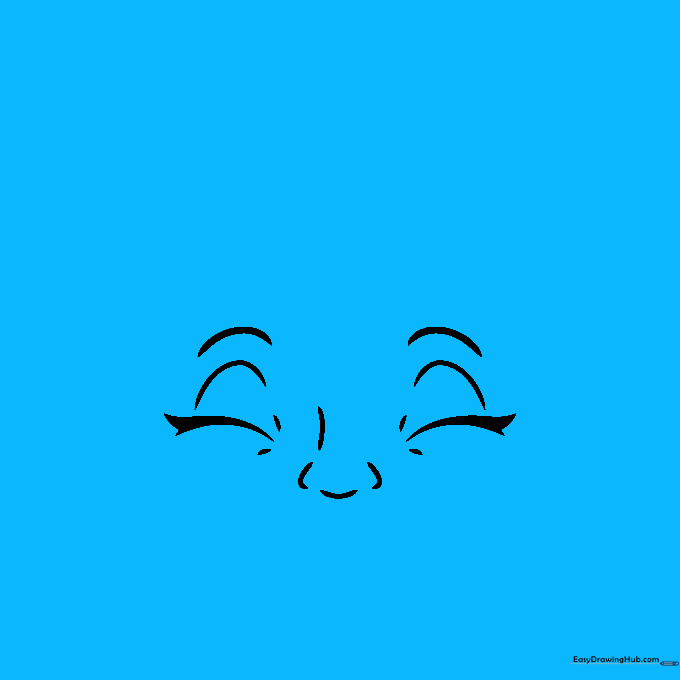
Draw a wide, open smile using curved lines for the top and bottom lips. Add the teeth inside. Teacher's Tip: Make sure the mouth is wide enough to show genuine laughter; don't be afraid to make the curve deep.
Step 4: Defining Hair and Chin
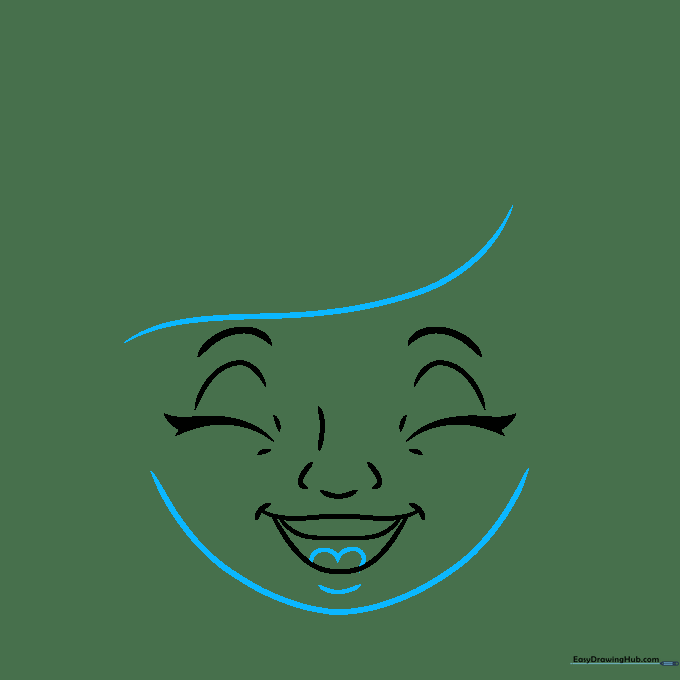
Use long, sweeping lines to draw the bangs across the forehead and define the chin. Add a small curved line for the tongue. Teacher's Tip: Use short, quick strokes for the tongue to give it a natural, rounded shape.
Step 5: Adding Ears and Earrings
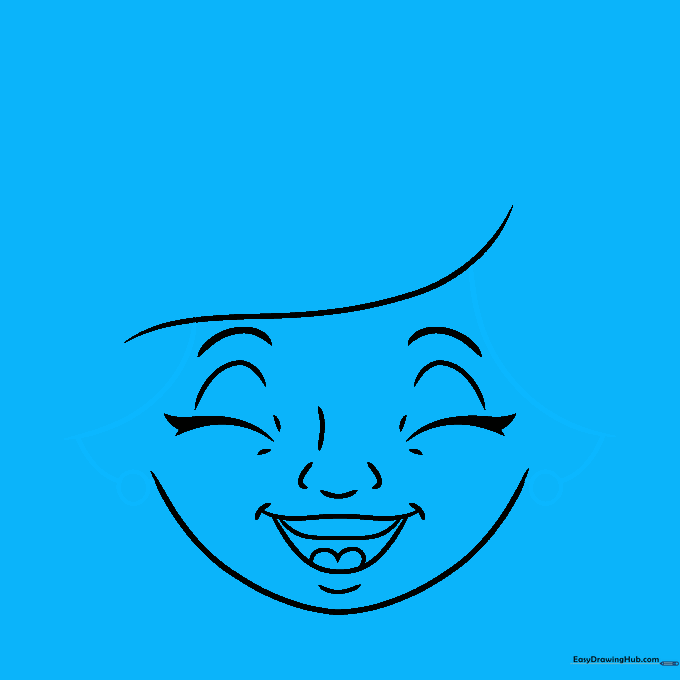
Draw curved lines from the bangs to frame the face, then add the ears on either side. Place small circles for earrings. Teacher's Tip: Earrings are a great place to let your child get creative—try drawing stars or hearts instead of circles!
Step 6: Detailing Ears and Neck
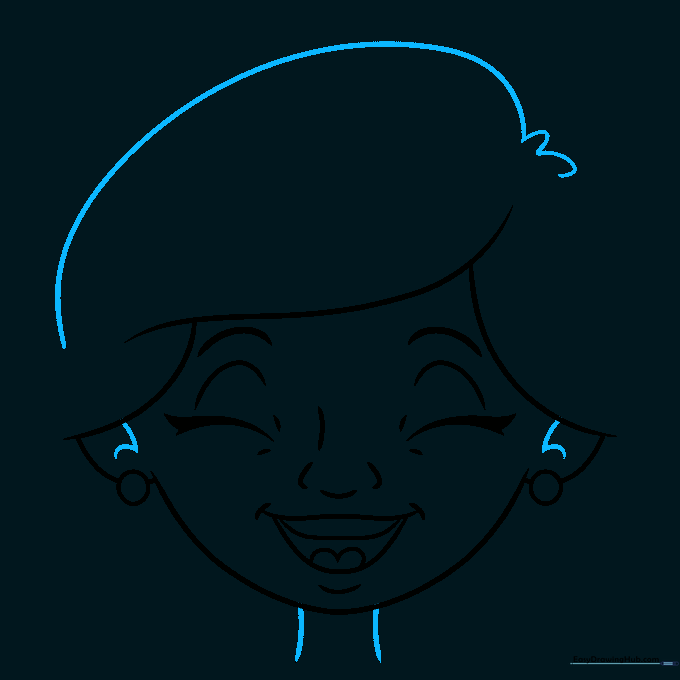
Add 'L' shaped curves inside the ears for depth and draw two lines for the neck. Add more hair volume on top. Teacher's Tip: Keep the neck lines parallel to ensure the head looks balanced.
Step 7: Styling the Hair
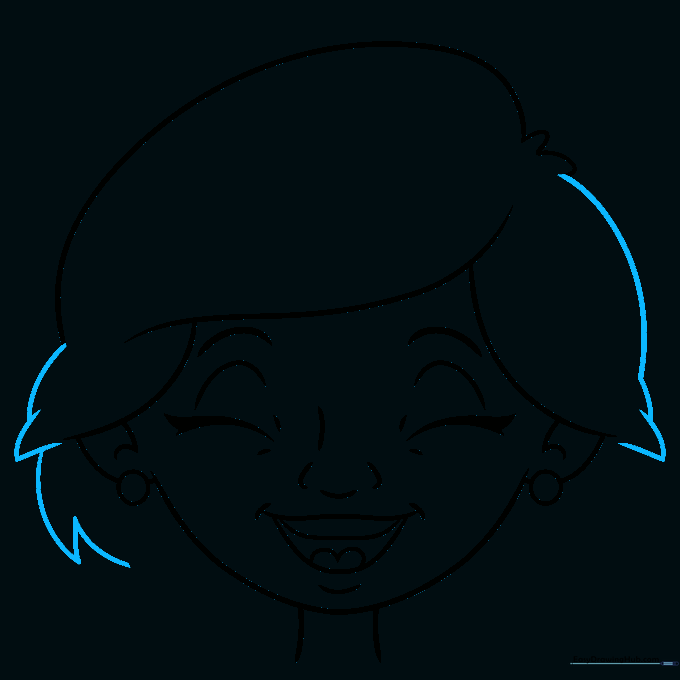
Continue drawing the hair using overlapping curved lines on both sides of the head. Teacher's Tip: Overlapping lines create the illusion of hair strands and volume.
Step 8: Adding Hair Texture

Extend the hair down to the back of the neck using curved lines that meet at points. Teacher's Tip: Vary the length of your lines to make the hair look natural and flowing.
Step 9: Final Touches
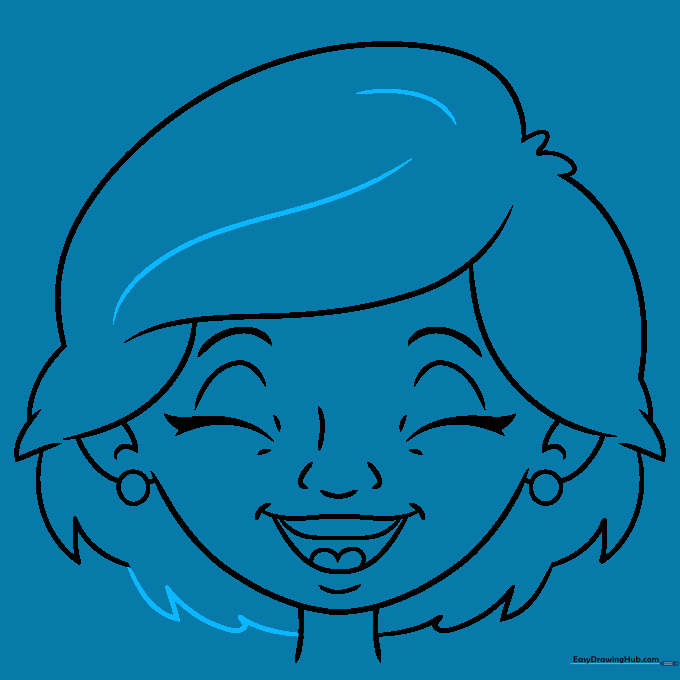
Complete the hair outline and add texture with long, flowing curved lines. Teacher's Tip: Once you're happy with the lines, use a darker pencil or pen to trace over your final work before erasing the light guide lines.
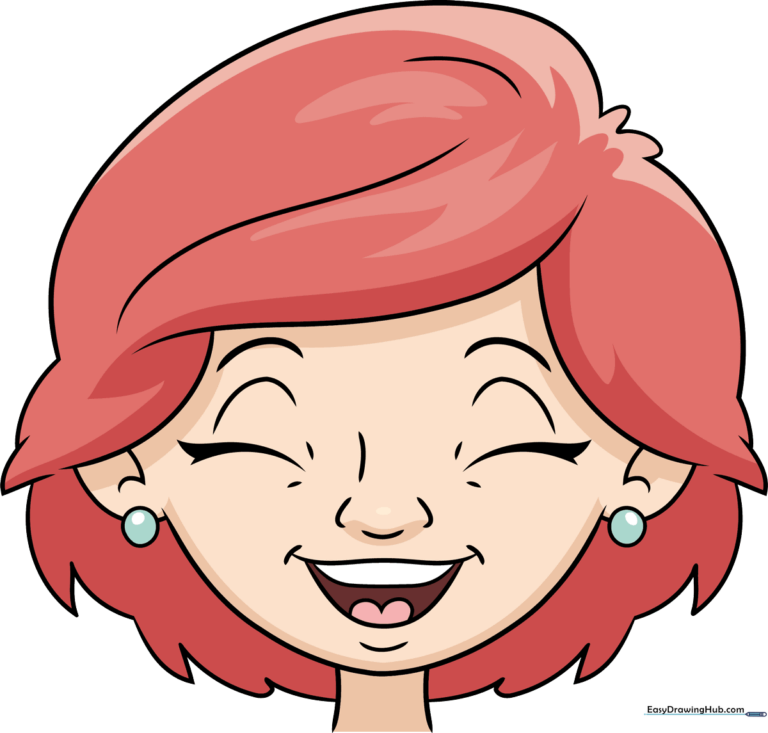
Step 10: Bring Your Drawing to Life with Color
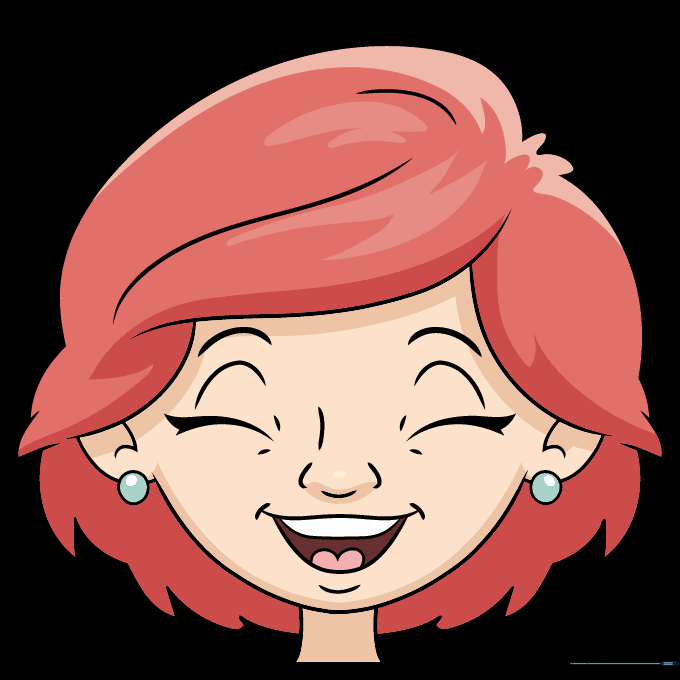
Add color to your character! We chose red hair, but feel free to customize the hair color, style, or accessories to match your own look or a favorite character. Teacher's Tip: Use light pressure with colored pencils to build up layers for a more vibrant finish.
More Tutorials


