How to Draw a Lantern: Easy 10-Step Guide for Kids
Ready to light up your sketchbook? This guide is perfect for young artists ages 6+ looking to master a vintage-style lantern. All you need is a pencil, an eraser, and some paper to bring this glowing design to life.
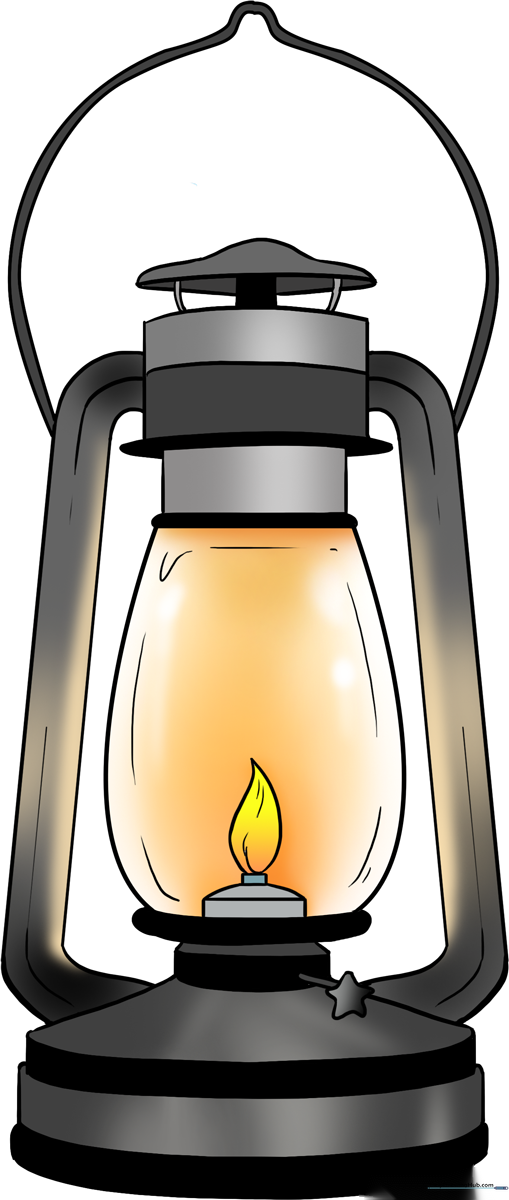
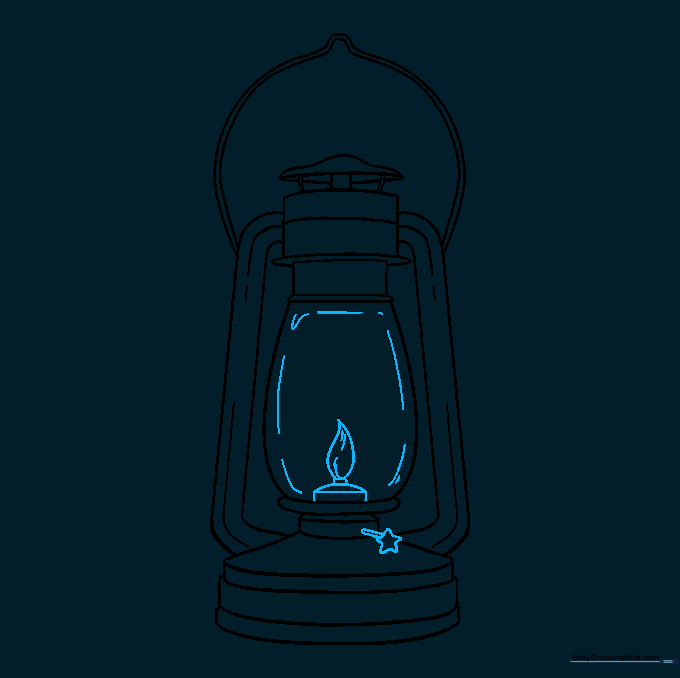
🎯 Final Result
Step-by-Step Instructions
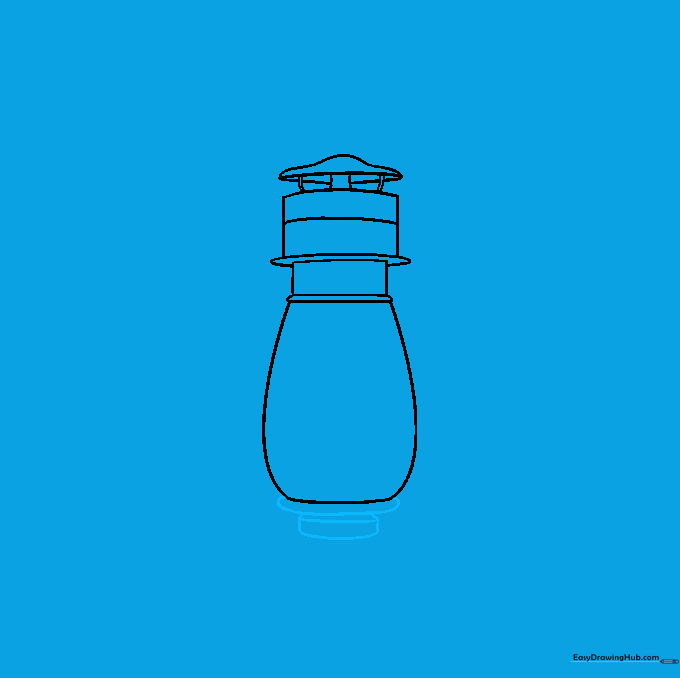
Step 1: Sketching the Glass Globe
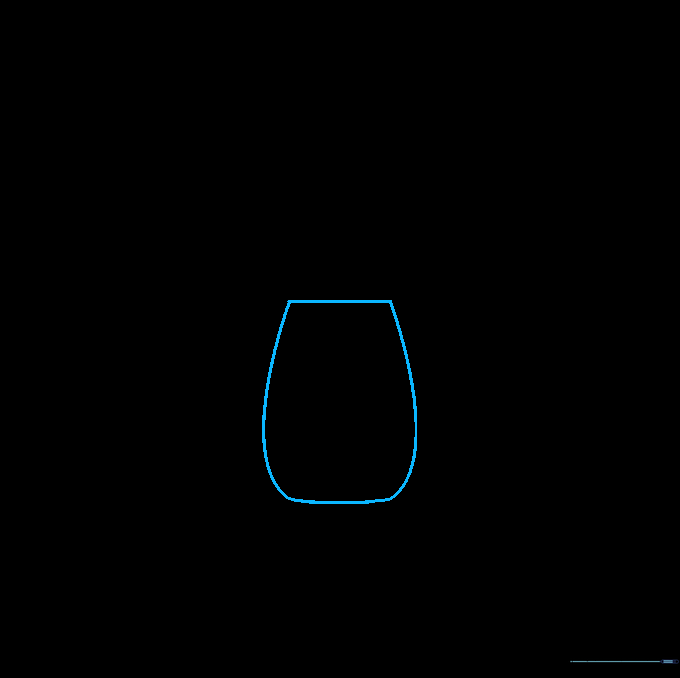
Start by drawing an irregular teardrop shape with a flat top. This is the glass globe that protects the flame. Teacher's Tip: Keep your pencil lines light and loose so you can easily adjust the shape if it looks a bit lopsided.
Step 2: Adding the Ventilator Base
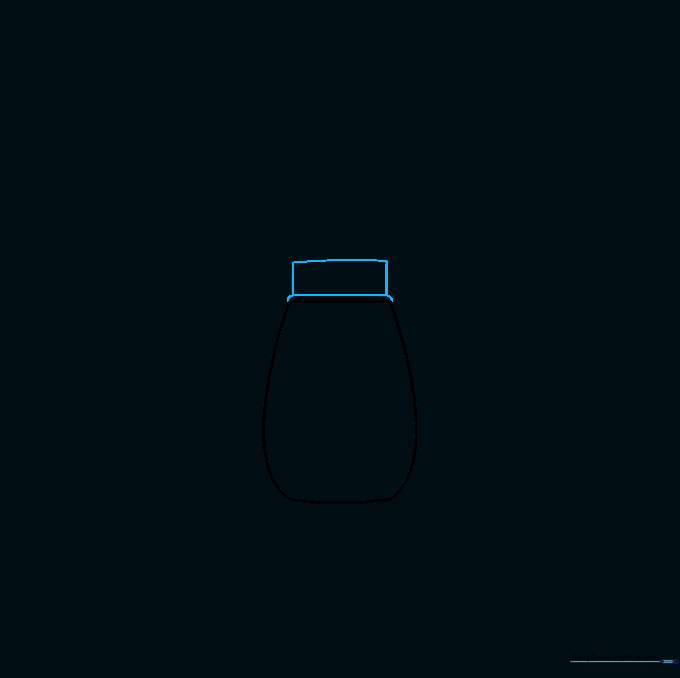
Draw a narrow, rounded shape sitting right on top of the globe, followed by a small rectangle. This forms the base of the ventilator. Teacher's Tip: Use short, quick strokes to keep the corners looking rounded and smooth.
Step 3: Building the Top Cap
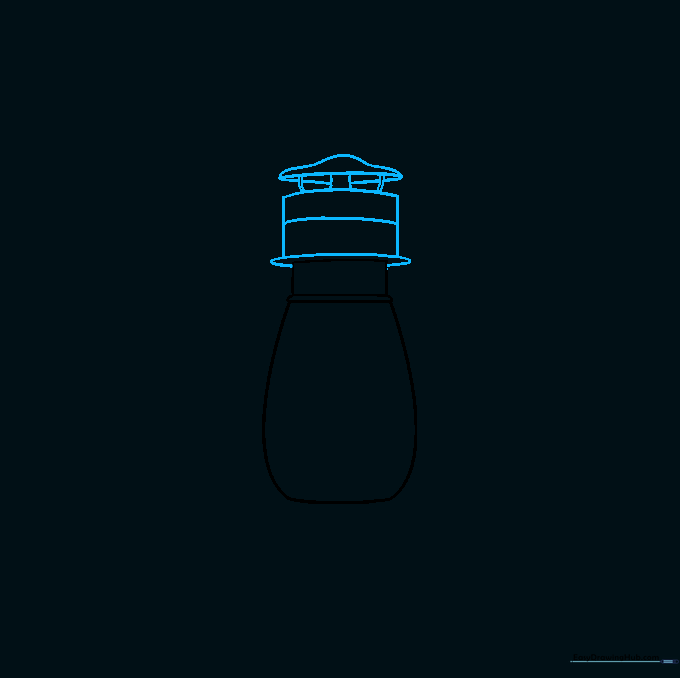
Stack a narrow oval, a curved rectangle, and a small bell shape on top of the ventilator. Add diagonal lines for texture. Teacher's Tip: Think of this as building a tower—take your time to align each piece centered over the one below it.
Step 4: Starting the Base
Draw a flattened oval beneath the globe to start the bottom section. Add an irregular rounded shape below that. Teacher's Tip: A flattened oval helps create the illusion of depth, making the lantern look 3D.
Step 5: Extending the Base
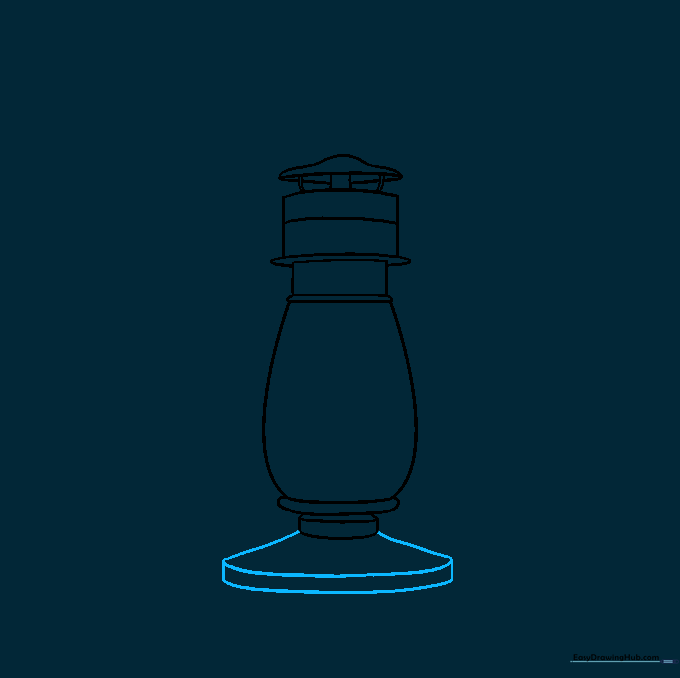
Extend two curved lines downward from the base and connect them with a long, sweeping curve. Teacher's Tip: Try to make your curves symmetrical on both sides for a balanced look.
Step 6: Finishing the Base
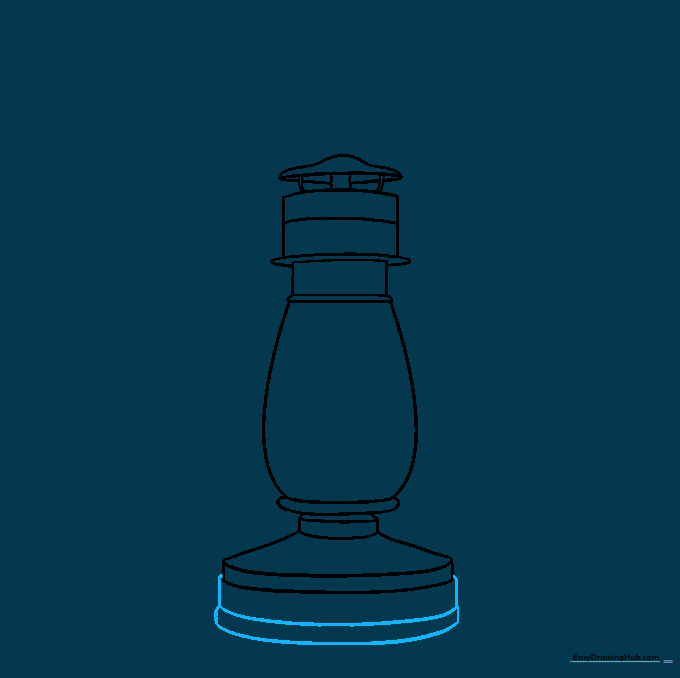
Draw two lines descending from the sides and connect them with a curved band. This anchors your lantern to the ground. Teacher's Tip: Use a slightly darker pencil pressure here to define the bottom edge.
Step 7: Adding the Side Supports
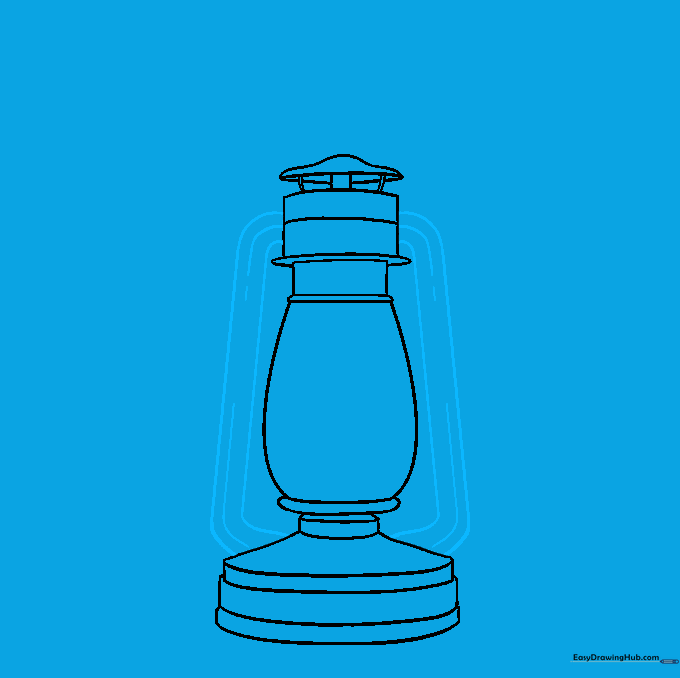
Draw two long, curved lines connecting the base to the top ventilator. These are the 'boils' or side frames. Add small horizontal lines for texture. Teacher's Tip: These lines give the lantern its sturdy, industrial feel.
Step 8: Drawing the Handle

Draw a large, arched handle over the top of the lantern, connecting it to the side supports. Teacher's Tip: Make the handle look thick by drawing a second parallel line inside the first one.
Step 9: Adding the Flame and Knob
Draw a teardrop flame inside the globe and a small star-shaped knob on the side. Erase any extra guide lines. Teacher's Tip: The knob is for adjusting the wick—adding this detail makes your drawing look professional!
Step 10: Bring It to Life with Color

Time to color! Use warm yellows and oranges for the flame, and metallic grays or blacks for the metal frame. Teacher's Tip: Use a light yellow around the flame to create a 'glow' effect on the glass.
More Tutorials


