How to Draw a Landslide: Easy Step-by-Step Guide
Bring a dramatic natural scene to life with this fun, cartoon-style landslide tutorial. Designed for young artists ages 6+, this project uses basic shapes to build a complex landscape. You will need a pencil, eraser, and your favorite markers or colored pencils to complete this scene.
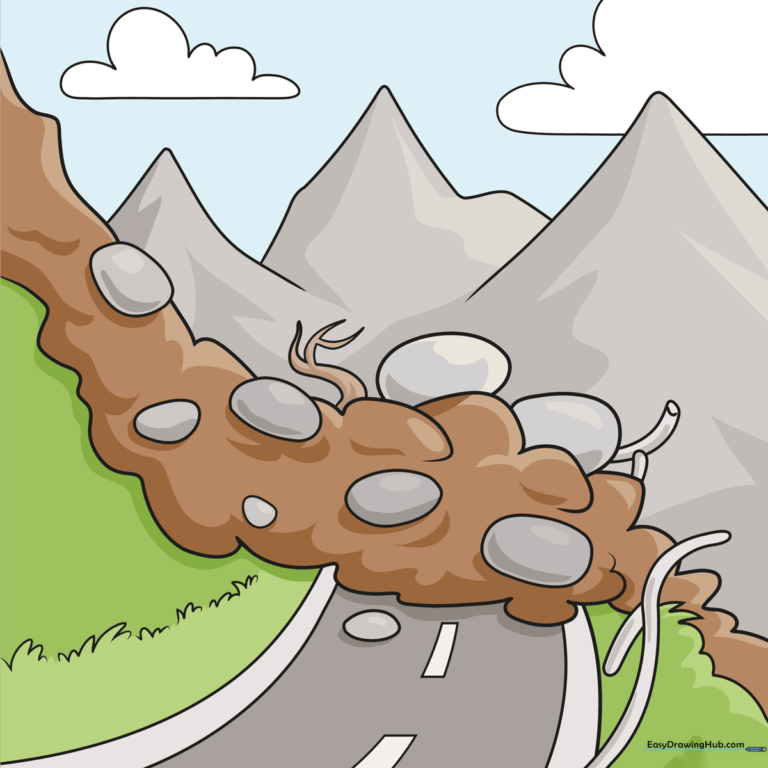
🎯 Final Result
Step-by-Step Instructions
Step 1: Sketching the Mud Flow
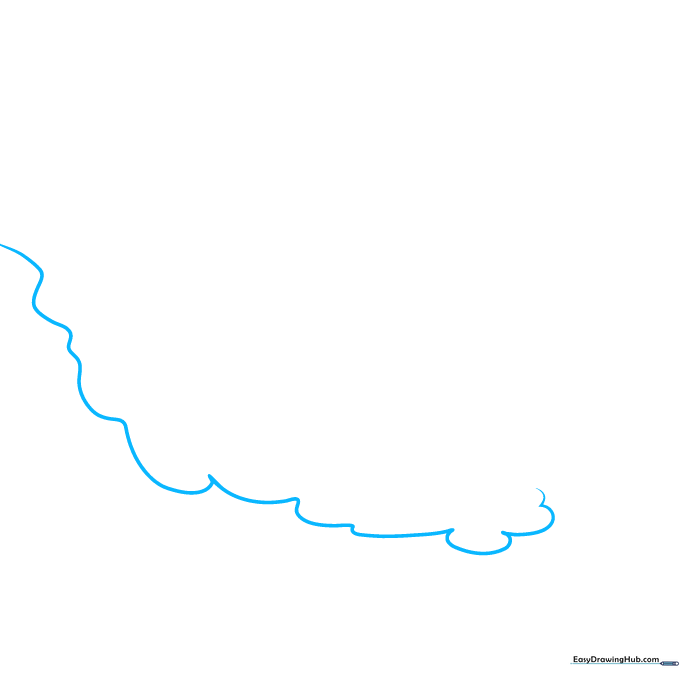
Start by drawing a series of long, fluid curved lines to outline the path of the mud sliding down the hill. Teacher's Tip: Keep your wrist loose to make the lines look natural and flowing, rather than stiff.
Step 2: Adding Texture and Debris
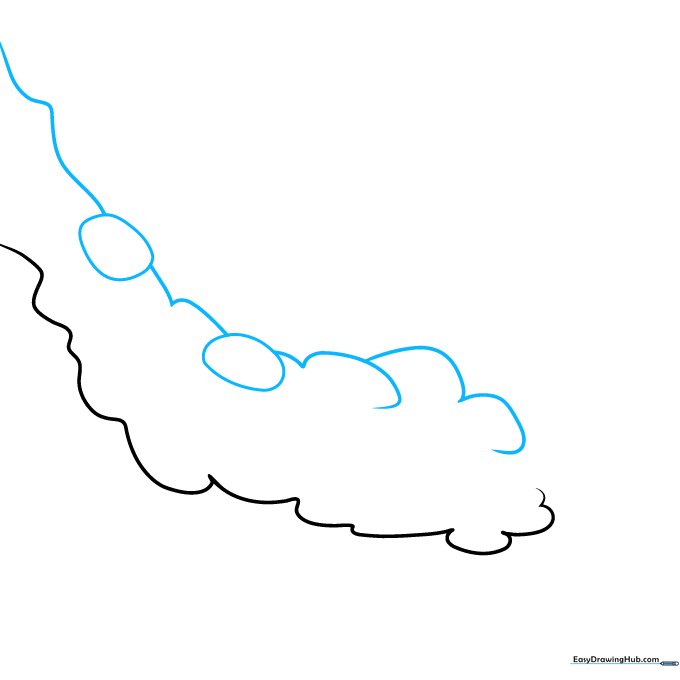
Layer more overlapping curved lines and add irregular, bumpy circles to represent rocks and boulders caught in the slide. Teacher's Tip: Vary the size of your circles to make the debris look more realistic.
Step 3: Drawing the Road and Guardrail
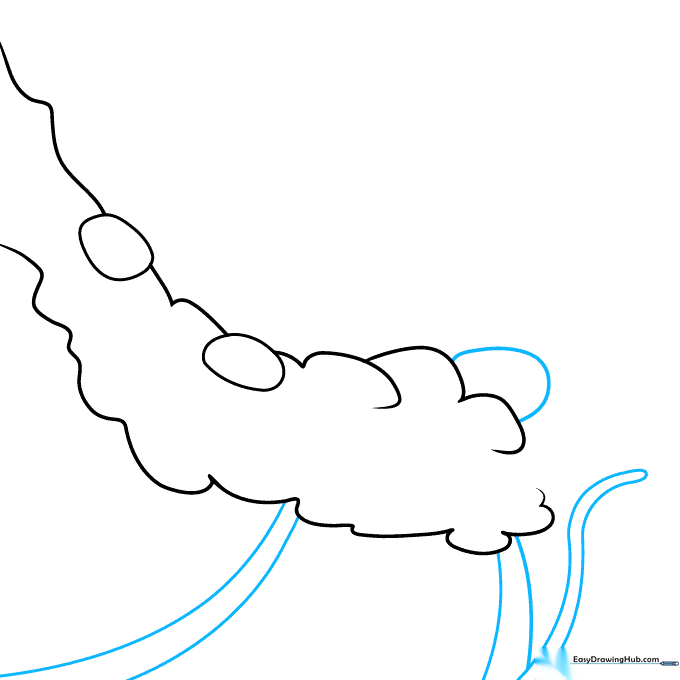
Draw two parallel curved lines below the mud to form the road. Add a long, bent line to represent a broken guardrail. Teacher's Tip: Use a ruler if you struggle with parallel lines, but freehand adds a great 'cartoon' feel!
Step 4: Extending the Slide
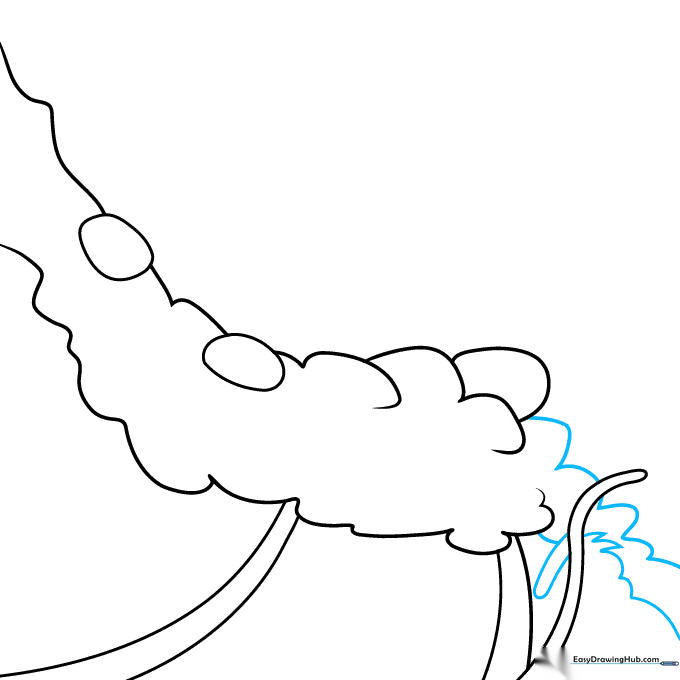
Continue the mudslide further down the hill using jagged, wavy lines to show movement. Teacher's Tip: Make the lines 'zig-zag' to show where the mud has crashed over the road.
Step 5: Detailing the Debris

Add more rocks inside the mud and finish the broken guardrail with a small oval at the end. Teacher's Tip: Think of the rocks as 'lumpy potatoes' to get the right shape.
Step 6: Adding Uprooted Trees

Draw a branching, gnarled tree near the slide to show the impact of the landslide. Teacher's Tip: Draw the branches like thin, twisted fingers reaching out.
Step 7: Road Markings and Grass
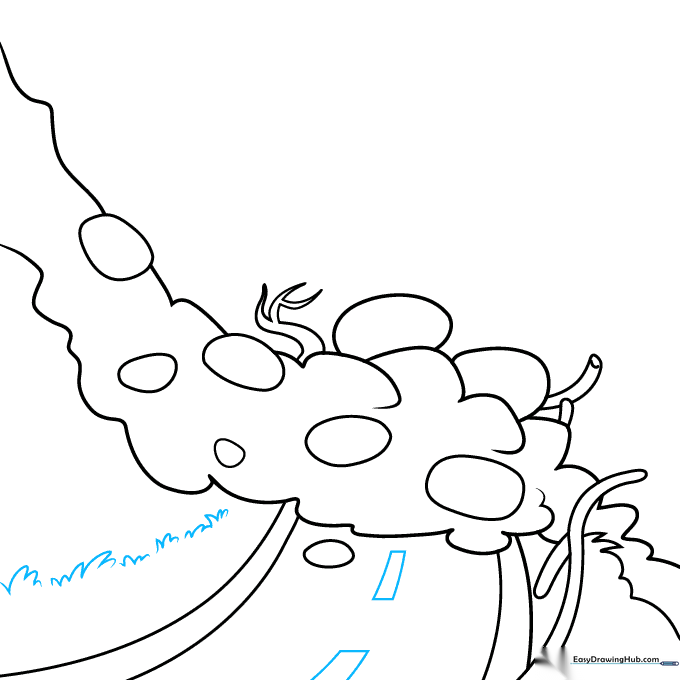
Add dashed lines down the center of the road and small, tufted grass shapes along the edges. Teacher's Tip: Use short, quick strokes for the grass to make it look textured.
Step 8: Drawing Distant Mountains
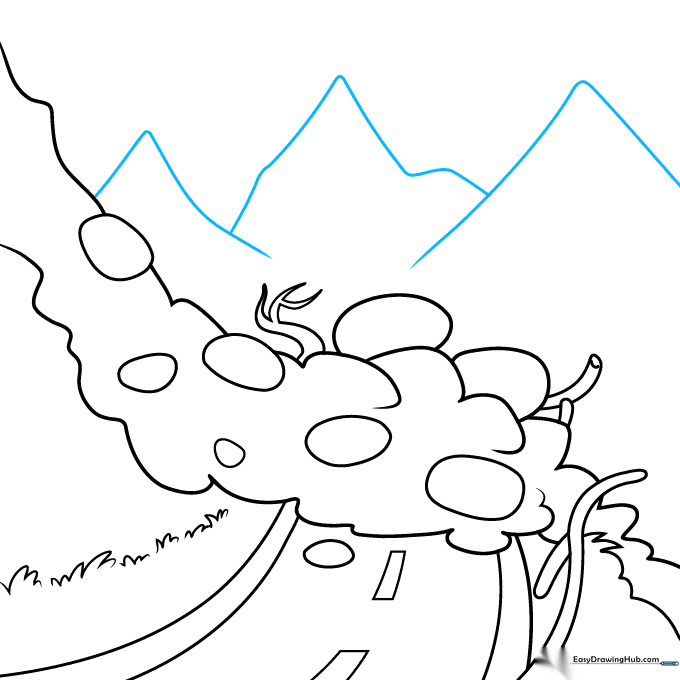
Draw overlapping 'V' shapes in the background to create mountains. Teacher's Tip: Keep these lines lighter than the foreground to create a sense of distance.
Step 9: Adding Clouds
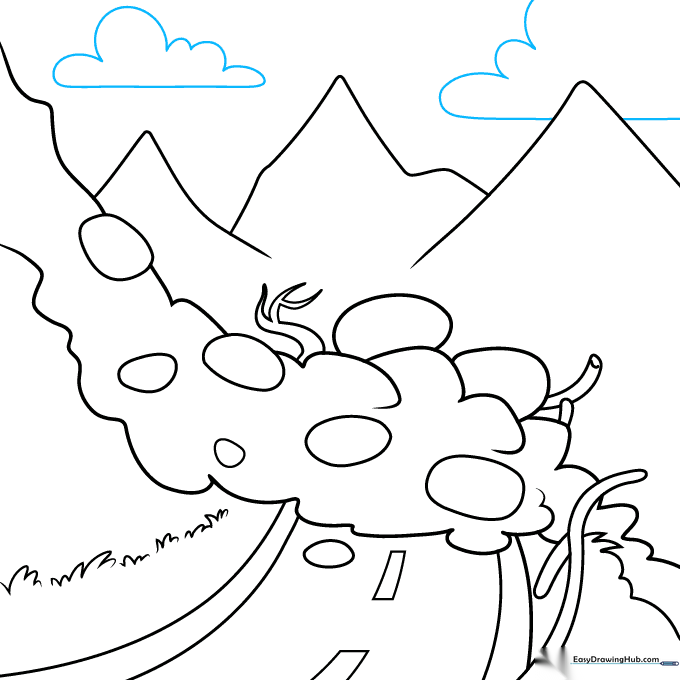
Finish the sky with fluffy clouds using a flat base and rounded tops. Teacher's Tip: Don't make them too perfect; clouds are naturally soft and irregular!
Step 10: Bringing it to Life with Color
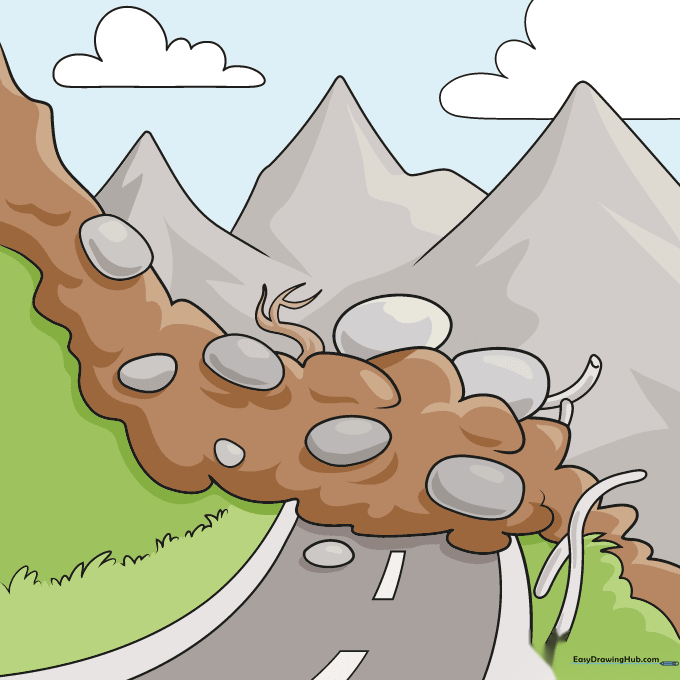
Time to color! Use earthy browns for the mud, grays for the rocks, and vibrant greens for the grass. Teacher's Tip: Try coloring in one direction to keep your work looking neat.
More Tutorials


