How to Draw a Lake: Easy Landscape Tutorial for Kids
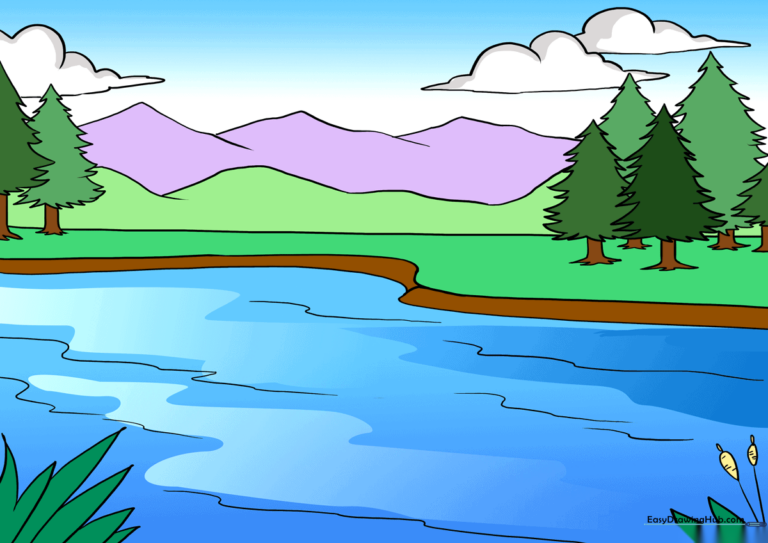
Bring a serene landscape to life with this beginner-friendly drawing tutorial. Designed for young artists, this guide uses simple shapes to build a beautiful lake scene complete with trees, mountains, and cattails. Grab your pencil and paper to start creating your own nature masterpiece today.
🎯 Final Result
Step-by-Step Instructions
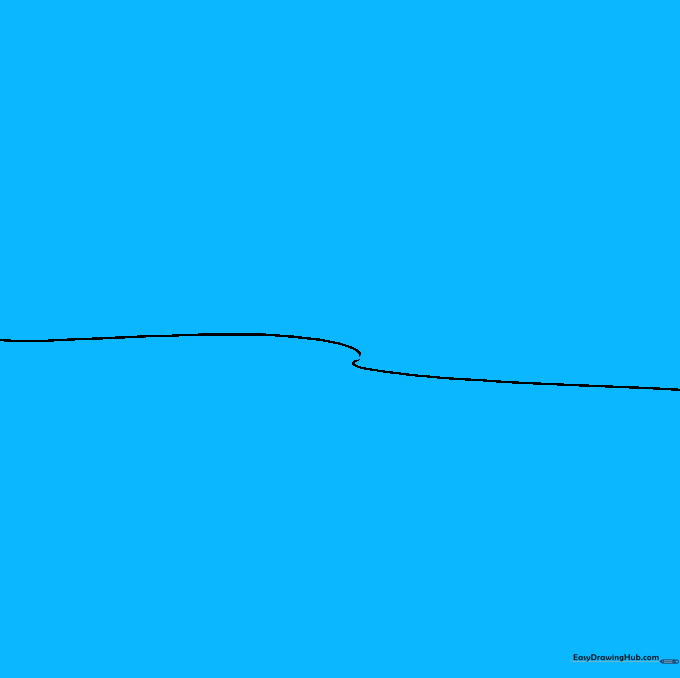
Step 1: Sketching the Shoreline
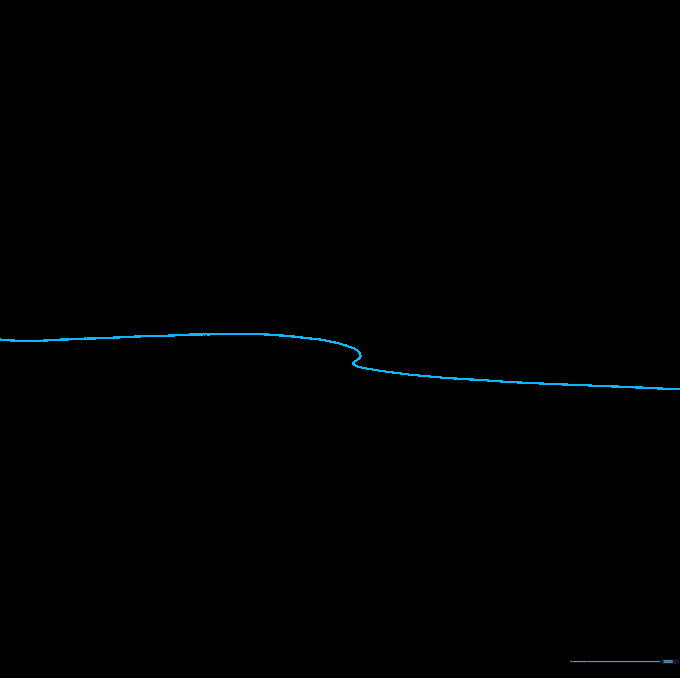
Draw a long, gentle curved line across your paper to represent the edge of the water. Teacher's Tip: Keep your pencil pressure light so you can easily adjust the shape if you want the lake to look wider or narrower.
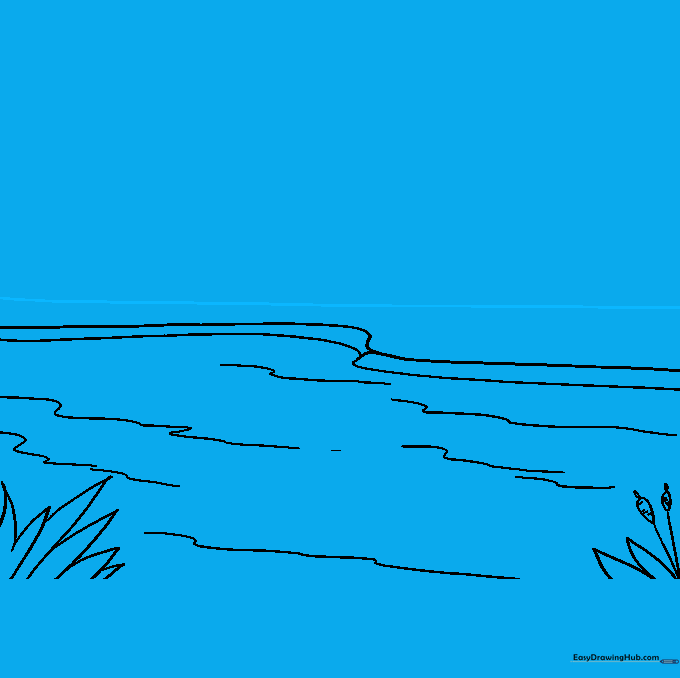
Step 2: Adding Texture and Cattails
Draw a second parallel curve to give the shore depth. Add small inverted 'V' shapes for grass and draw thin lines topped with ovals for cattails. Tip: Use short, quick strokes for the grass to make it look natural and textured.
Step 3: Establishing the Horizon
Draw a straight horizontal line across the top of your page to mark where the land meets the sky. Tip: Use a ruler if you want a perfectly flat horizon, or draw it freehand for a more organic, artistic feel.
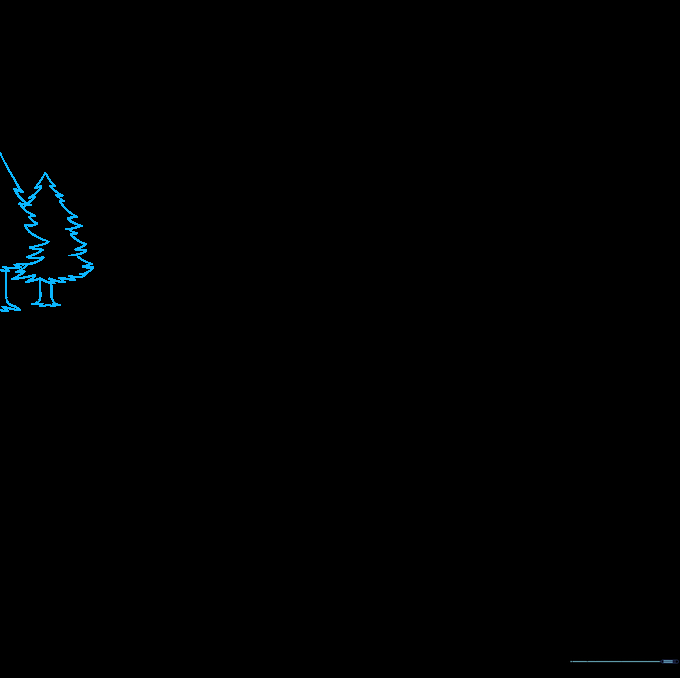
Step 4: Drawing Pine Trees
Create triangular shapes with jagged edges to form the tops of your pine trees, then add simple rectangular trunks. Tip: Vary the height of the triangles to make your forest look realistic.
Step 5: Layering the Forest
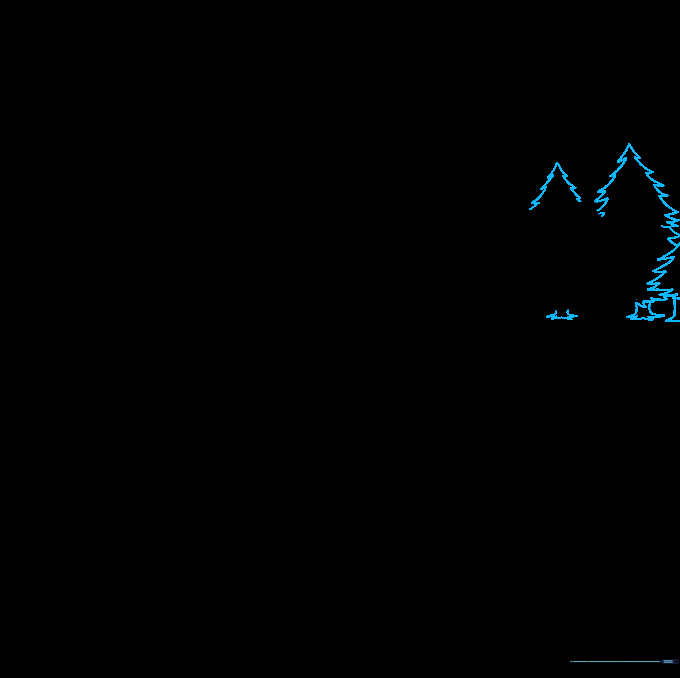
Draw additional pine trees behind the first set to create depth. Tip: Draw these slightly smaller or higher up on the page to make them look like they are further away in the distance.
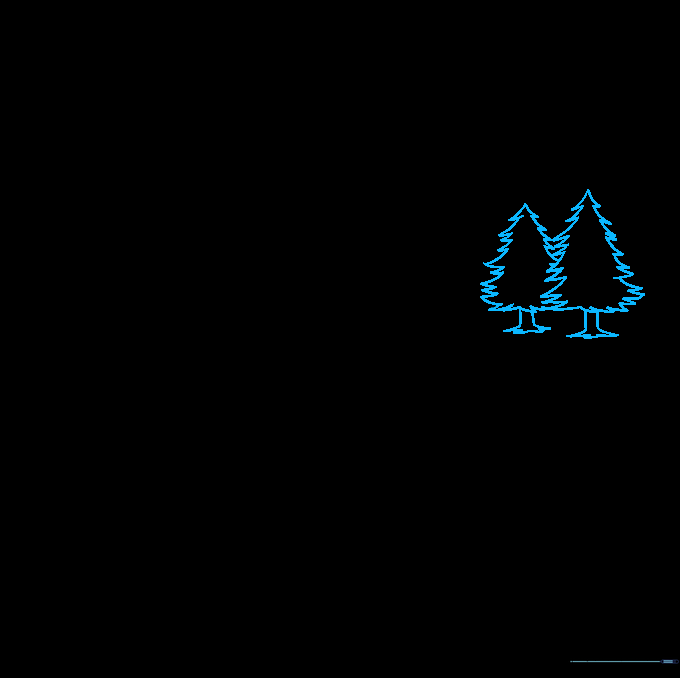
Step 6: Completing the Tree Line
Fill in the opposite side of the lake with more pine trees using the same triangular method. Tip: Don't worry about making them identical; nature is full of variety!
Step 7: Sketching Distant Mountains
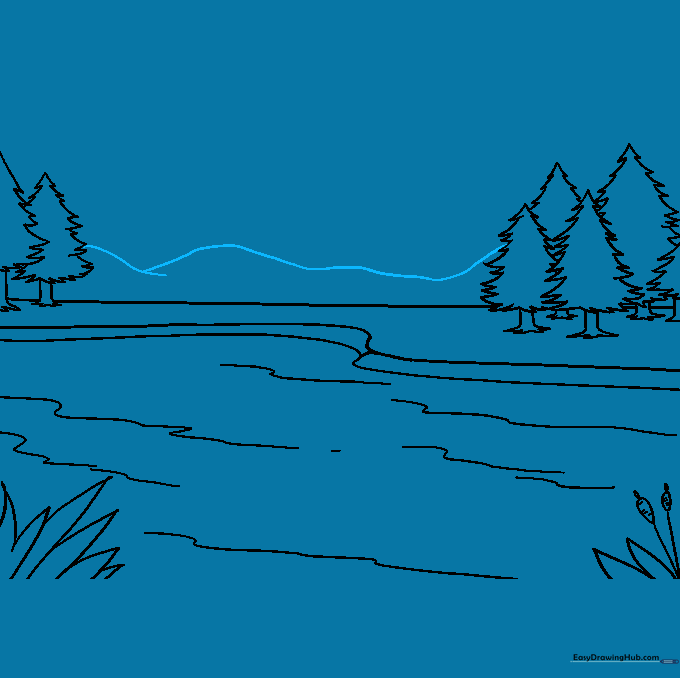
Use a long, sweeping curved line to draw the outline of mountains in the far background. Tip: Make the peaks rounded rather than sharp to give them a soft, distant appearance.
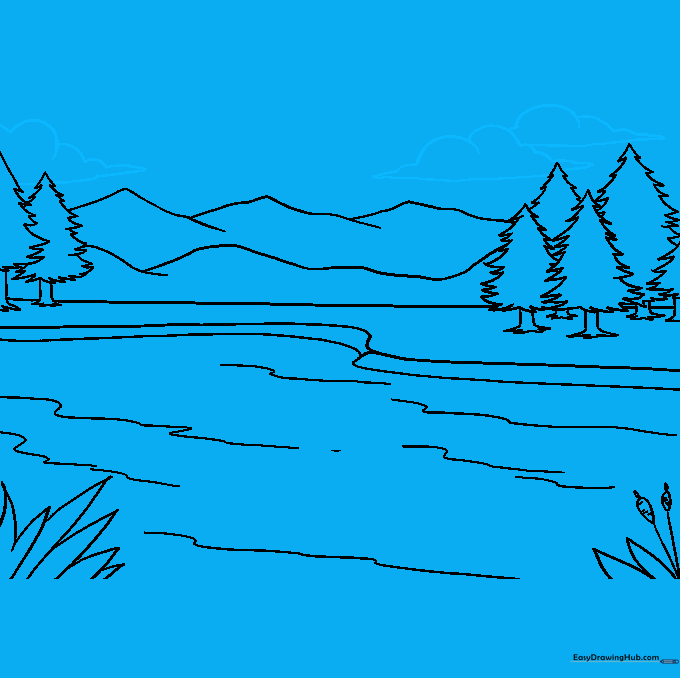
Step 8: Adding Mountain Detail
Layer more mountain shapes behind the first set, making them taller to show scale. Tip: Overlapping lines help the viewer understand which mountains are closer and which are further away.
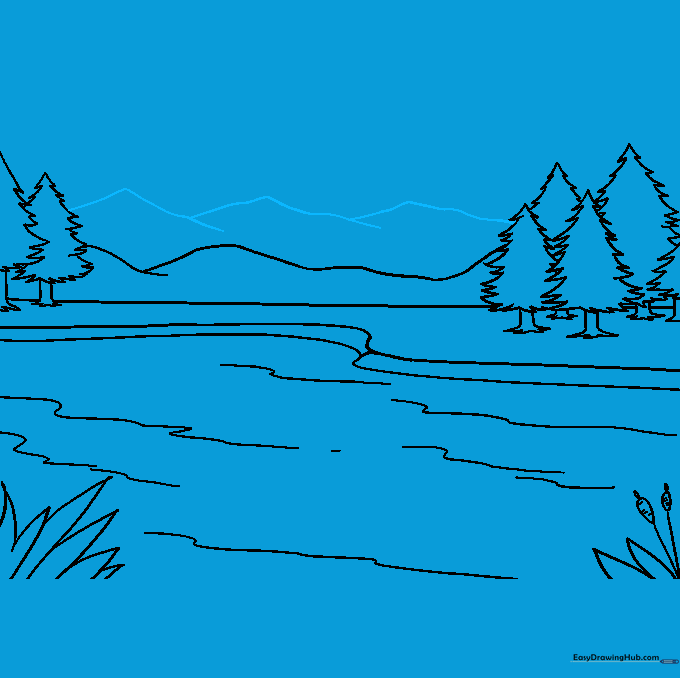
Step 9: Drawing Fluffy Clouds
Add clouds to the sky by drawing a flat base with 'U' shaped bumps on top. Tip: Place your clouds at different heights to make the sky look more dynamic.
Step 10: Bringing It to Life with Color
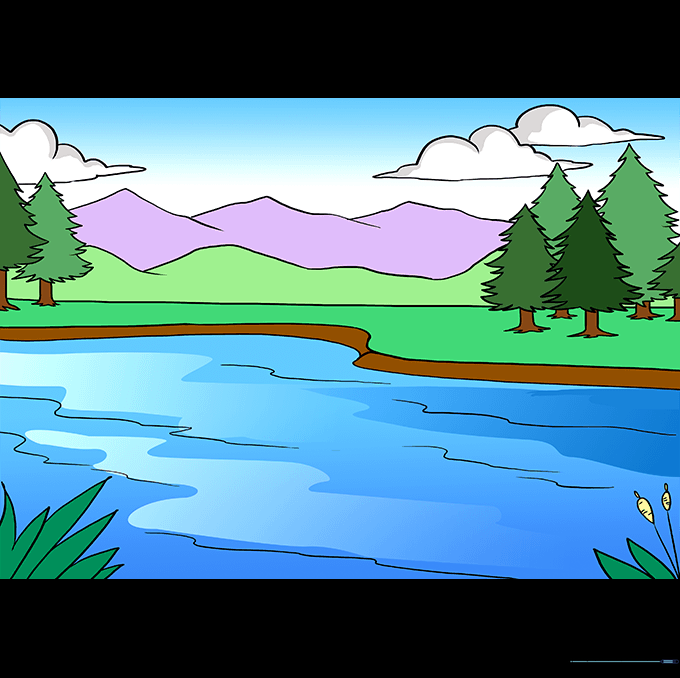
Use blues for the water, greens for the trees, and soft grays or purples for the mountains. Tip: Use a light blue for the water and add a few horizontal white streaks to represent reflections.
More Tutorials


