How to Draw a Lady Finger (Okra): Easy 10-Step Guide
Ready to draw some garden-fresh veggies? This tutorial is perfect for young artists ages 5+ to practice geometric shapes like octagons and ovals. Grab a pencil, an eraser, and some green markers to bring this nutritious okra to life.
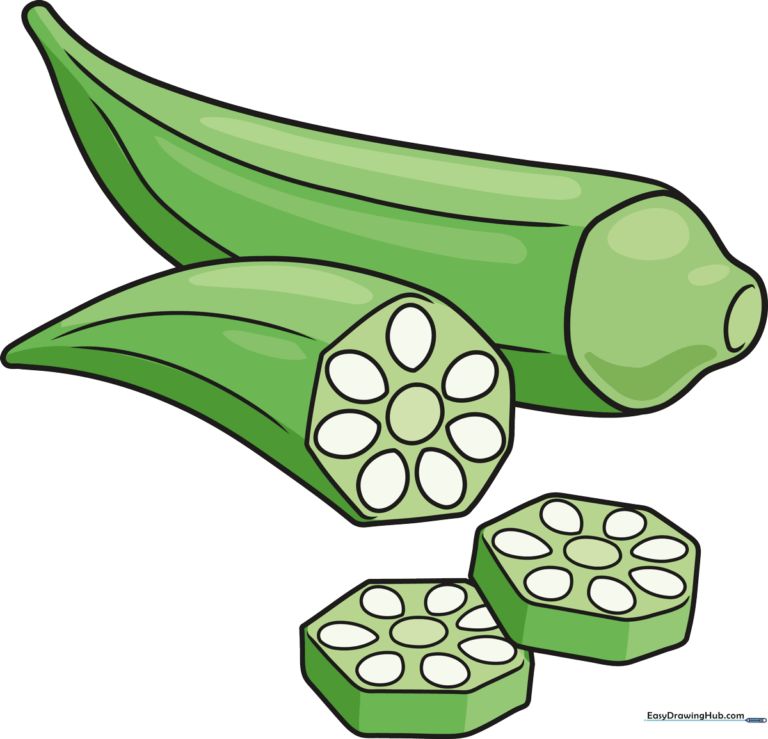
🎯 Final Result
Step-by-Step Instructions
Step 1: Sketching the Base Shape
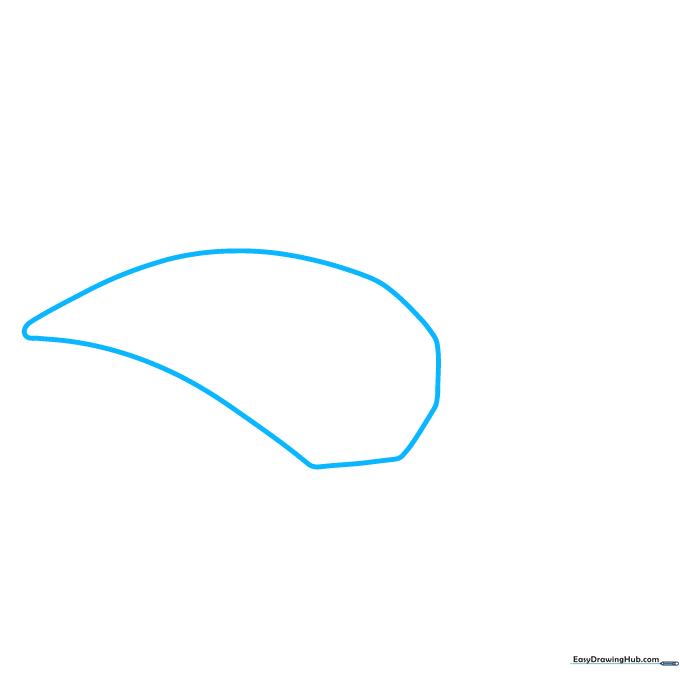
Start by drawing a soft teardrop shape. Tip: Keep your pencil pressure light so you can easily adjust the lines later if needed.
Step 2: Defining the Octagonal Structure
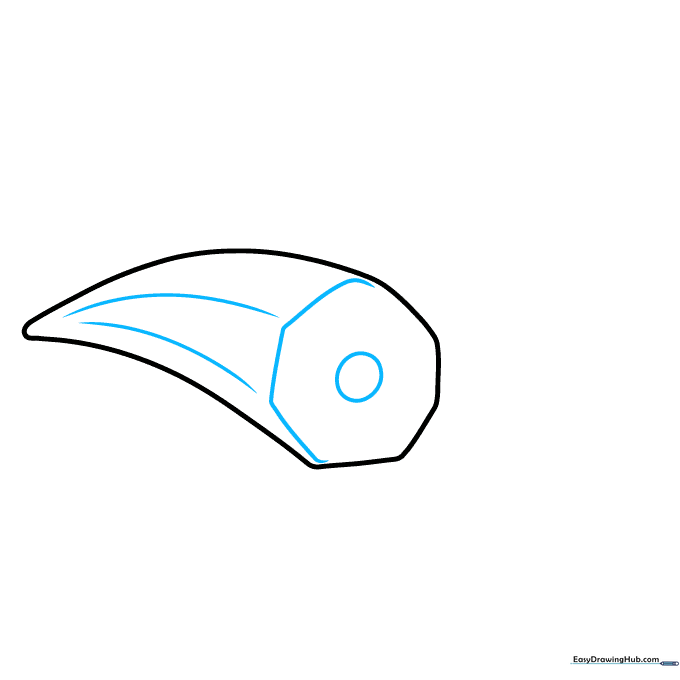
Turn your teardrop into an octagon by adding straight segments. Tip: Okra has a unique, slightly angular cross-section, so don't worry about making it perfectly round!
Step 3: Adding Seed Cavities
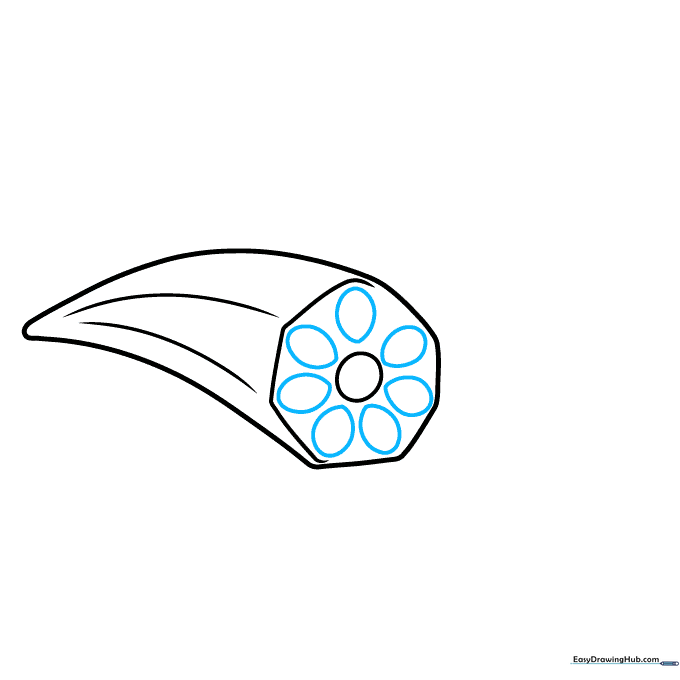
Draw seven small, pointed egg shapes inside the octagon. Tip: These represent the seed pockets—try to space them evenly around the center circle.
Step 4: Drawing the Second Pod
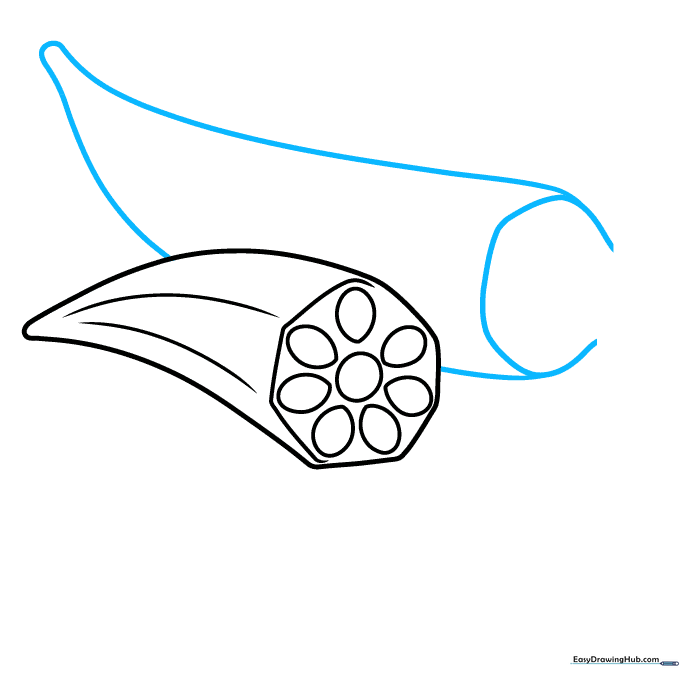
Sketch a long, curved line that doubles back on itself to form a second, whole okra pod. Tip: Use a 'C' shape at the end to give it that natural, slightly bent look.
Step 5: Adding the Stem and Texture
Enclose the top with a curved line to create the stem. Tip: Add small vertical lines along the sides of the pod to give it a realistic, fibrous texture.
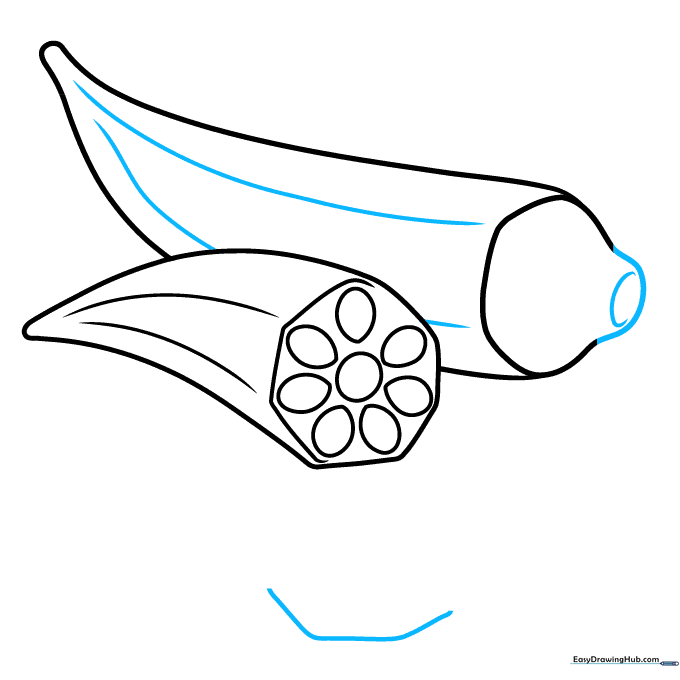
Step 6: Drawing an Okra Slice
Draw another octagonal slice laying on its side. Tip: Use parallel lines to show the thickness of the slice, making it look 3D.
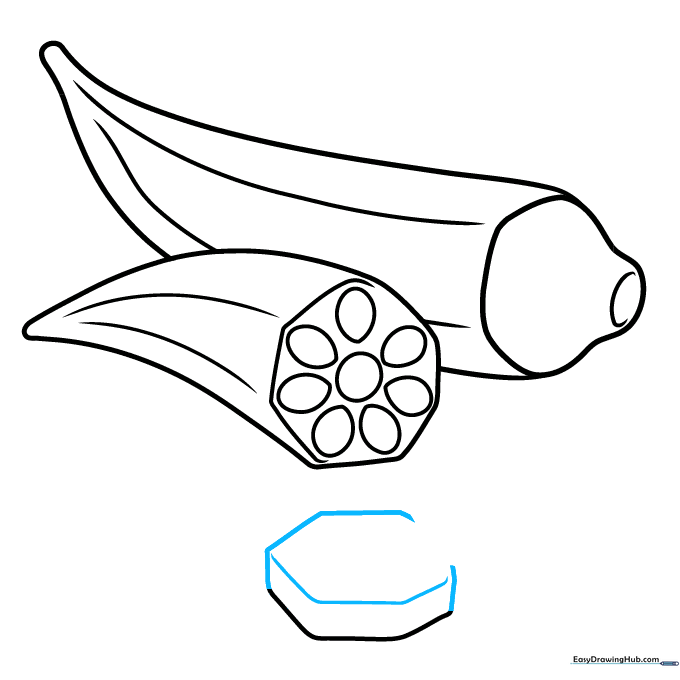
Step 7: Overlapping Slices
Add another slice overlapping the first one. Tip: Focus on the octagon outline to keep the shapes consistent.
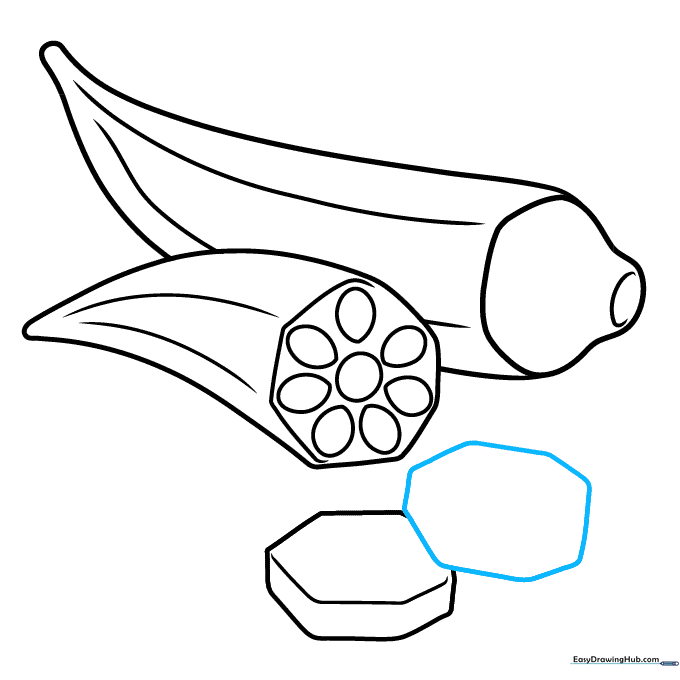
Step 8: Adding Inner Details

Add depth to the second slice and draw the central seeds. Tip: Keep your lines clean and steady to make the seeds stand out.
Step 9: Finalizing the Outline
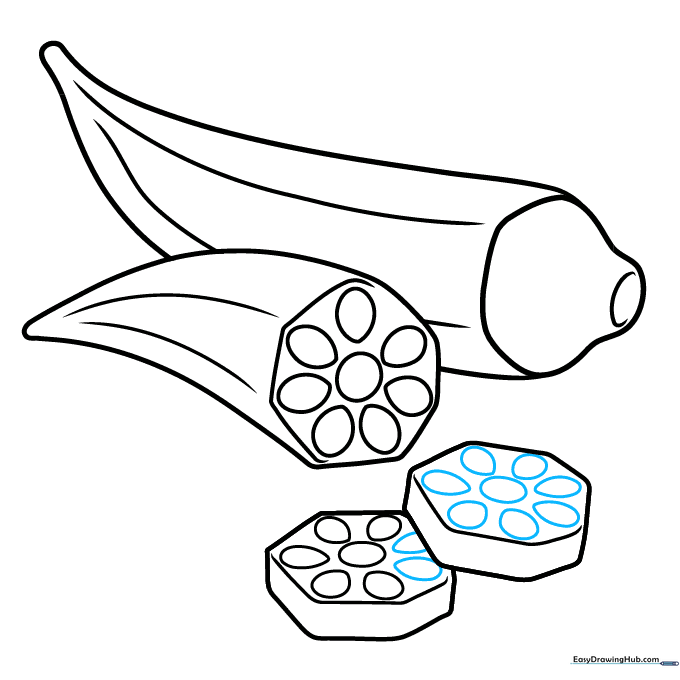
Complete the seed details for all slices. Tip: Once you're happy with the sketch, use a fine-liner pen to trace over your pencil lines for a professional look.
Step 10: Adding Color
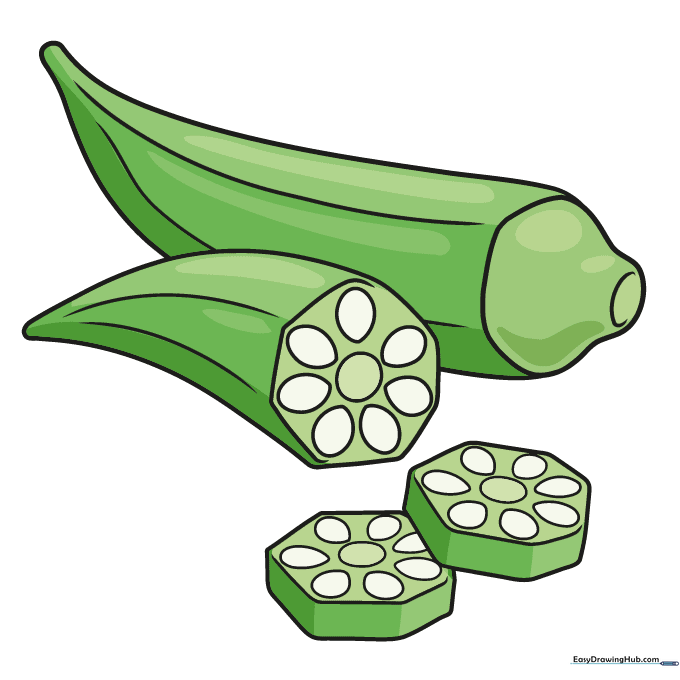
Bring your drawing to life with color! Use vibrant dark green for the pods and leave the seeds white or a very pale yellow. Tip: Use light and dark green shades to create a sense of volume.
More Tutorials


