How to Draw a Koala: Easy 10-Step Guide for Kids
Bring a lovable koala to life with this beginner-friendly drawing guide, perfect for artists ages 5 and up. You only need a pencil, an eraser, and a piece of paper to get started. Follow these simple steps to master basic shapes and create a charming marsupial friend in minutes.
🎯 Final Result

Step-by-Step Instructions
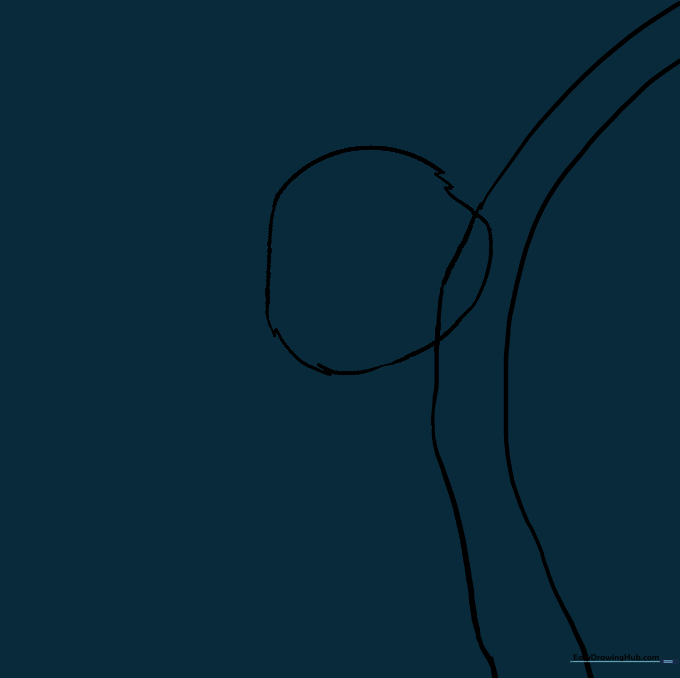
Step 1: Sketching the Tree Branch

Draw two parallel, slightly curved lines to create the branch. Teacher's Tip: Keep your pencil pressure light so you can easily erase any overlapping lines later.
Step 2: Placing the Head

Draw a circle that overlaps the branch. Teacher's Tip: Don't worry about making it a perfect circle; a slightly oval shape gives the koala a more natural, friendly look.
Step 3: Adding Furry Texture
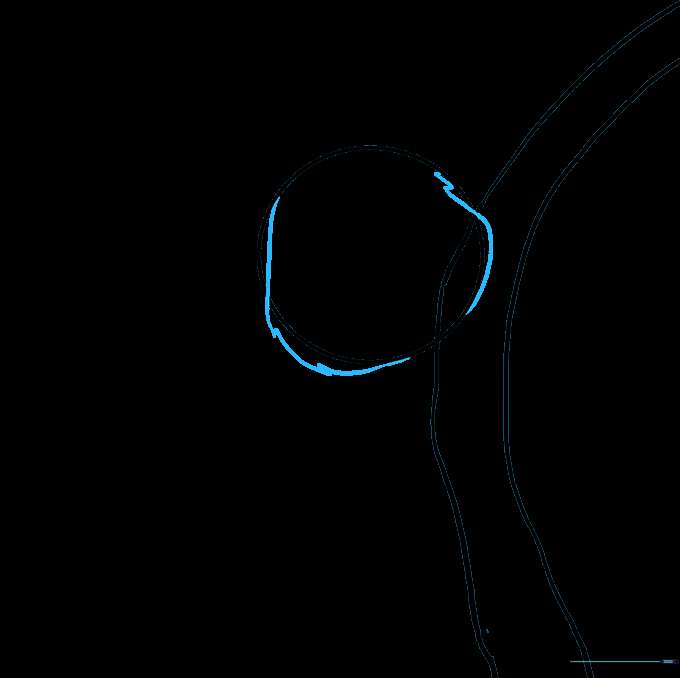
Trace over your circle using short, jagged strokes to create a furry outline. Make the cheeks wider than the original circle. Teacher's Tip: Use quick, flicking motions with your pencil to mimic the look of soft fur.
Step 4: Cleaning the Guide Lines
Gently erase the original smooth circle lines from inside the head. Teacher's Tip: Use a soft eraser and brush away the crumbs so your drawing stays clean.
Step 5: Sketching the Arm
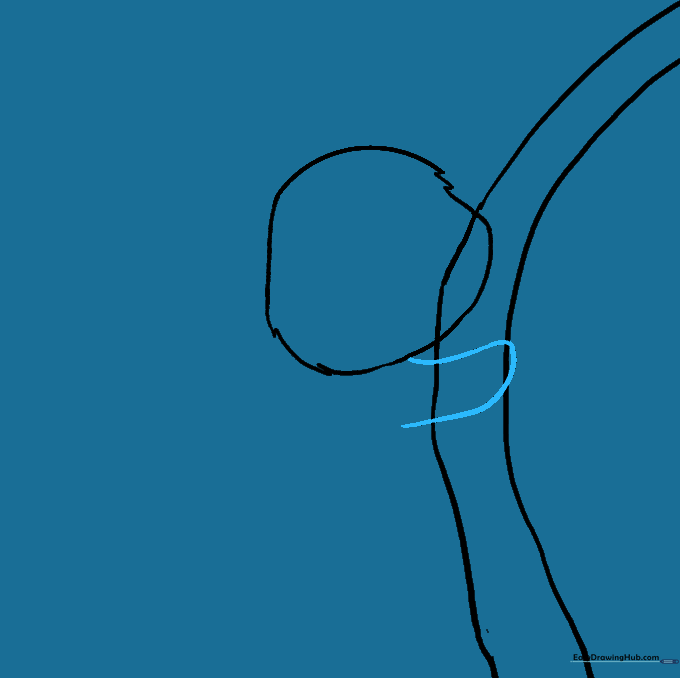
Draw a curved line from the head, wrapping it around the branch and back to the body. Teacher's Tip: Imagine the koala is giving the branch a big, cozy hug.
Step 6: Drawing the Body and Leg
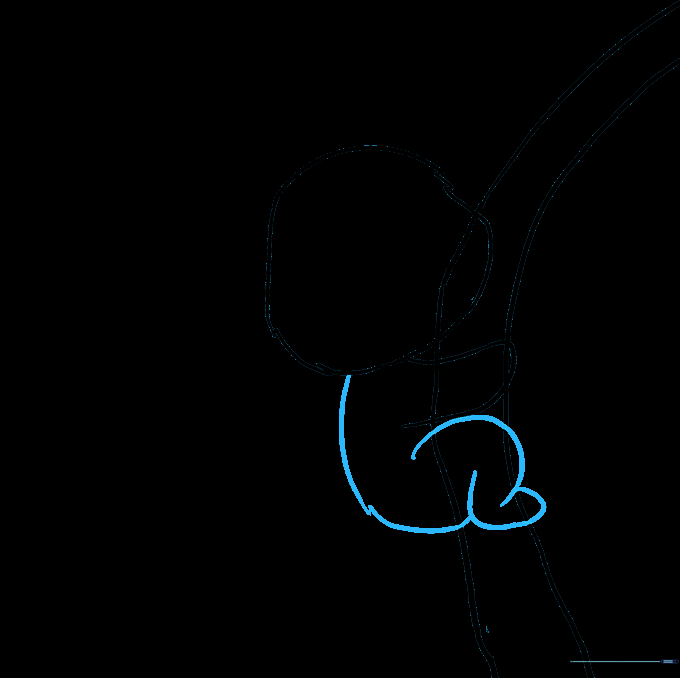
Add a 'C' shape for the leg and a long, curved line to connect the foot to the head, closing the body shape. Teacher's Tip: Keep the body round to emphasize the koala's cute, chubby appearance.
Step 7: Final Cleanup
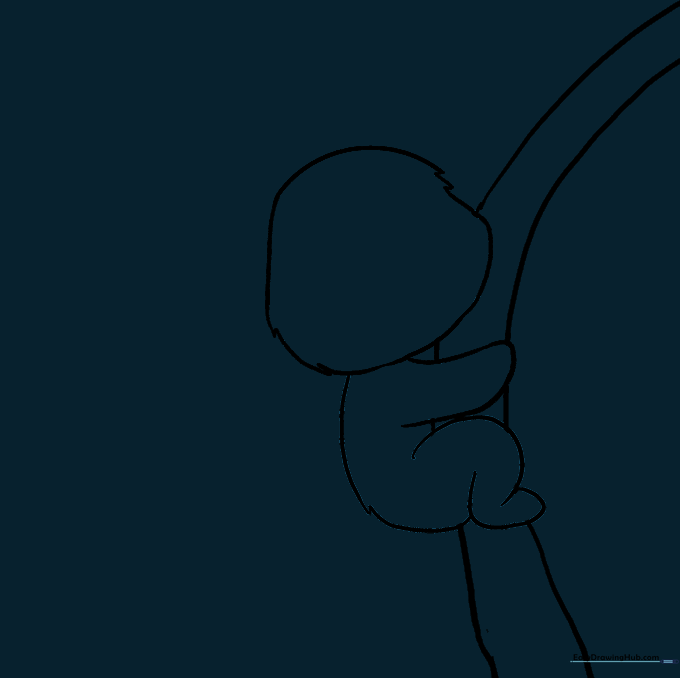
Erase any overlapping lines where the body meets the branch. Teacher's Tip: This step is vital for making your drawing look professional and polished.
Step 8: Adding Fluffy Ears

Draw two large 'C' shapes on the sides of the head, adding a smaller inner circle for depth. Teacher's Tip: Overlap the lines slightly to make the ears look soft and fuzzy.
Step 9: Drawing the Face
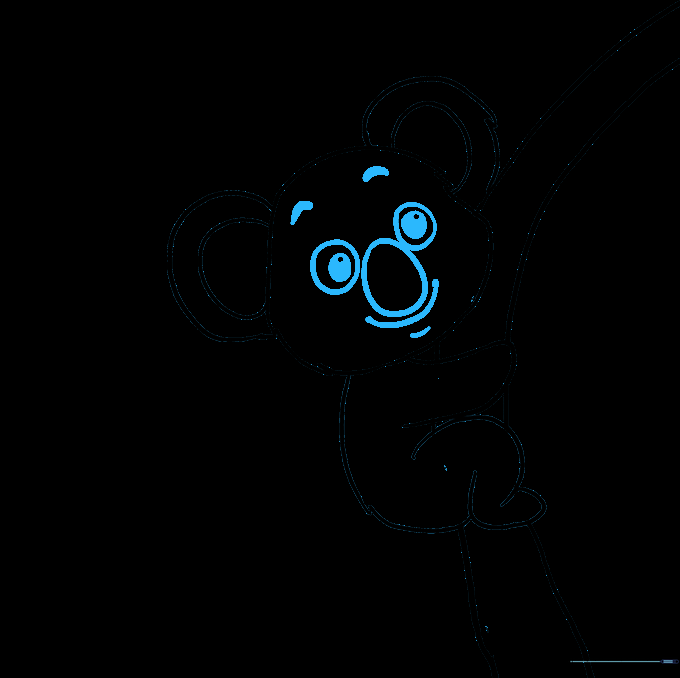
Sketch a large oval nose, two small eyes with pupils, a smiling mouth, and arched eyebrows. Teacher's Tip: Shade the pupils dark to give your koala a bright, expressive gaze.
Step 10: Adding Color

Bring your koala to life with shades of grey. Teacher's Tip: Use a darker grey for the nose and a lighter shade for the fur to add dimension to your artwork.
More Tutorials


