How to Draw a Kite: Easy 10-Step Guide for Kids
Ready to take flight? This tutorial is perfect for young artists ages 5 and up. All you need is a pencil, an eraser, and some paper to bring this breezy toy to life.
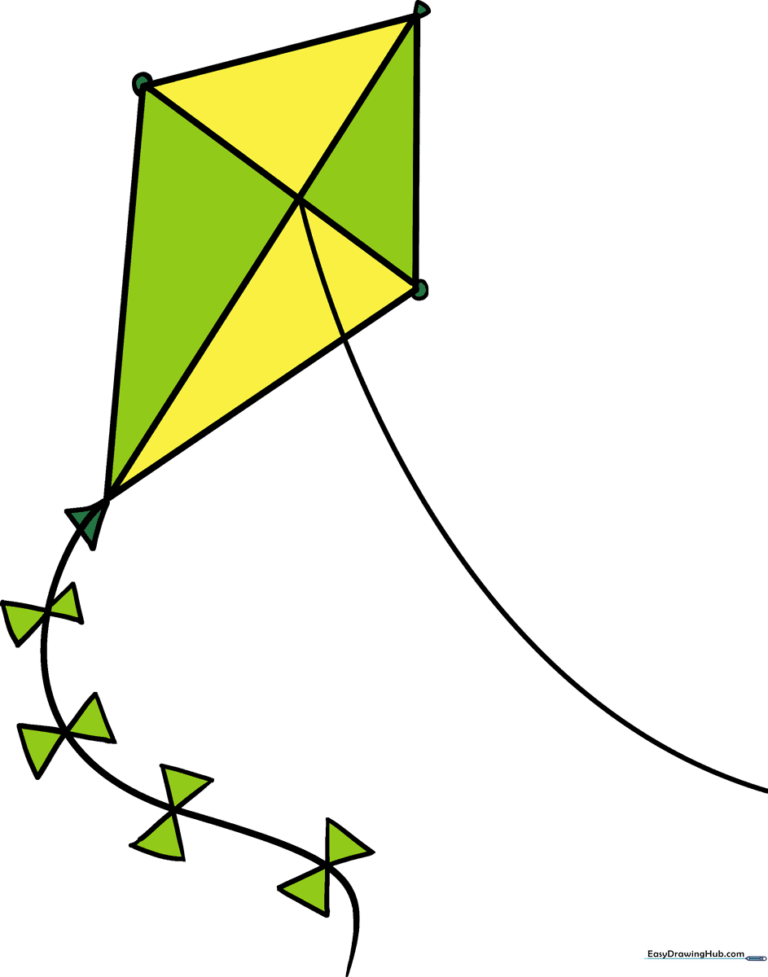
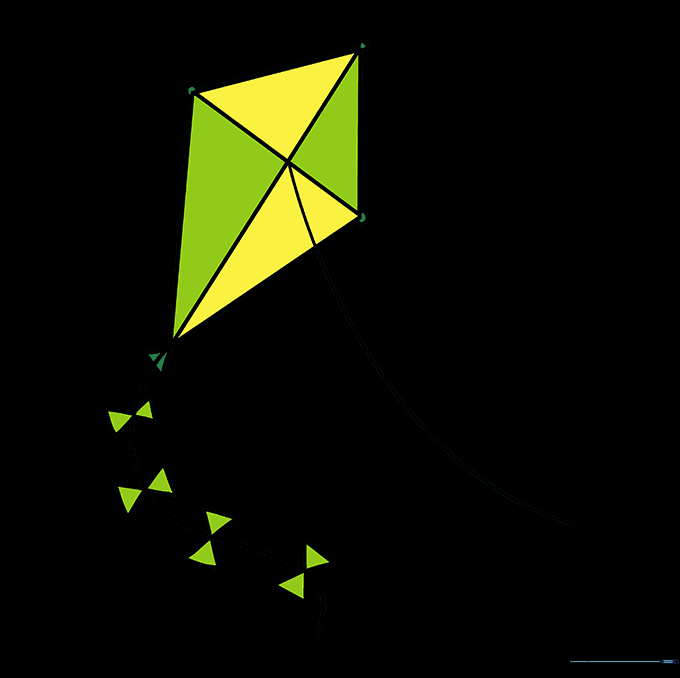
🎯 Final Result
Step-by-Step Instructions
Step 1: Sketching the Kite Frame

Draw a large diamond shape with a slight vertical slant. Tip: Make the top two sides shorter than the bottom two to give your kite that classic, aerodynamic look.
Step 2: Adding the Crossbars

Draw two straight lines crossing through the center of your diamond. Tip: These represent the wooden frame; use a ruler if you want them perfectly straight!
Step 3: Creating the Attachment Points
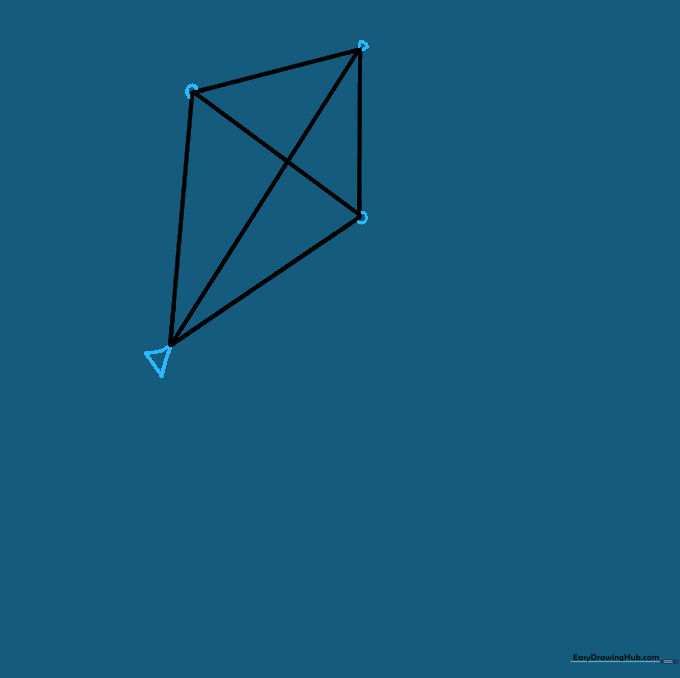
Add small circles at the three top corners and a tiny curved triangle at the bottom point. Tip: These are the connectors that hold the frame together.
Step 4: Drawing the Tail String
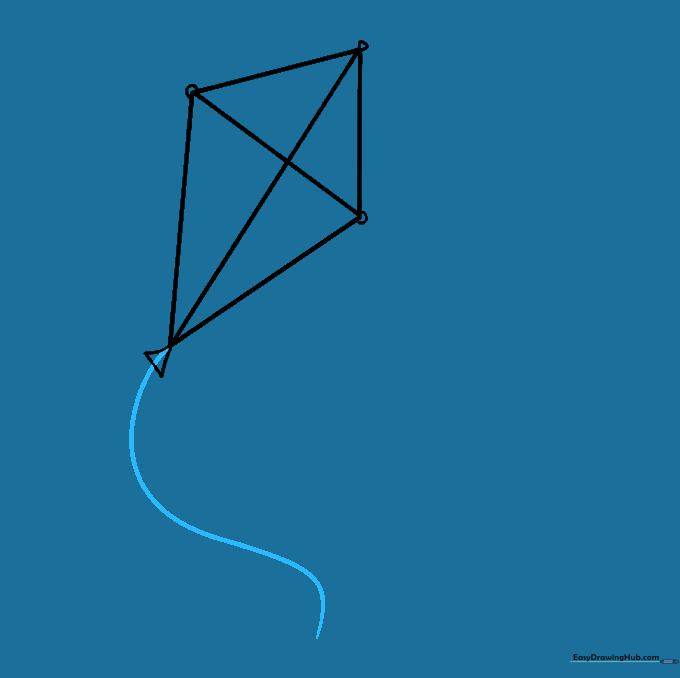
Draw a long, graceful, curving line flowing from the bottom corner. Tip: Don't make it too straight—a little curve makes it look like it's blowing in the wind!
Step 5: Adding the First Bow
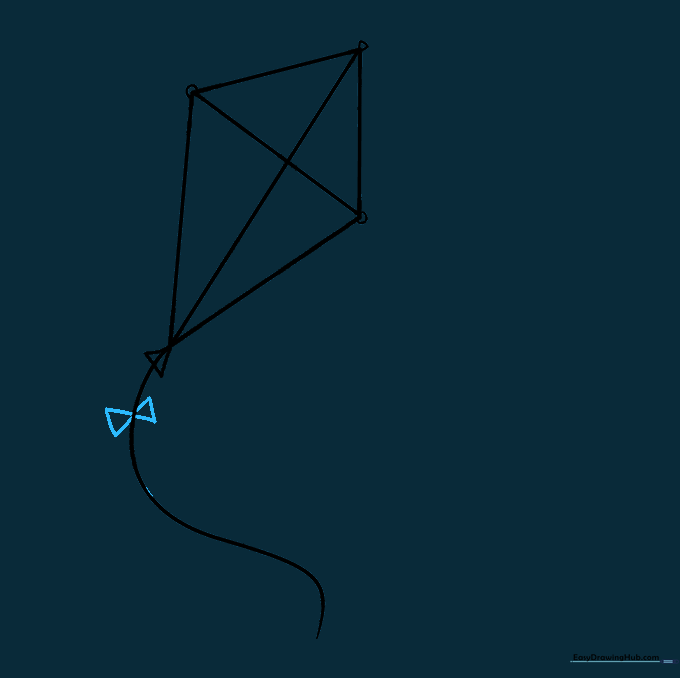
Draw two small triangles touching at their points along the string. Tip: This creates the look of a decorative bow tied to the tail.
Step 6: Adding the Second Bow
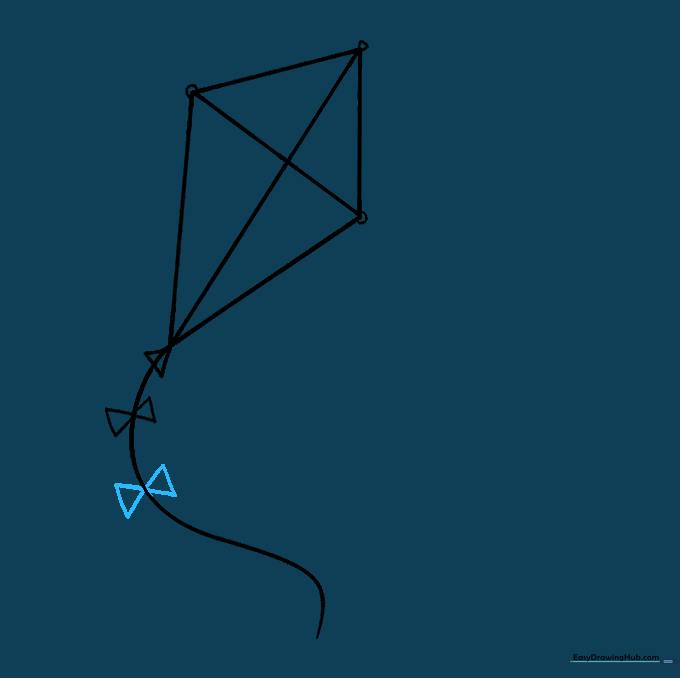
Repeat the process further down the string to add a second bow. Tip: Space them out evenly to keep your drawing balanced.
Step 7: Adding the Third Bow
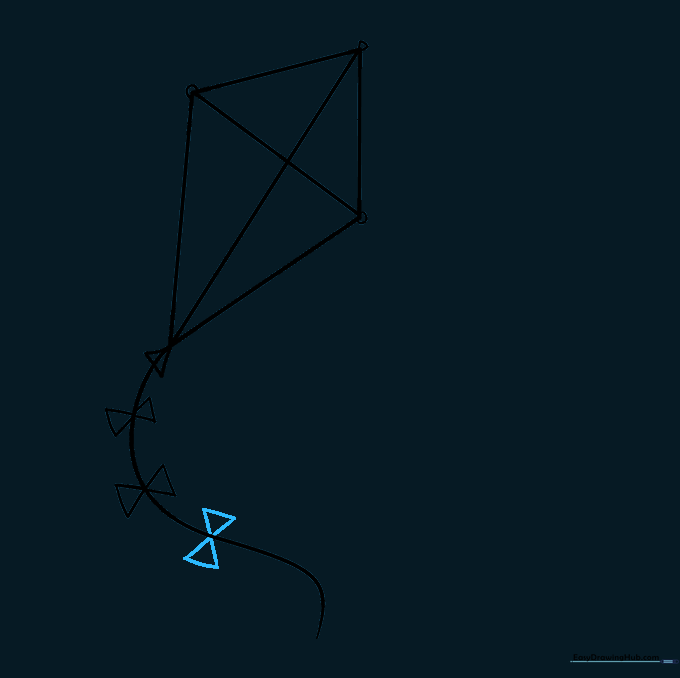
Add a third bow along the tail. Tip: Keep your triangles small so they don't overpower the kite itself.
Step 8: Adding the Final Bow
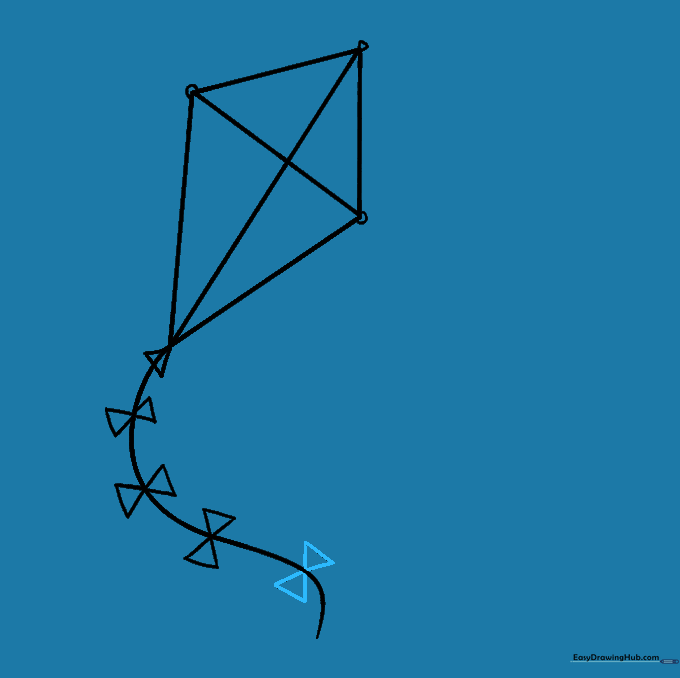
Draw the fourth and final bow near the end of the tail string. Tip: You can add even more bows if you want a longer, fancier tail!
Step 9: Drawing the Control Line
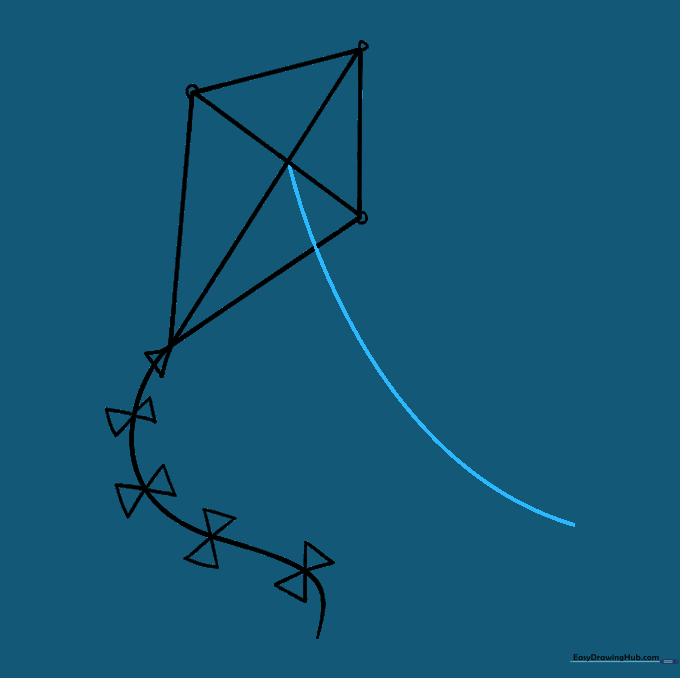
Draw a long, slightly curved line extending from the center crossbars. This is the string you hold to fly the kite.
Step 10: Bringing Your Kite to Life with Color
Time to color! Use bright, vibrant colors so your kite stands out against the blue sky. Tip: Use different colors for each section of the kite to make it look extra festive.
More Tutorials


