How to Draw a Kiss: Easy 10-Step Guide for Beginners
Capture a sweet moment with this easy-to-follow portrait guide, perfect for artists ages 8 and up. You will need a pencil, an eraser, and a piece of paper to master these facial profiles. By focusing on simple curves and shapes, you will learn how to position two faces together for a classic romantic illustration.
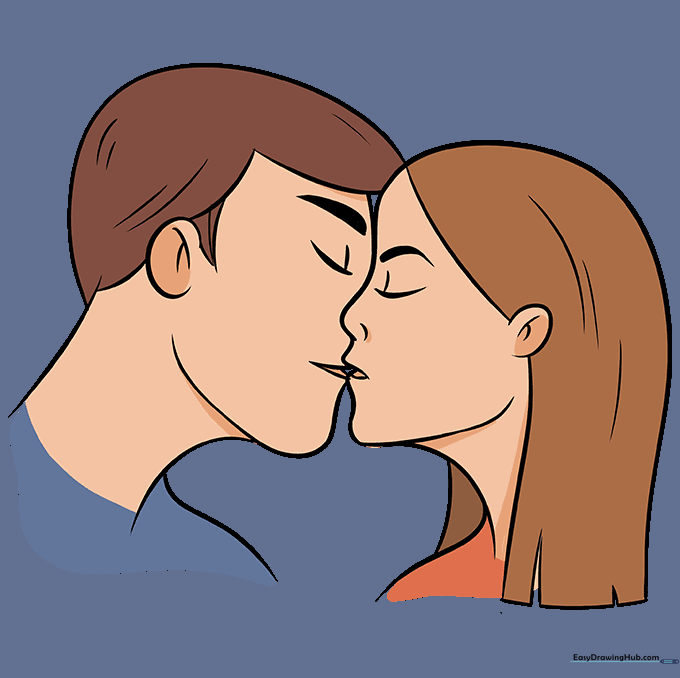
🎯 Final Result

Step-by-Step Instructions
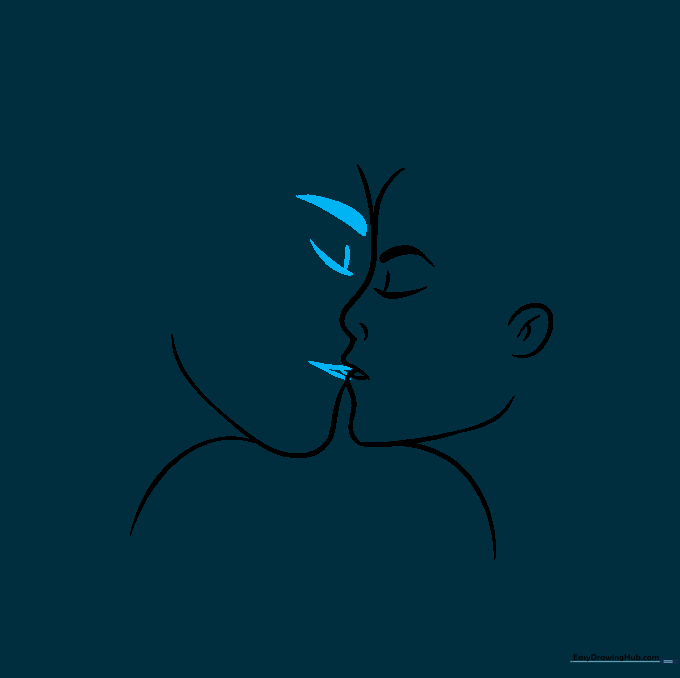
Step 1: Sketching the Profile Base

Start by drawing a soft, curved line to form the girl's nose and forehead. Teacher's Tip: Keep your pencil pressure very light here; these are just guidelines that we will refine later.
Step 2: Shaping the Lower Face
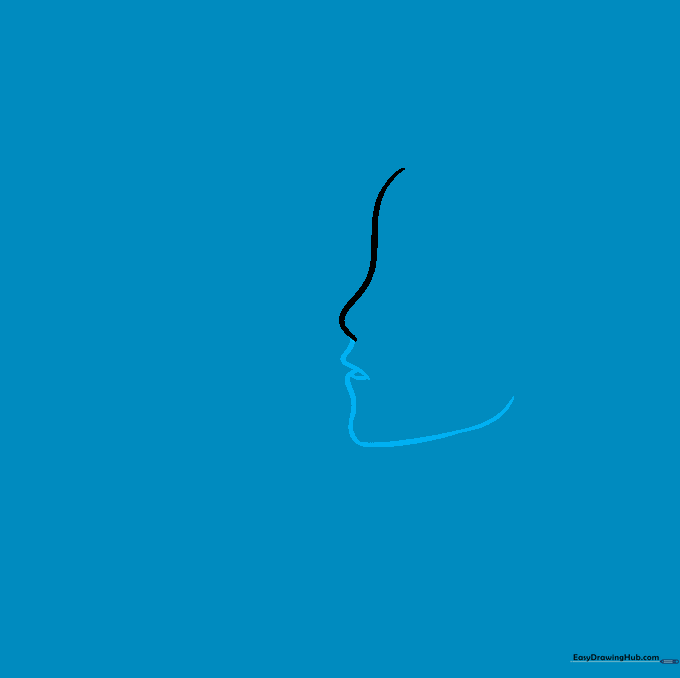
Sketch the lips, chin, and jawline using smooth, connected curves. Use an 'L' shape for the upper lip. Teacher's Tip: Think of the mouth as a gentle curve to show the expression of a kiss.
Step 3: Adding the Eye and Ear
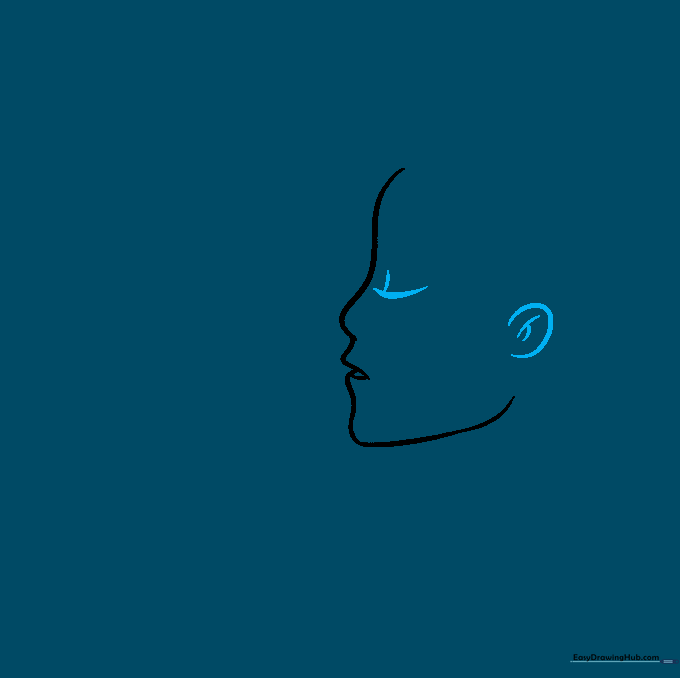
Draw the eye using two intersecting curved lines, and add a backward 'C' shape for the ear. Teacher's Tip: Use short, overlapping lines inside the ear to create realistic depth.
Step 4: Defining Features and Neck
Add a thick curved line for the eyebrow and a small curve for the nostril. Extend the neck line downward. Teacher's Tip: A slightly thicker line for the eyebrow helps define the character's expression.
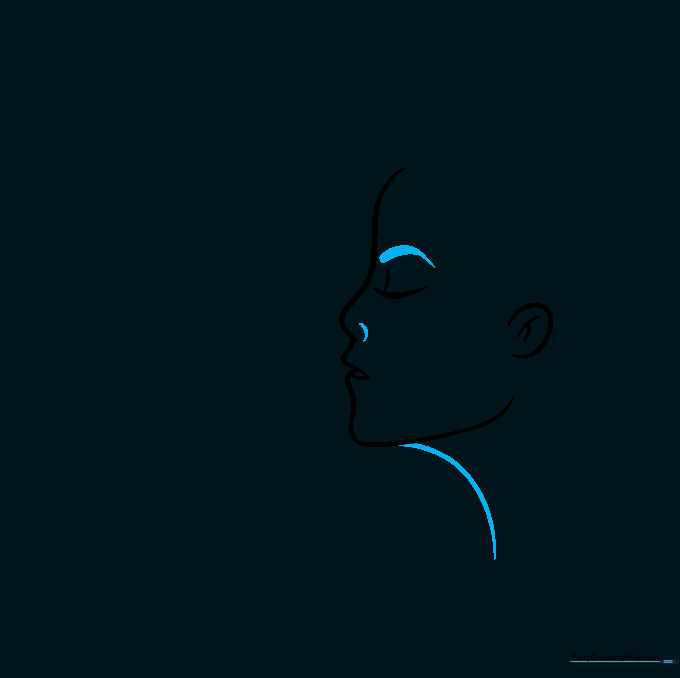
Step 5: Sketching the Second Profile
Outline the man's face using a 'Y' shape at the forehead and a sweeping 'U' curve for the chin. Teacher's Tip: Ensure the two faces overlap slightly to make the 'kiss' look natural.
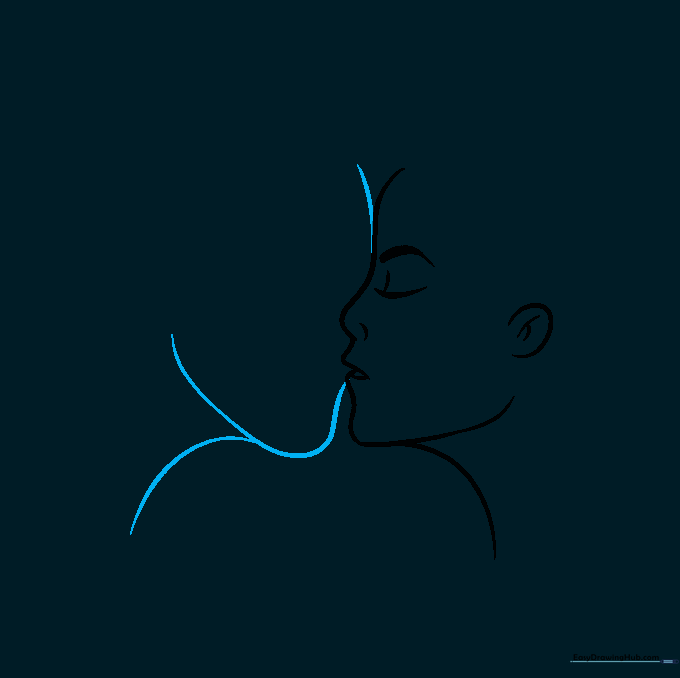
Step 6: Detailing the Second Face
Refine the man's lips and add a closed eyelid using a 'V' shape. Add a thick eyebrow above the eye. Teacher's Tip: Symmetry in the eyes makes the drawing look more professional.
Step 7: Adding Shoulders and Ears
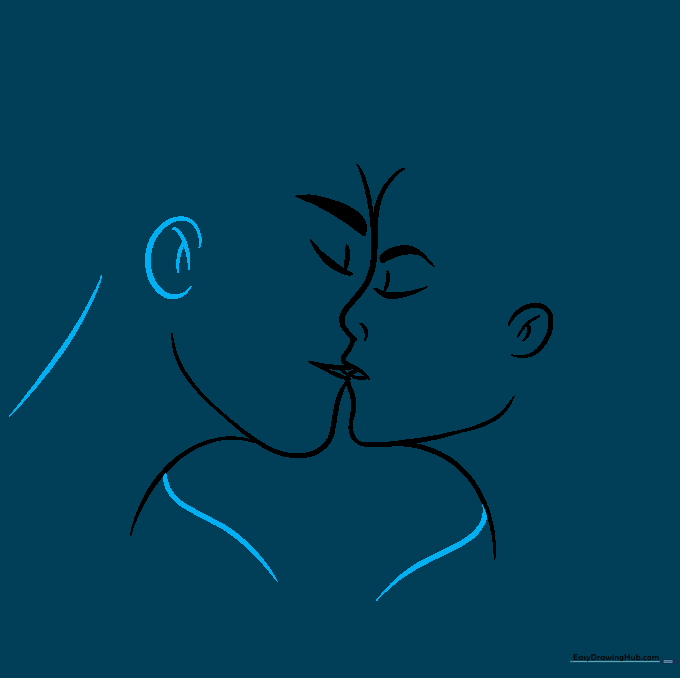
Draw the shoulders for both figures and add the man's ear. Teacher's Tip: Use long, sweeping curves for the shoulders to give the figures a natural, relaxed posture.
Step 8: Drawing the Female's Hair
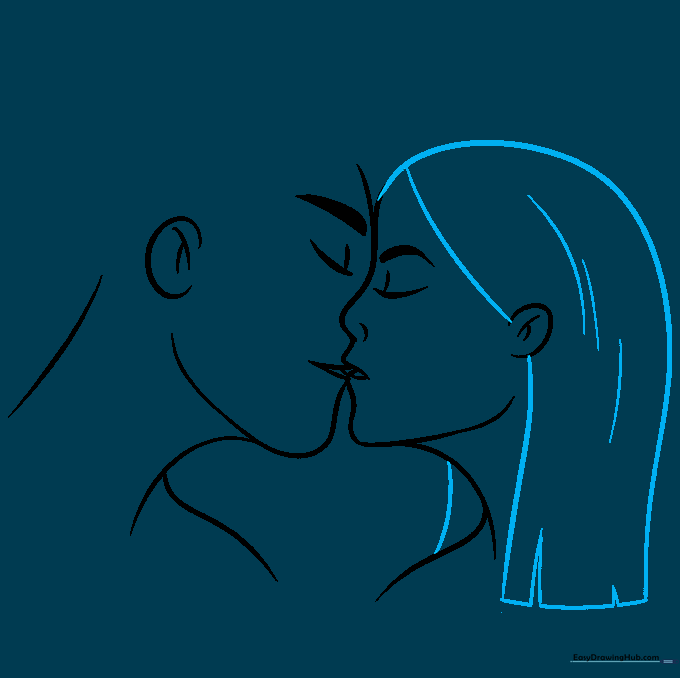
Add hair using curved lines that flow from the forehead to the neck. Teacher's Tip: Use inverted 'V' shapes at the ends of the hair to give it a realistic, textured look.
Step 9: Drawing the Male's Hair
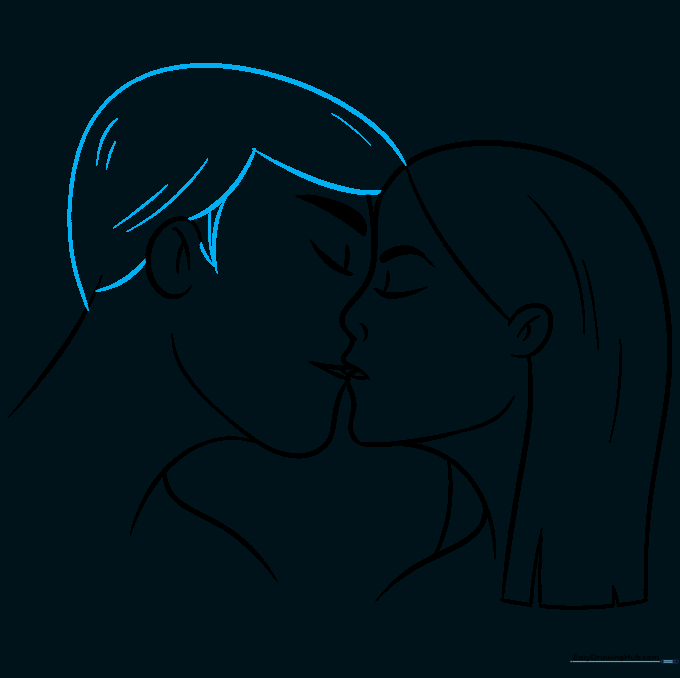
Outline the man's hair and add a small 'V' shape for sideburns. Teacher's Tip: Keep the hair lines flowing in the same direction to make the drawing look tidy.
Step 10: Final Touches and Coloring
Erase any overlapping guidelines and add your favorite colors! Teacher's Tip: Use soft skin tones and vibrant hair colors to bring your cartoon characters to life.
More Tutorials


