How to Draw a Kewpie Doll: Easy 10-Step Guide for Kids
Bring this vintage-inspired character to life! This tutorial is perfect for young artists ages 6+ who want to practice drawing expressive faces and cute proportions. Grab your pencil, eraser, and paper, and let’s create a charming Kewpie doll together.
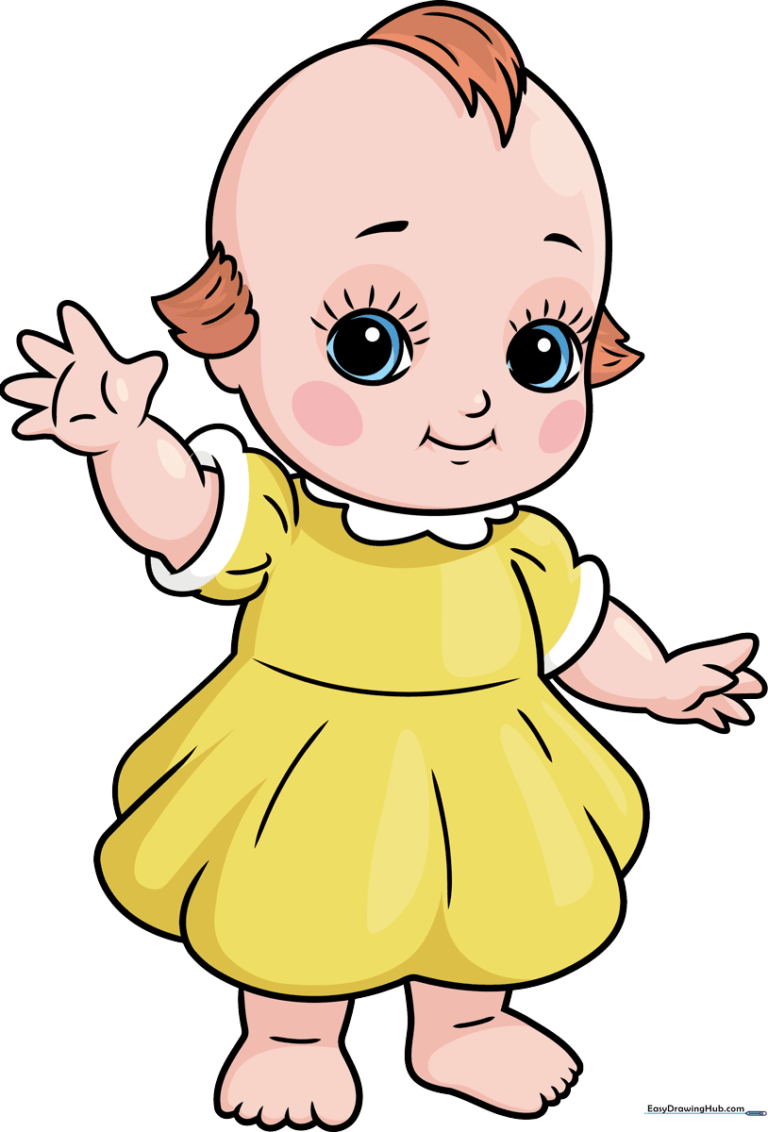
🎯 Final Result
Step-by-Step Instructions
Step 1: Sketching the Expressive Eyes
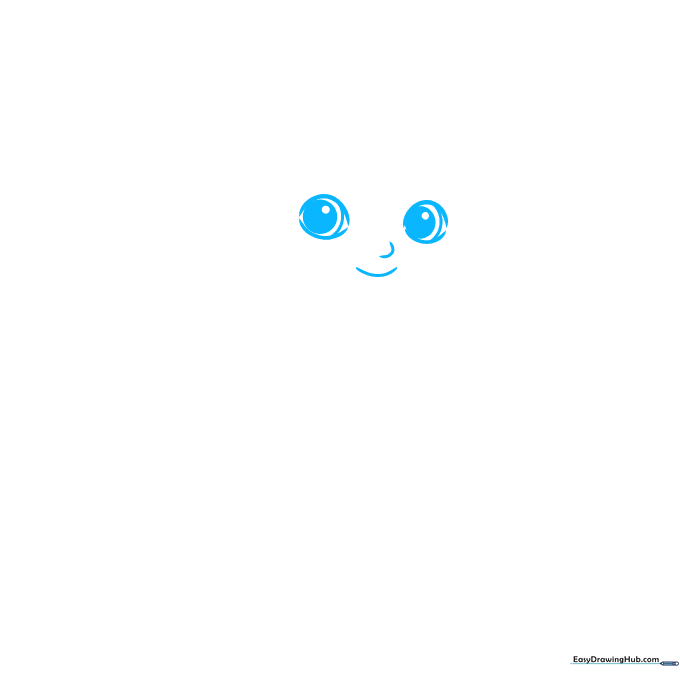
Start by drawing two large, curved lines for the upper eyelids. Inside, draw three circles of decreasing size, shading the smallest one to create a bright, curious gaze. Teacher's Tip: Keep your pencil pressure light so you can easily adjust the symmetry of the eyes before committing to darker lines.
Step 2: Defining the Face Shape
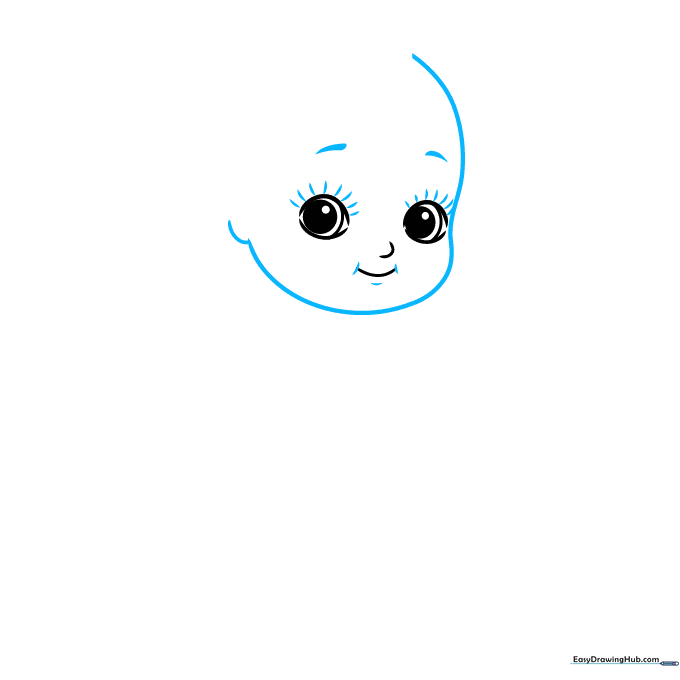
Draw a long, smooth curved line to define the round cheek and ear. Add small, soft strokes near the eyes and mouth to give the doll a sweet, smiling expression. Teacher's Tip: Kewpies are known for their chubby cheeks—don't be afraid to make your curve nice and wide!
Step 3: Adding the Signature Hair
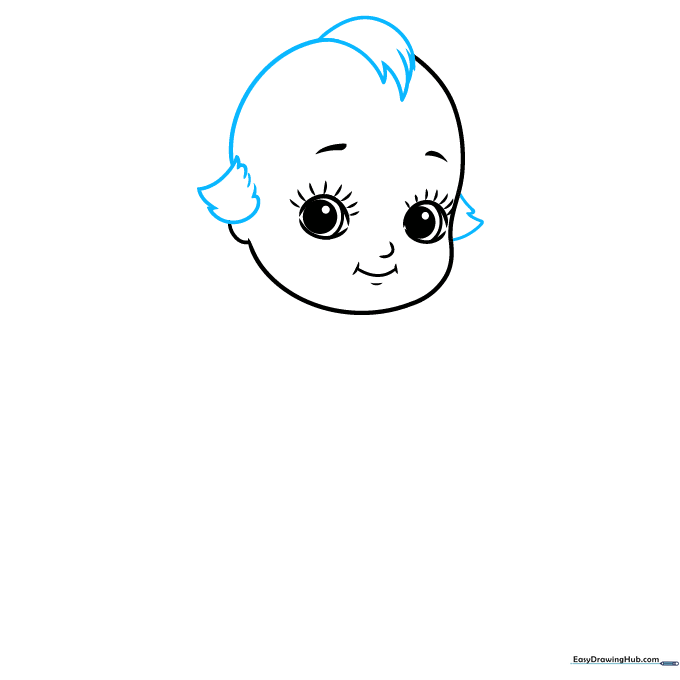
Use jagged, short strokes to create the iconic Kewpie hair tufts near the ears and on the crown of the head. Connect these with a smooth curve to finish the head shape. Teacher's Tip: Use quick, flicking motions with your wrist to make the hair look soft and wispy.
Step 4: Sketching the Neck and Sleeves
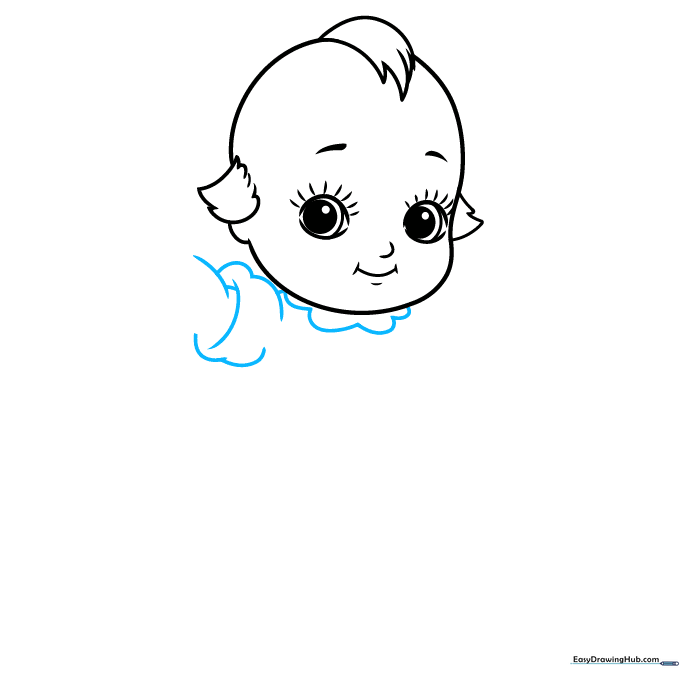
Draw a scalloped line around the neck to suggest a collar, then use overlapping curved lines to block out the sleeves and arms. Teacher's Tip: Think of the sleeves as soft, rounded shapes to match the doll's baby-like proportions.
Step 5: Forming the Tiny Hand
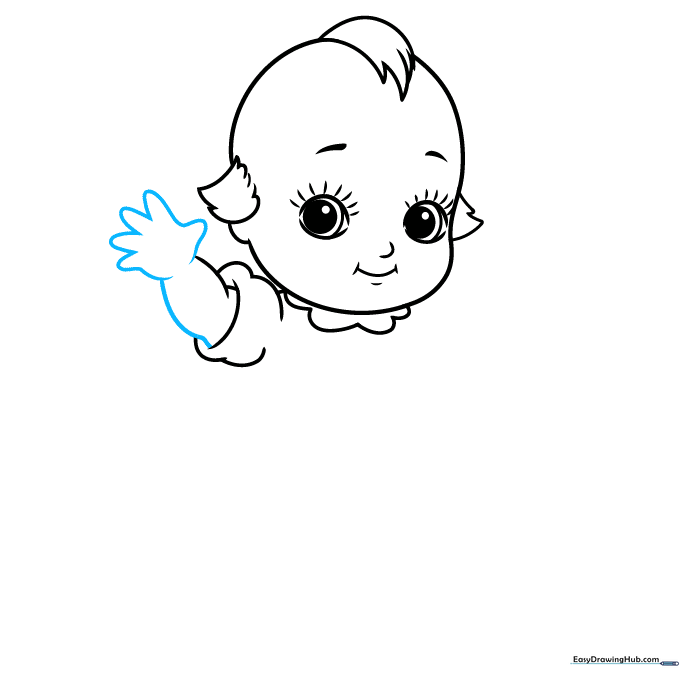
Draw a curved line for the underside of the arm and use small 'U' shapes to create the fingers. Teacher's Tip: Keep the fingers close together to make them look like a little mitten or baby hand.
Step 6: Defining the Torso

Add three curved lines to the hand for detail. Draw the torso using two vertical lines and complete the other arm with overlapping curves. Teacher's Tip: Ensure the torso is slightly wider than the neck to maintain the doll's cute, plump look.
Step 7: Starting the Skirt
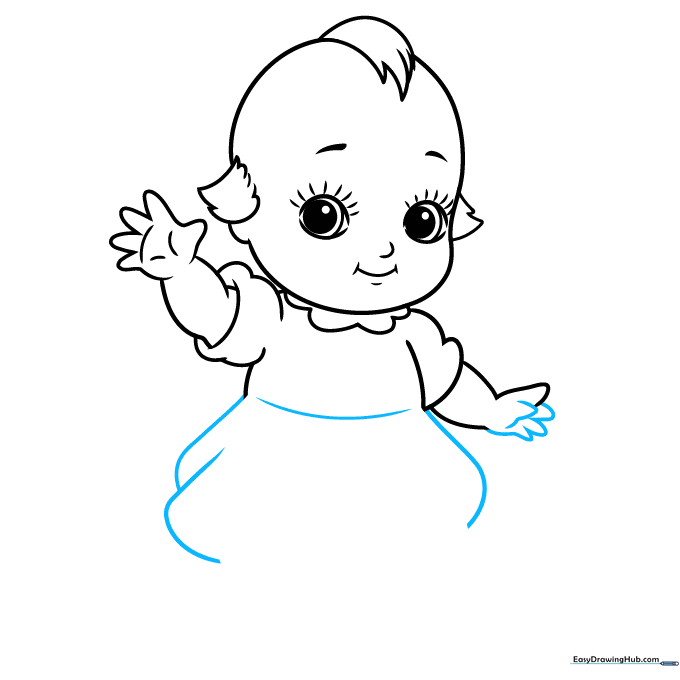
Finish the second hand with 'U' shapes. Then, begin sketching the skirt using overlapping curved lines that flare out slightly. Teacher's Tip: The overlapping lines create a ruffled effect, making the skirt look like it has volume.
Step 8: Adding Legs and Feet
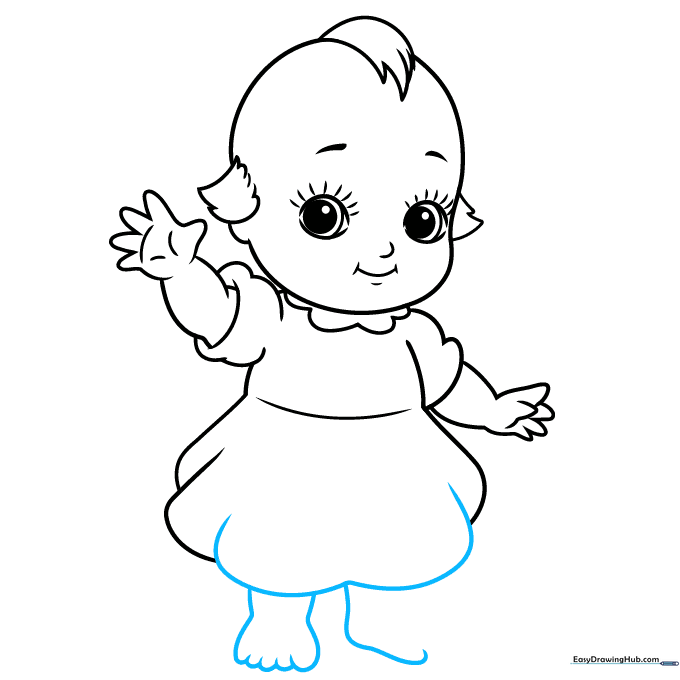
Close the skirt with a final overlapping line. Use curved lines to sketch the legs and feet extending from beneath the dress. Teacher's Tip: Keep the legs short and stout to match the doll's overall proportions.
Step 9: Finalizing Details
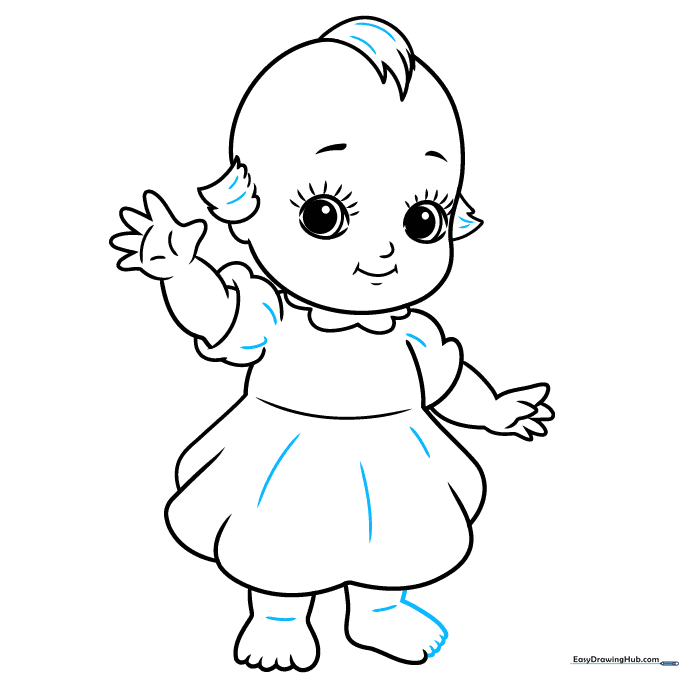
Complete the feet by adding tiny overlapping lines for toes. Add subtle curved lines to texture the hair, dress, and ankles. Teacher's Tip: These small details add depth and make your drawing look more professional.
Step 10: Bringing It to Life with Color
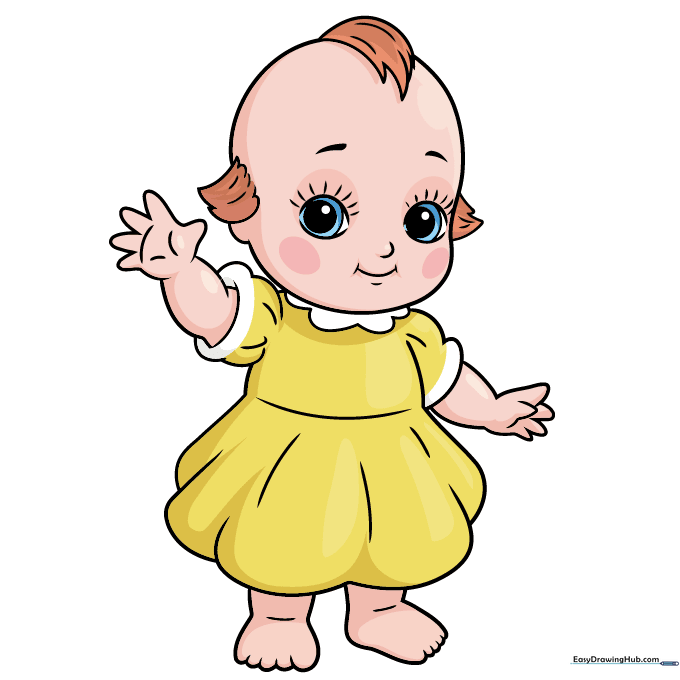
Your outline is complete! For a classic look, use soft pinks for the skin and warm browns for the hair tufts. Teacher's Tip: Use light, circular coloring motions to keep the texture smooth and even.
More Tutorials


