How to Draw a Kawaii Cat: Easy 10-Step Guide for Kids
Bring a touch of Japanese-inspired cuteness to your sketchbook with this simple Kawaii cat tutorial. Designed for young artists and beginners, this activity requires only a pencil, paper, and an eraser. Follow these steps to build confidence in your character design skills while creating an adorable feline friend.
🎯 Final Result

Step-by-Step Instructions
Step 1: Sketching the Expressive Face

Draw a light circle for the head. Inside, add two smaller circles for the eyes and fill them in, leaving a tiny white dot for a 'glint.' Add a small dash for the nose and a wavy 'W' shape for the mouth. Teacher's Tip: Keep your pencil pressure light so you can easily erase any mistakes later!
Step 2: Defining the Head Shape

Draw two curved lines on either side of the face to frame the head. Add two small ovals under the eyes for rosy cheeks, and a small loop under the mouth to define the chin. Teacher's Tip: Use smooth, fluid motions to make the head look soft and rounded.
Step 3: Adding Ears
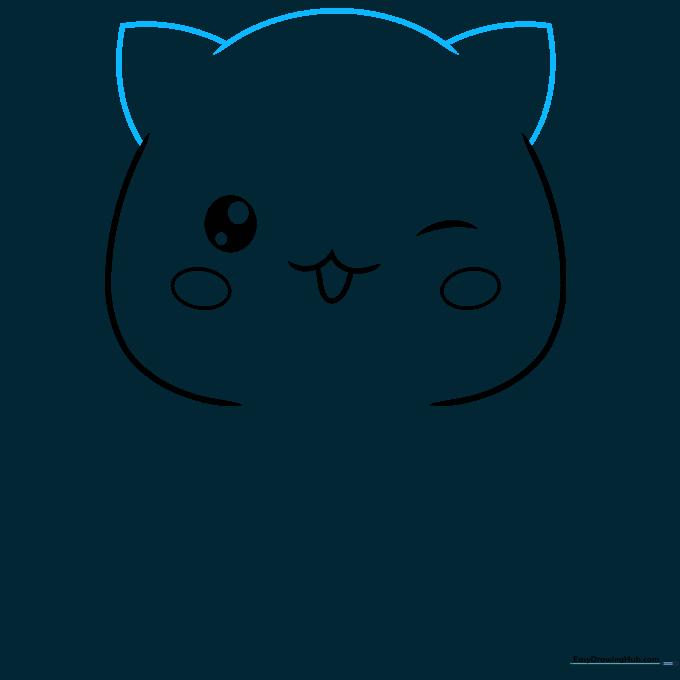
Connect the top of the head with a smooth curve and add two triangles on top for the ears. Teacher's Tip: Make the ears slightly rounded at the tips to keep the 'Kawaii' or cute aesthetic consistent.
Step 4: Detailing the Ears
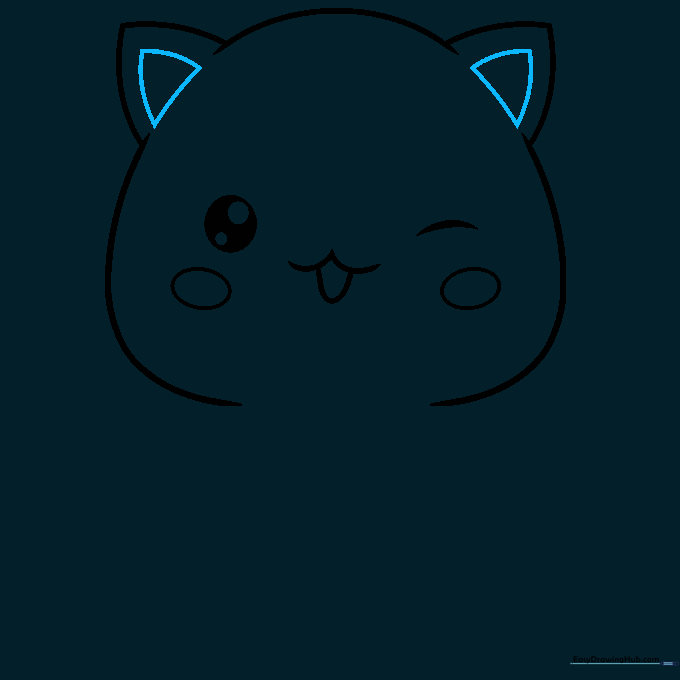
Draw a smaller triangle inside each ear to create depth. Teacher's Tip: Leave a little space between the inner and outer triangle lines to make the ears look thicker and more realistic.
Step 5: Whiskers and First Paw
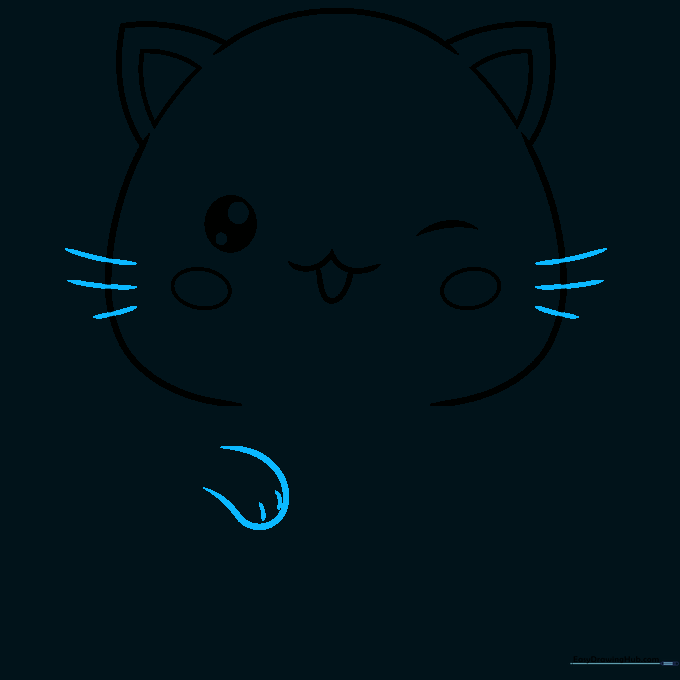
Sketch three short lines on either side of the face for whiskers. Then, draw a small loop with two lines underneath for the left paw. Teacher's Tip: Keep your whisker lines straight and snappy for a clean look.
Step 6: Adding the Second Paw

To the right of the first paw, draw another loop with a small 'W' shape underneath to suggest toes. Teacher's Tip: Ensure the paws are roughly the same size to keep the drawing balanced.
Step 7: Shaping the Body
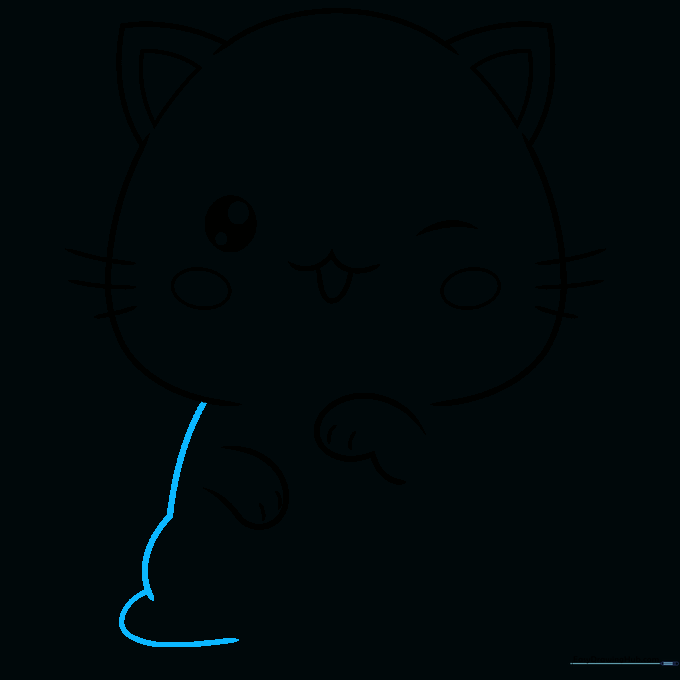
On the left side, draw a wavy vertical line to start the body, then sketch a loop for the left foot. Teacher's Tip: The wavy line adds a sense of movement to the cat's posture.
Step 8: Completing the Feet

Draw a curved line on the right that ends in a hook, then add a curved line on top to finish the right foot. Teacher's Tip: Think of this as drawing a small 'bean' shape for the foot.
Step 9: Adding the Tail

Draw a long, rounded oval for the tail. Finally, draw a curve to connect the body and add small dashes for the toes. Teacher's Tip: A nice, fluffy tail makes the cat look extra friendly!
Step 10: Adding Color

Outline your drawing with a black marker for a bold look. Use soft pink for the cheeks and ears, and a light grey or your favorite color for the fur. Teacher's Tip: Try using colored pencils to blend light and dark shades for a professional finish.
More Tutorials


