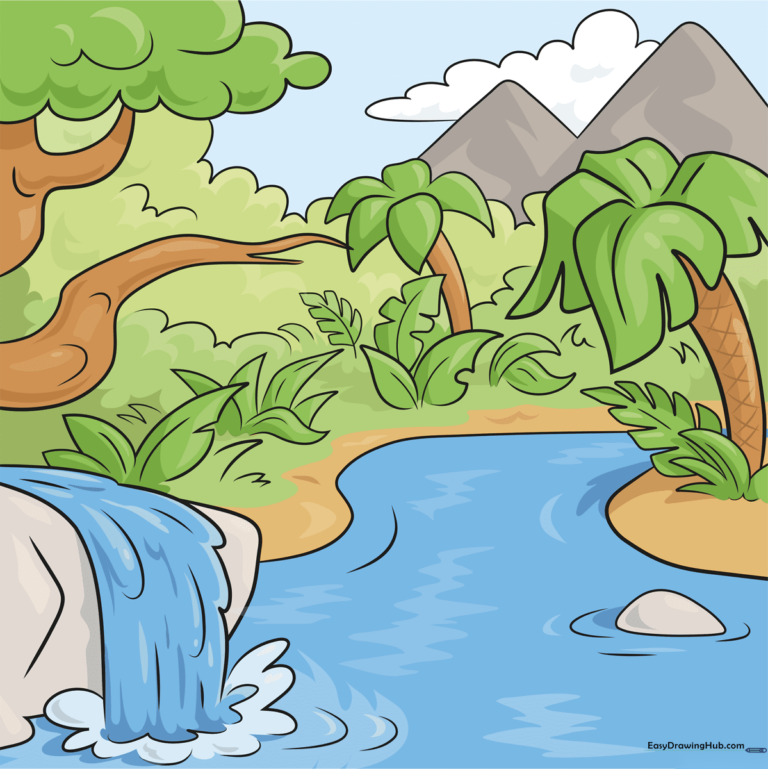
How to Draw a Jungle: Easy Step-by-Step Landscape Guide
Bring the rainforest to life with this engaging landscape tutorial, perfect for young artists ages 7 and up. You will only need a pencil, an eraser, and your favorite markers or colored pencils to create a lush, thriving habitat. Follow along to master layering techniques that turn simple shapes into a dense, magical jungle scene.
🎯 Final Result
Step-by-Step Instructions
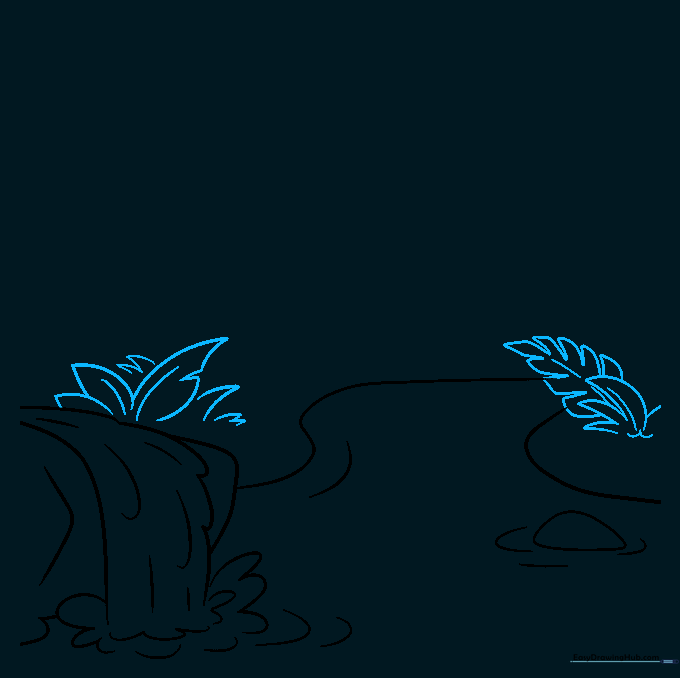
Sketching the Waterfall Base

Start by drawing a waterfall in the top corner using overlapping curved lines. Tip: Keep your pencil strokes light so you can easily adjust the rock shapes later.
Adding Water Movement

Use soft 'U' shaped lines to create the splash zone at the base of the falls and gentle ripples in the river. Tip: Vary the size of your 'U' shapes to make the water look like it's actually moving.
Defining the Riverbank

Draw long, winding lines to establish the river's path. Add a rounded rock shape near the bank. Tip: Don't make the river perfectly straight; a winding river adds more visual interest to your landscape.
Adding Tropical Foliage
Sketch leafy plants along the riverbank. Use simple pointed shapes for basic leaves and segmented rectangles for philodendrons. Tip: Add a center vein to each leaf to give it a realistic, organic look.
Drawing the Canopy Tree
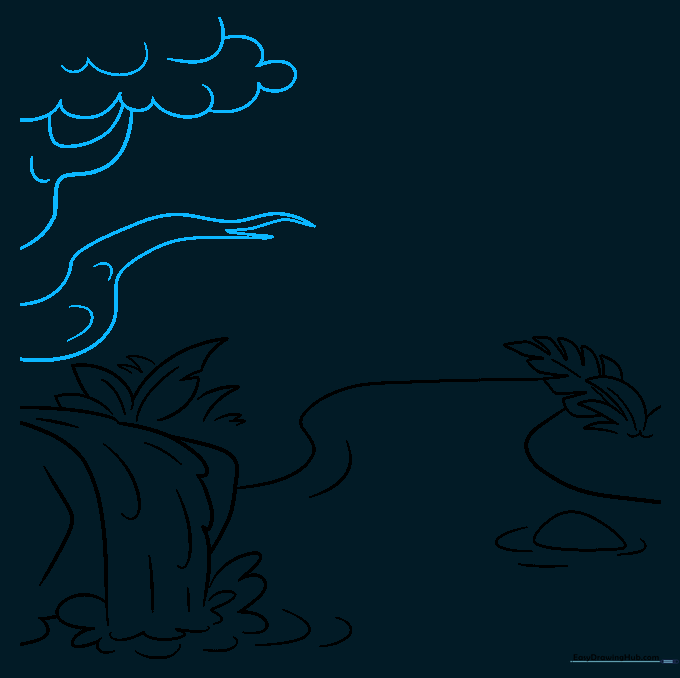
Sketch a large tree branching over the river. Use 'U' shapes to texture the bark and create a fluffy, cloud-like canopy. Tip: Draw the branches reaching toward the center of the page to frame your scene.
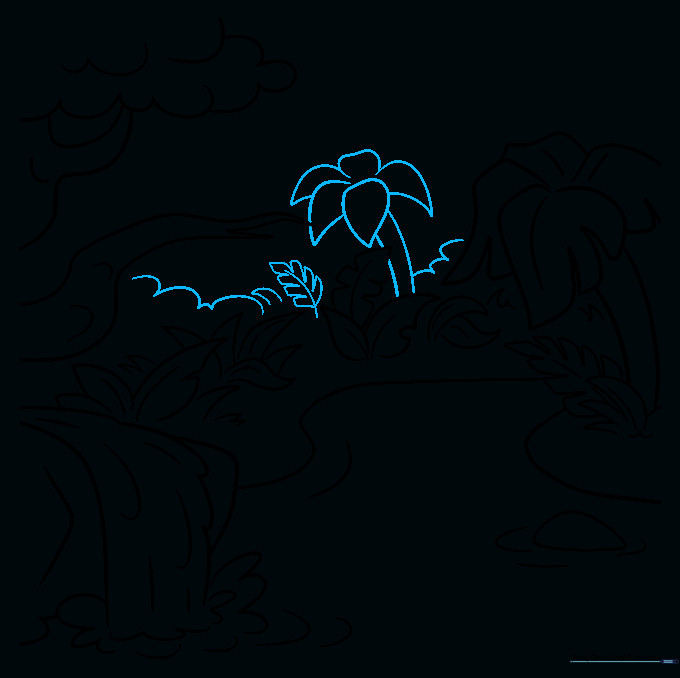
Adding a Palm Tree

Draw a palm tree at the river's edge using two parallel lines for the trunk and pointed, radiating leaves. Tip: Make the palm leaves fan out in different directions to show movement.
Filling the Undergrowth
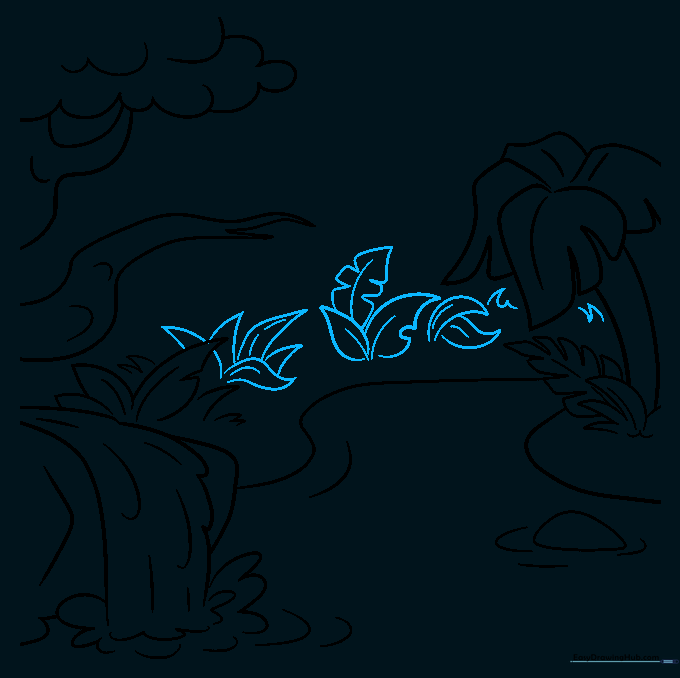
Add more vegetation between the trees. Mix pointed leaves with lobed, compound leaves to create a dense, wild look. Tip: Don't worry about symmetry; jungles are naturally messy and chaotic!
Creating Background Depth
Draw more trees and foliage in the distance to create depth. Use connected 'U' shapes to suggest a thick, faraway forest. Tip: Draw these background elements smaller than the foreground ones to create perspective.
Finalizing the Horizon
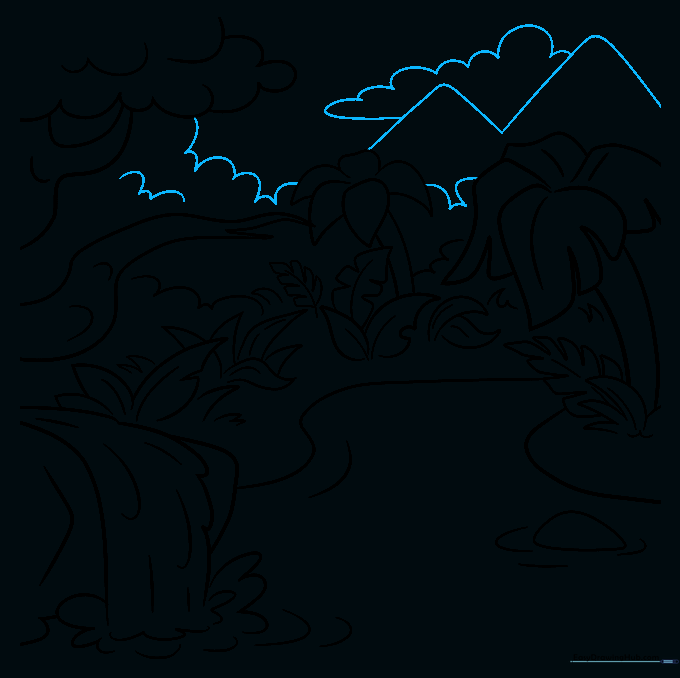
Add triangular mountains on the horizon and a fluffy cloud in the sky. Tip: Use very light pressure for the mountains so they don't overpower the detailed jungle in the foreground.
Adding Color and Life
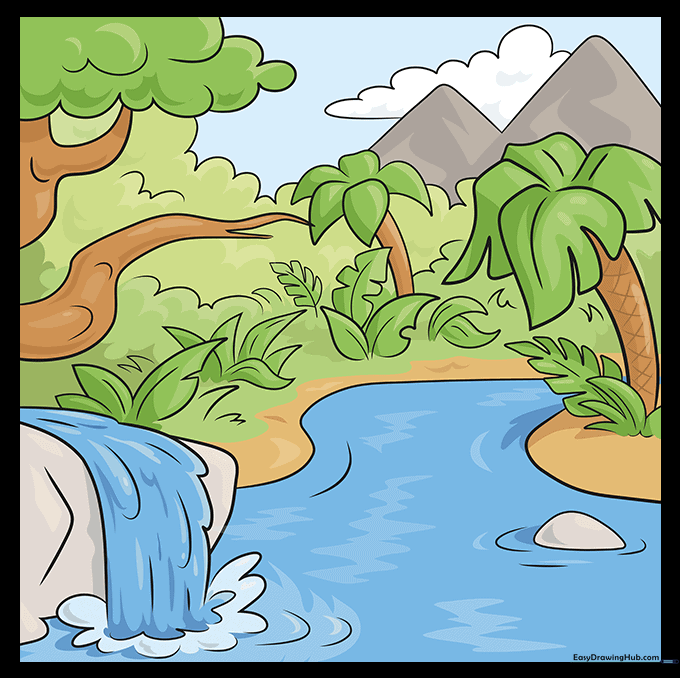
Bring your jungle to life with vibrant greens, earthy browns, and cool blues for the water. Tip: Use different shades of green to distinguish between the foreground leaves and the background forest.
More Tutorials


