How to Draw a Jordan Shoe: Easy 10-Step Guide
Ready to design your own iconic high-top sneaker? This tutorial is perfect for young artists and sneakerheads ages 7+ who want to master the proportions of a classic basketball shoe. Grab a pencil, an eraser, and some paper, and follow along to build your drawing from the ground up.
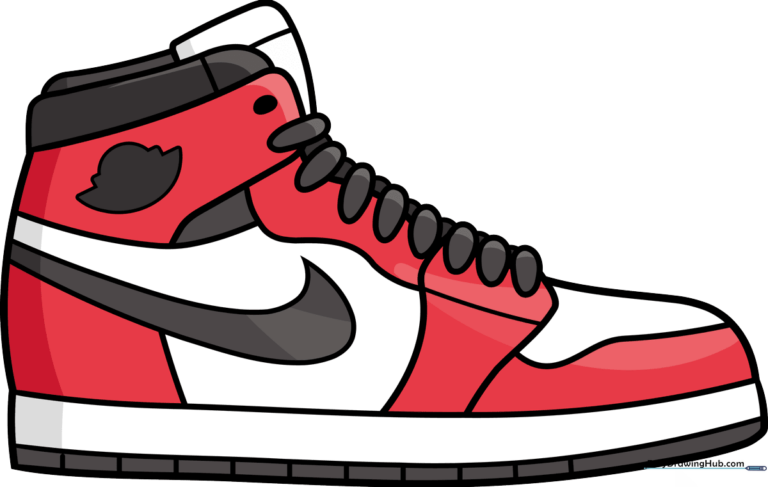
🎯 Final Result
Step-by-Step Instructions
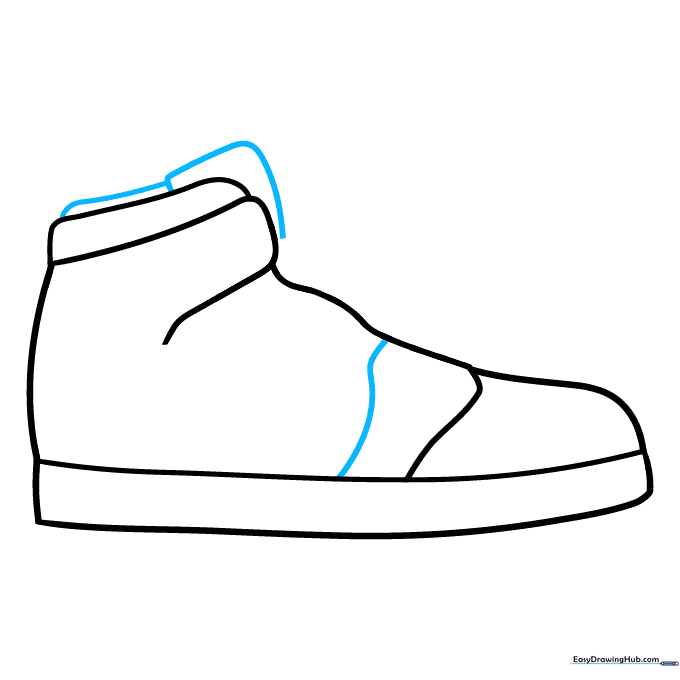
Step 1: Sketching the Heel and Collar
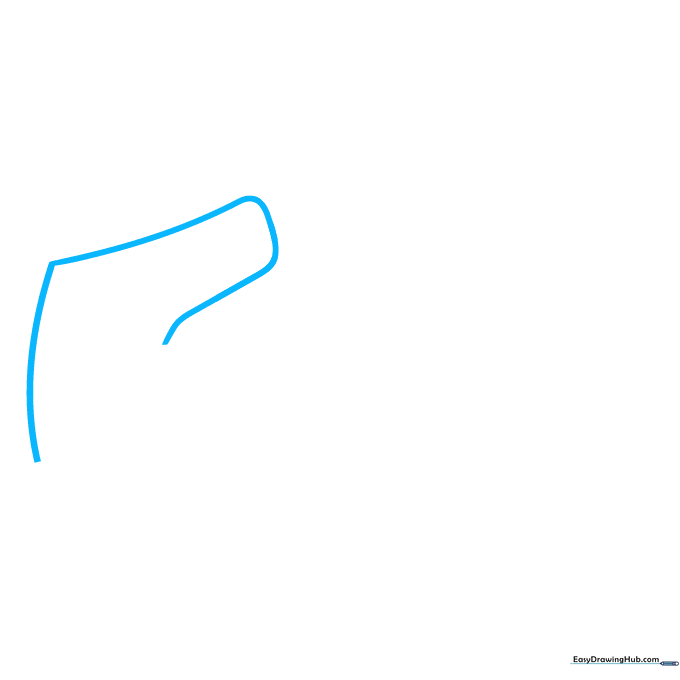
Start by drawing a soft, curved line to form the back of the heel. From the top, extend a curved line and loop it back to create the padded collar of the high-top. Teacher's Tip: Keep your pencil pressure light so you can easily adjust the shape if the curve feels too steep.
Step 2: Defining the Tongue and Top
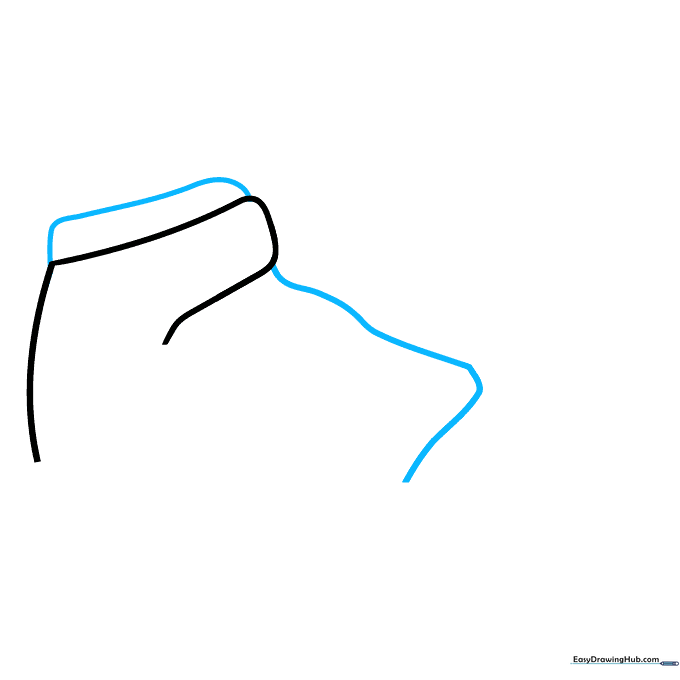
Draw a curved line across the top opening, connecting the front and back. Extend a line from the tongue area, creating an 'L' shape that defines the front of the shoe. Teacher's Tip: Think of this as the 'bridge' of the shoe; keep the lines smooth to make the sneaker look sleek.
Step 3: Outlining the Midsole
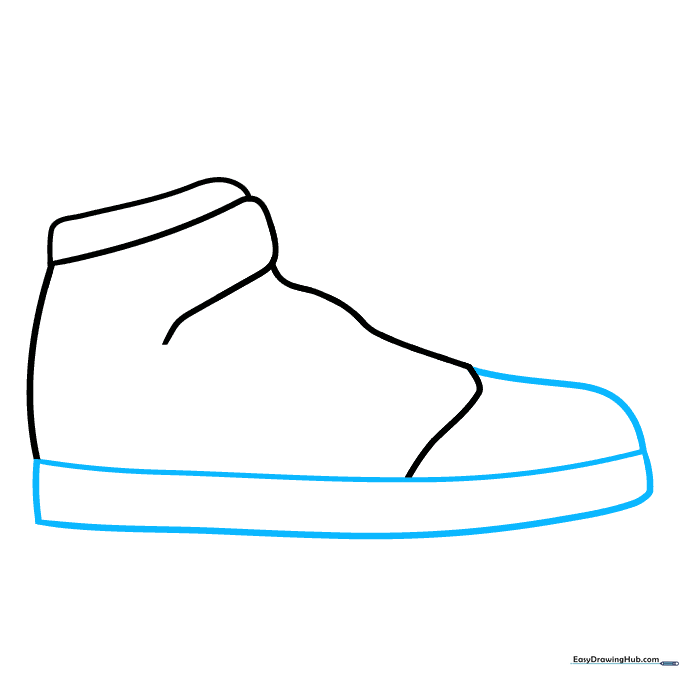
Add two curved lines along the bottom to create the thick midsole. Connect these at the ends and extend a line from the 'L' bend to the toe tip. Teacher's Tip: A thicker sole gives the shoe a more athletic, 'chunky' look common in basketball sneakers.
Step 4: Adding Upper Details
Draw two curved lines near the top and a horizontal band across the middle of the upper. Teacher's Tip: These lines represent the leather panels of the shoe; try to keep them parallel for a professional look.
Step 5: Drawing the Swoosh
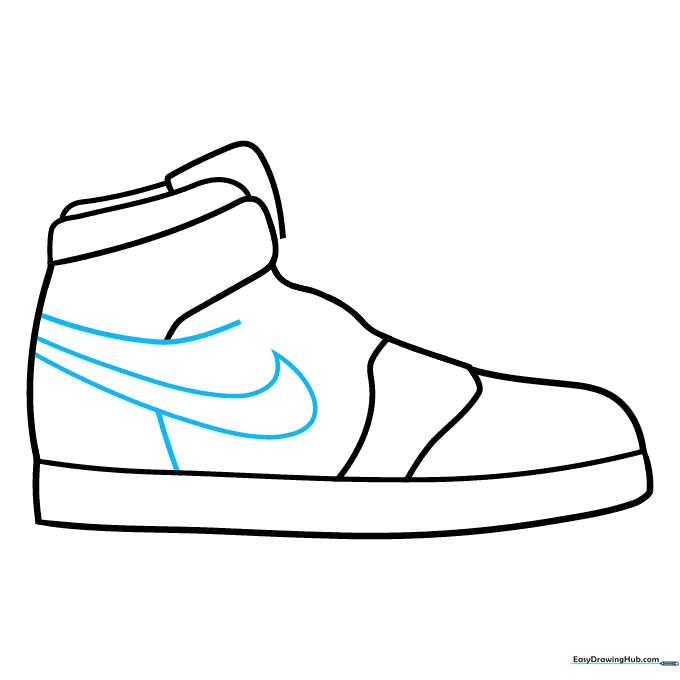
Extend two curved lines from the back that meet at a sharp point to form the iconic side logo. Add a curved line above it and one connecting to the sole. Teacher's Tip: The 'swoosh' should look like a fast, fluid motion—don't worry if it's not perfect on the first try!
Step 6: Tongue and Texture
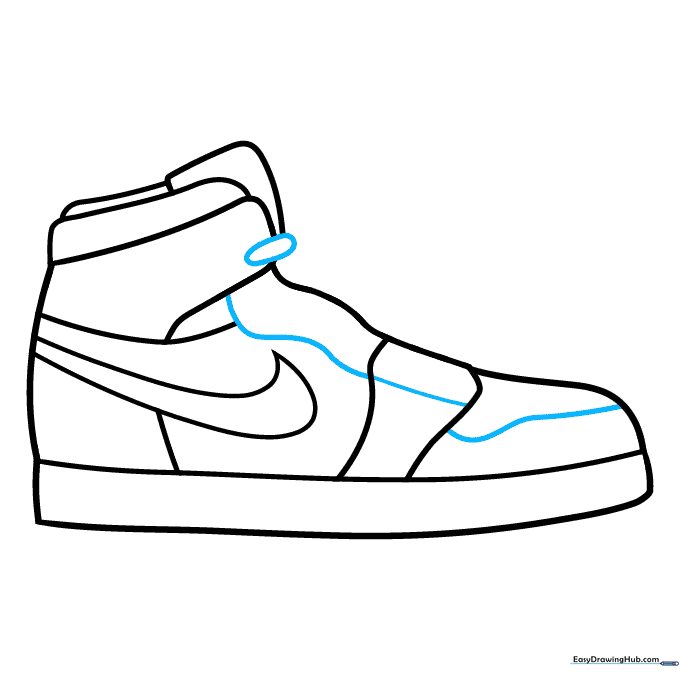
Draw a flattened oval at the front of the tongue and add squiggly lines across the upper to suggest fabric texture. Teacher's Tip: Use short, light strokes to create the look of laces or stitching details.
Step 7: Adding Laces
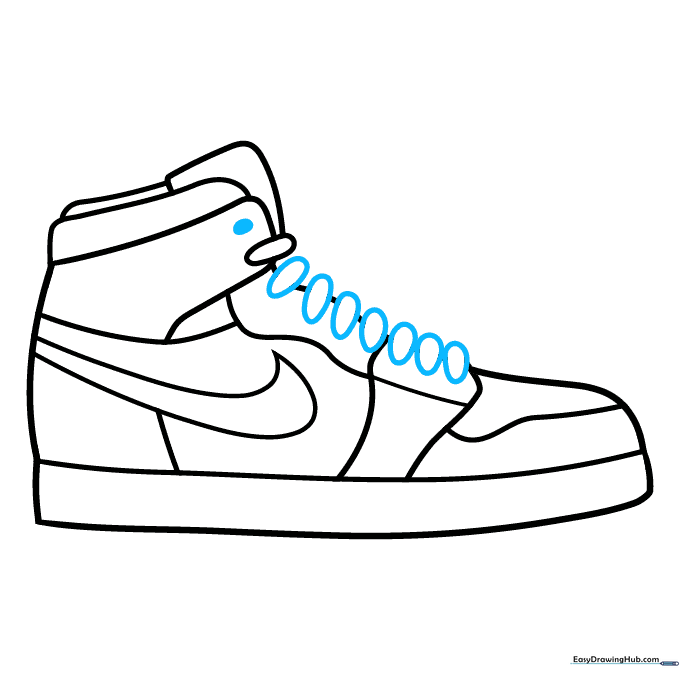
Draw a series of ovals across the top for laces, erasing overlapping lines. Shade a small circle for an unused eyelet at the top. Teacher's Tip: Varying the size of the ovals slightly makes the laces look more realistic and less like a straight line.
Step 8: Tread and Sole Details
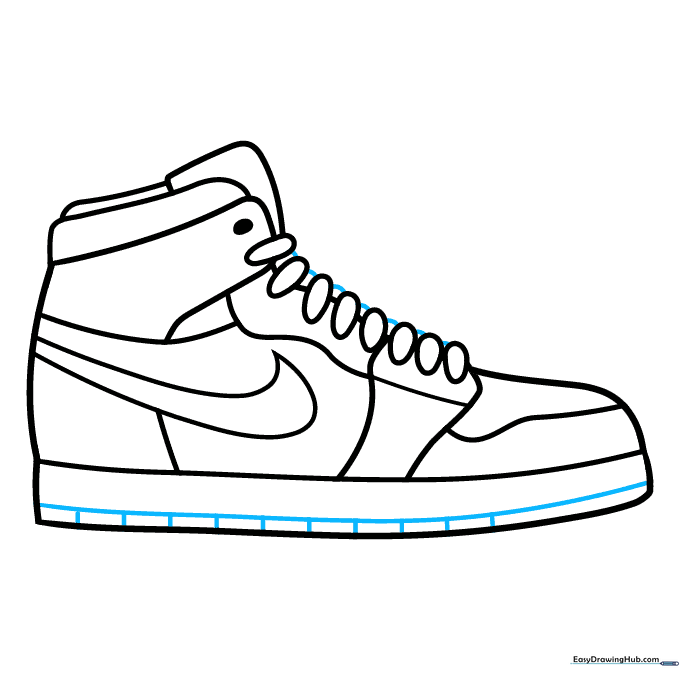
Draw curved lines between lace sections and a line across the sole. Add short vertical lines for tread. Teacher's Tip: Tread lines provide 'grip'—draw them at a slight angle to show depth.
Step 9: Final Touches and Logo
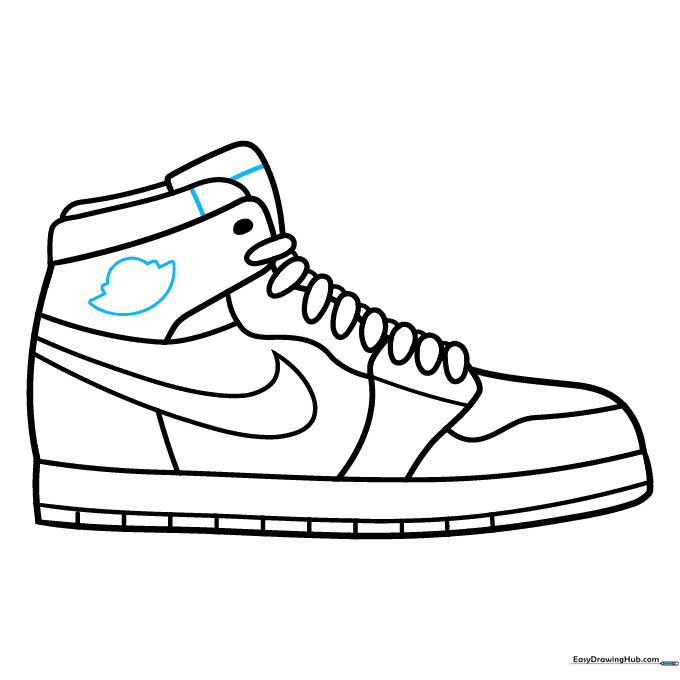
Add straight lines to the tongue and collar. Draw the circular logo on the side using a half-circle and 'L' shapes. Teacher's Tip: Take your time with the logo; it's the signature detail that makes the shoe recognizable.
Step 10: Bring It to Life with Color
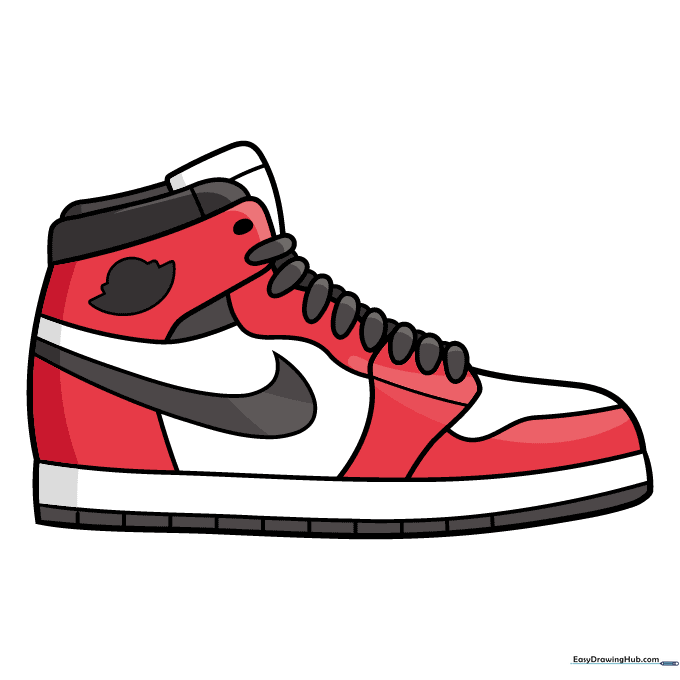
Your outline is complete! Use markers or colored pencils to fill in your design. We love the classic red, white, and black, but feel free to experiment with your own favorite team colors. Teacher's Tip: Use a darker shade for the shadows under the sole to make the shoe 'pop' off the page.
More Tutorials


