How to Draw a Jester: Easy 10-Step Guide for Kids
Bring a touch of medieval magic to your sketchbook! This tutorial is perfect for artists ages 5 and up. You will only need a pencil, an eraser, and your favorite markers to create this playful character while practicing symmetry and character design.
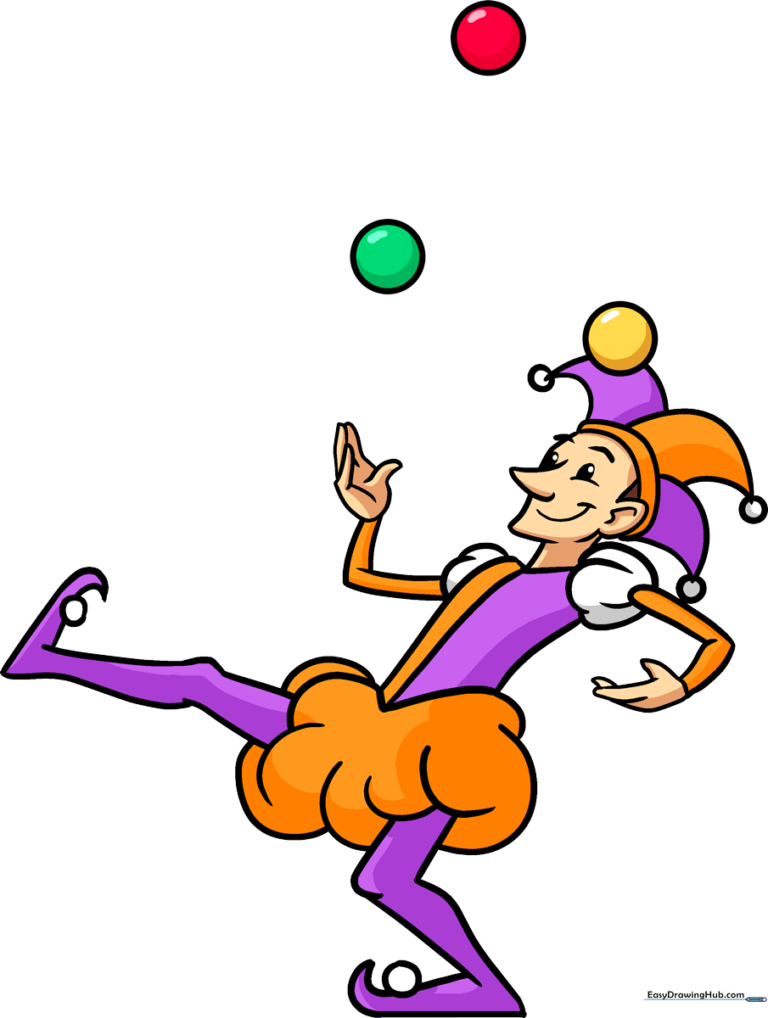
🎯 Final Result
Step-by-Step Instructions
Sketching the Jester's Hat

Start by drawing the jester's iconic three-pointed hat. Draw a narrow curved rectangle for the brim, then add three overlapping curved triangles on top. Add a small circle at the tip of each triangle for the bells. Teacher's Tip: Keep your pencil lines light so you can easily erase the overlapping parts later.
Defining the Face
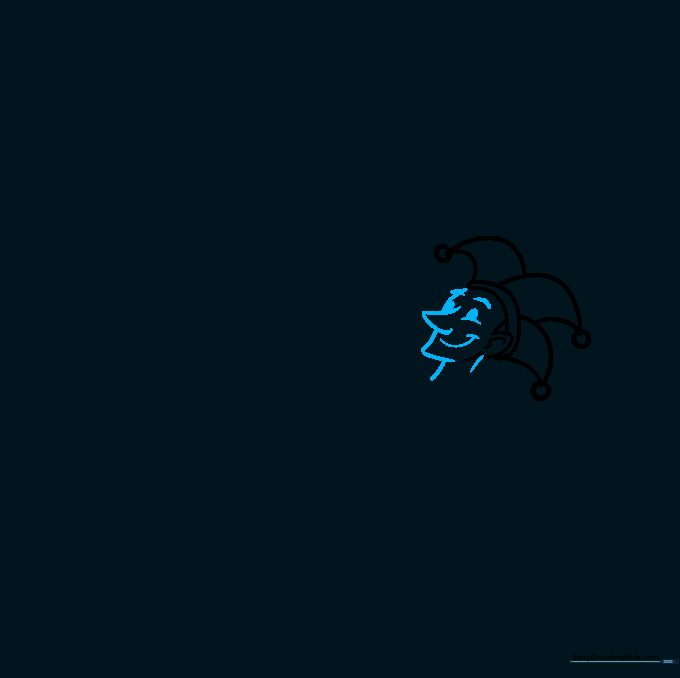
Outline the face using curved lines for the forehead, a pointed nose, and a chin. Add short, expressive lines for the eyebrows, cheeks, and a wide smile. Use small ovals for the eyes. Teacher's Tip: A slightly off-center smile adds a sense of mischief to your character!
Drawing the Motley Coat
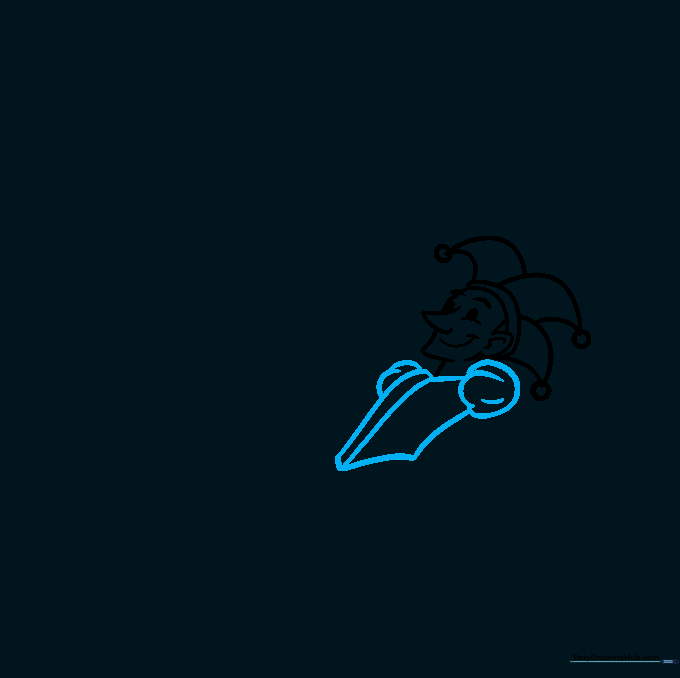
Draw a curved line for the collar, then add two large, rounded shapes for the puffy sleeves. Connect them with a curved torso line. Teacher's Tip: Think of the sleeves as fluffy clouds to get that classic jester silhouette.
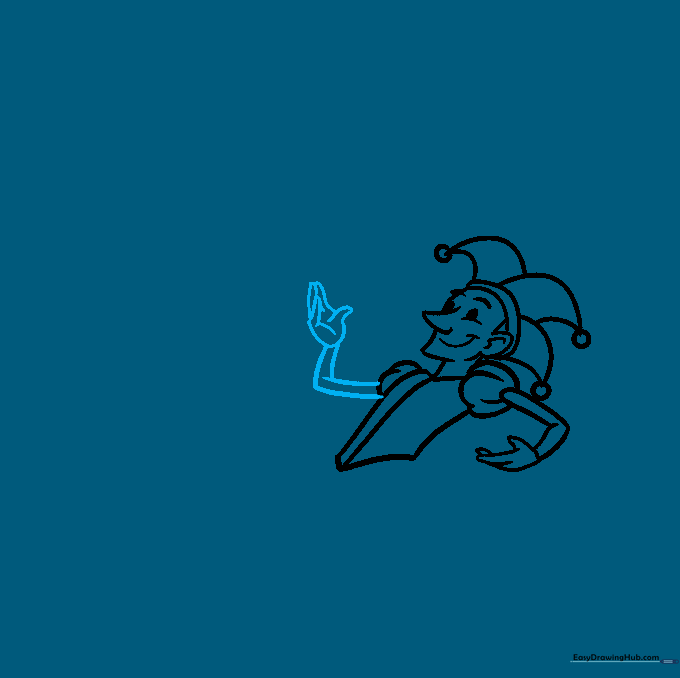
Adding the First Arm
Use two parallel curved lines to create the arm, ending in a hand with simple fingers. Teacher's Tip: Keep the arm slightly bent to make your jester look like they are in motion.
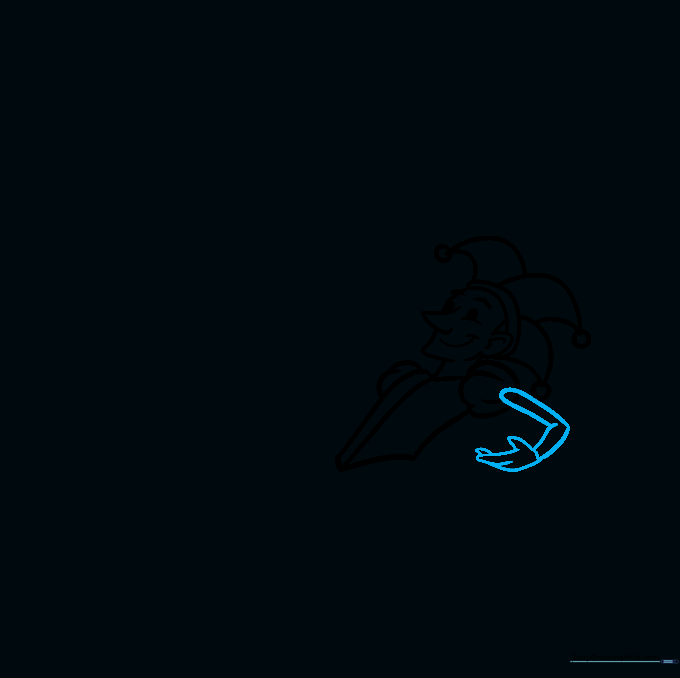
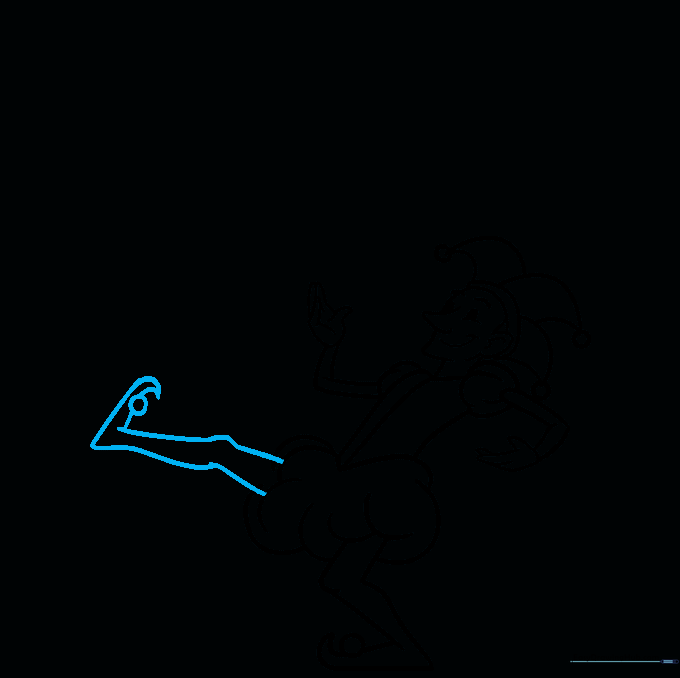
Adding the Second Arm
Repeat the process for the second arm, mirroring the first. Teacher's Tip: If the arms look uneven, don't worry! Jesters are supposed to be a bit silly and asymmetrical.
Sketching Puffy Pants
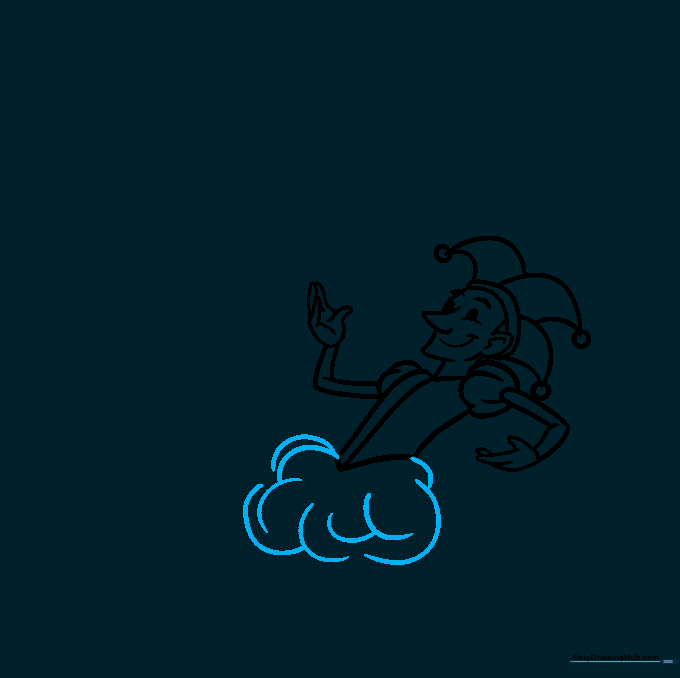
Draw a large, cloud-like shape below the torso for the jester's baggy pants. Teacher's Tip: Use overlapping curves to give the fabric a sense of volume and texture.
Drawing the First Leg
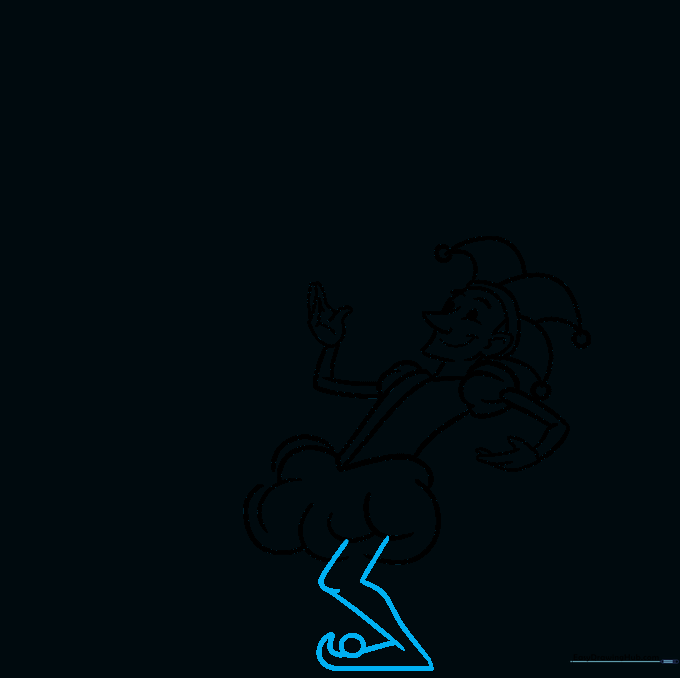
Draw the leg with a bent knee, leading into a pointed shoe with a bell on top. Teacher's Tip: Make the shoe point upward to emphasize the jester's playful nature.
Drawing the Second Leg
Draw the second leg extended outward as if the jester is mid-dance. Add another bell to the shoe. Teacher's Tip: Ensure the legs are different lengths to show movement and energy.
Adding Juggling Balls
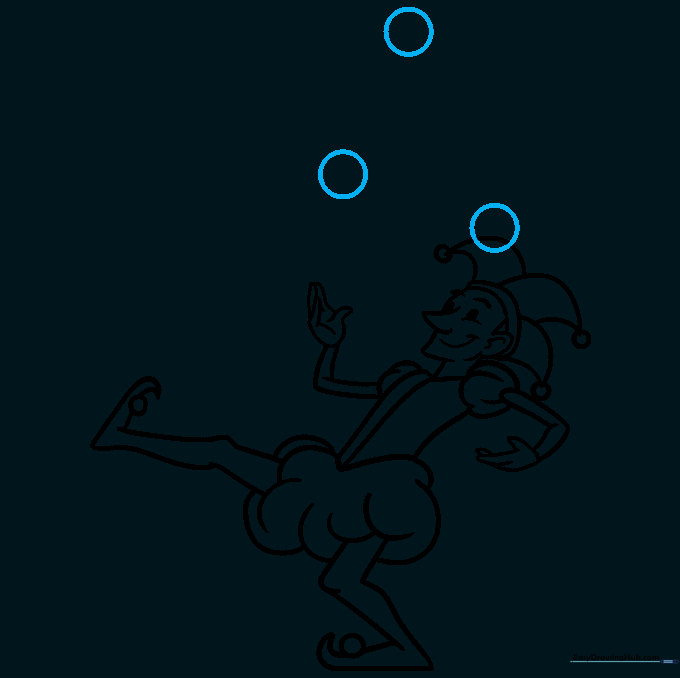
Draw three small circles floating above the jester's hands. Teacher's Tip: Space them out in an arc to show the path of the juggling motion.
Coloring Your Jester
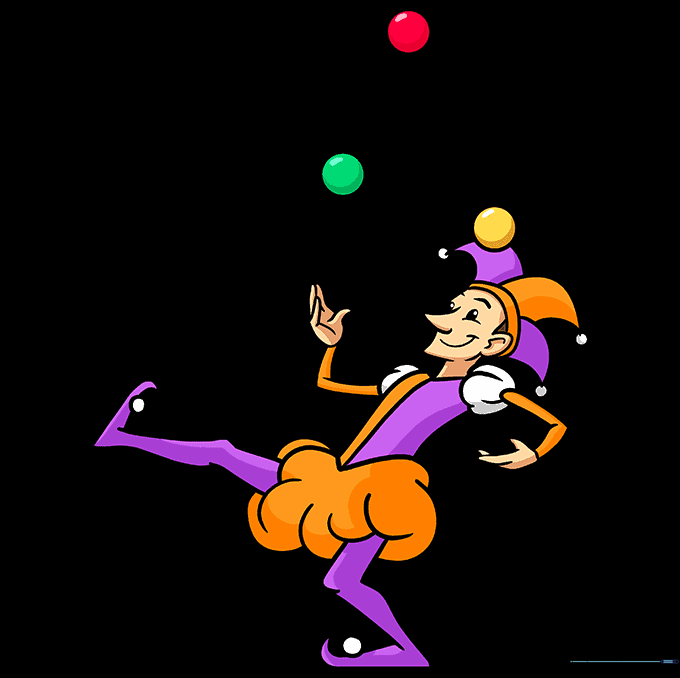
Bring your drawing to life with bright, contrasting colors like red and yellow or purple and green. Teacher's Tip: Use alternating colors on the hat and sleeves to create a classic checkerboard effect.
More Tutorials


