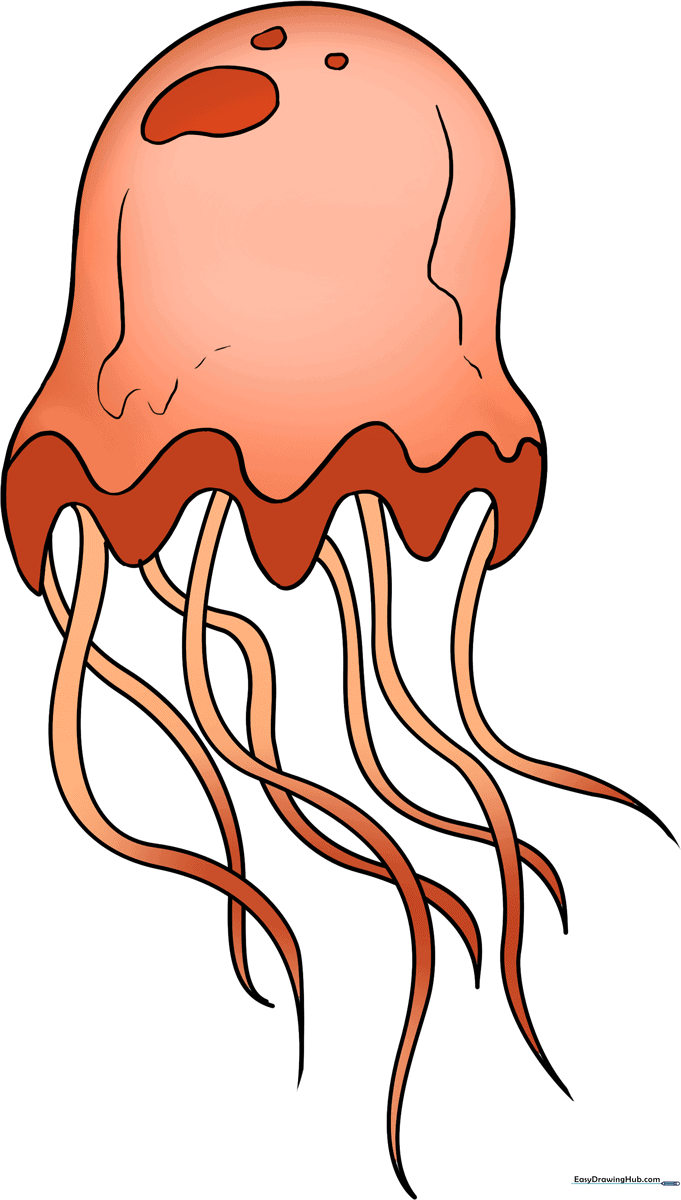
How to Draw a Jellyfish: Easy 10-Step Guide for Kids
Bring the wonders of the ocean to your sketchbook with this jellyfish drawing guide, perfect for artists ages 5 and up. All you need is a pencil, an eraser, and a piece of paper to get started. By the end of this lesson, you will have mastered drawing flowing tentacles and a bell-shaped body.
🎯 Final Result
Step-by-Step Instructions
Step 1: Sketching the Bell
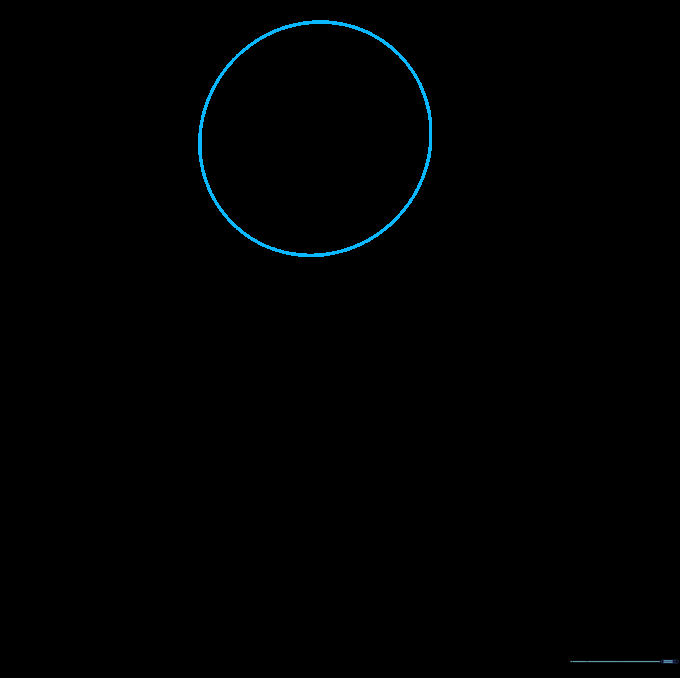
Draw a light circle to form the top of the jellyfish. Teacher's Tip: Keep your pencil pressure very light here; this is just a guide shape that we will partially erase later!
Step 2: Defining the Base
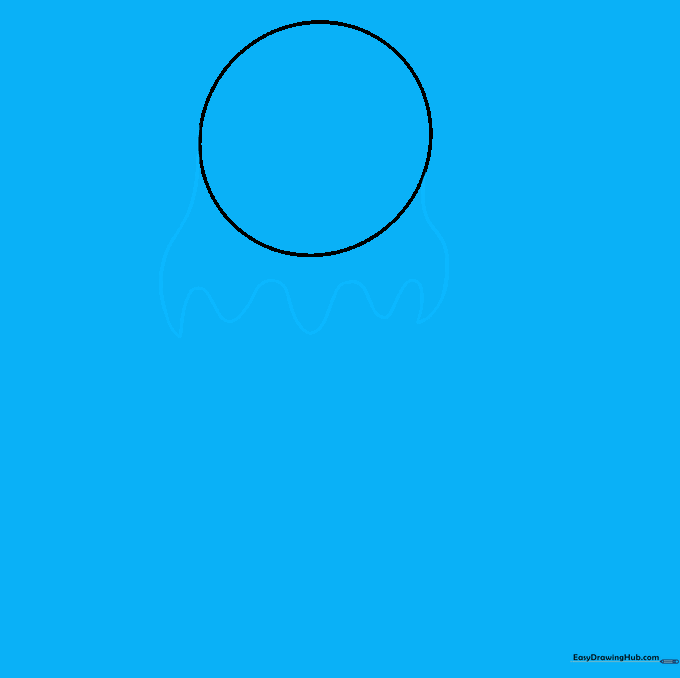
Extend a long, curved line from the bottom of your circle. Keep your hand loose and wavy as you draw to mimic the natural movement of water. Connect it back to the other side of the circle.
Step 3: Cleaning the Shape

Gently erase the horizontal guide line inside the circle. You should now see a smooth, dome-like shape that looks like a friendly ghost or a floating bell.
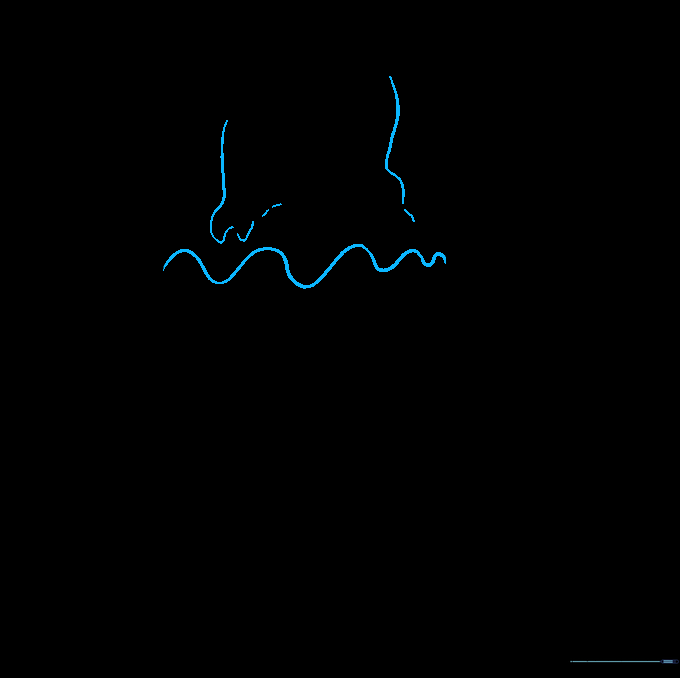
Step 4: Starting the Tentacles
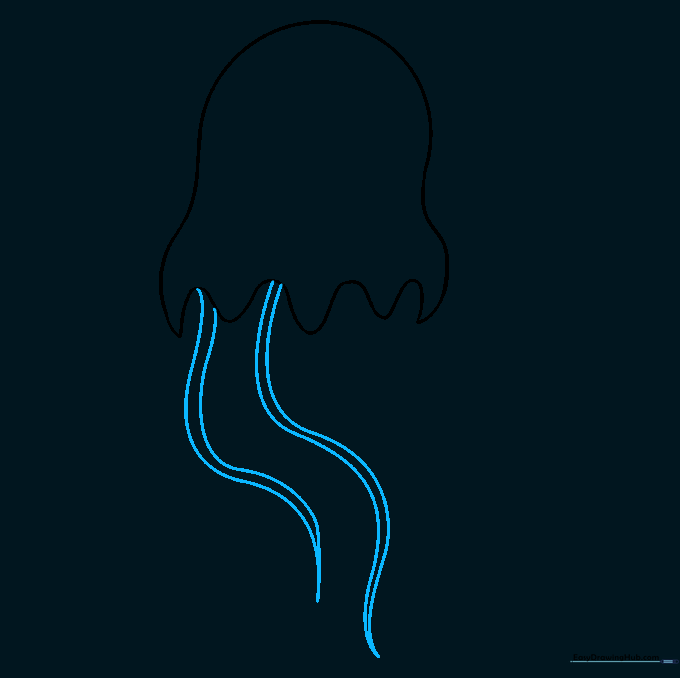
Let’s add the stingers! Draw pairs of wavy, parallel lines hanging down from the bell. Tip: Make sure the lines meet at a sharp point at the bottom to give them a delicate, flowing look.
Step 5: Adding Variety
Add more tentacles of different lengths. Some should be short and some should be long. This variation makes your drawing look more realistic and dynamic.
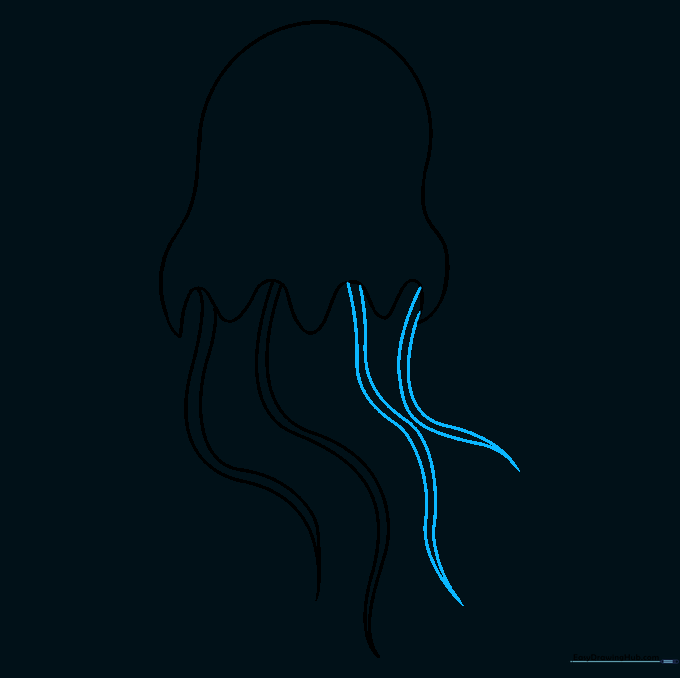
Step 6: Layering Tentacles
Draw a few more tentacles that cross over the ones you already made. This creates depth, making it look like your jellyfish is swimming through the water.
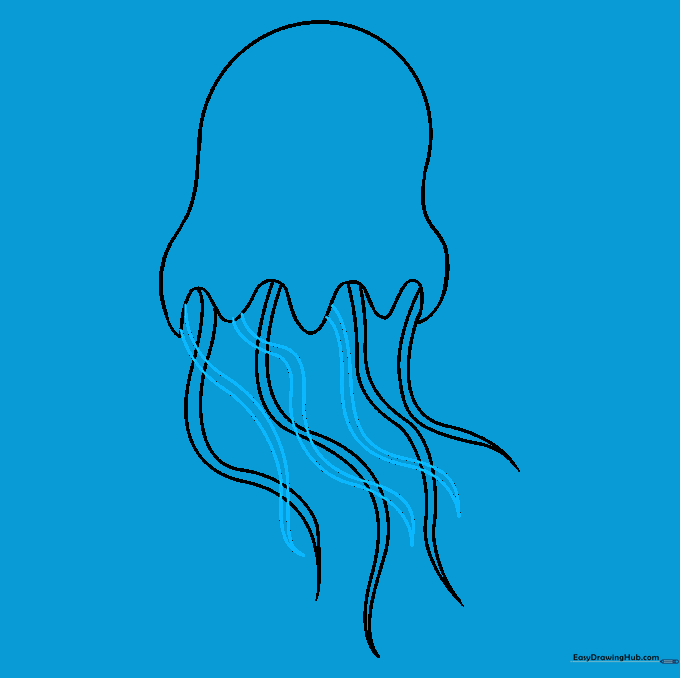
Step 7: Refining the Lines

Look at where your tentacles overlap. Use your eraser to remove the lines that are 'behind' the front tentacles. This simple trick makes your drawing look professional and clean.
Step 8: Adding Texture

Let's add some detail to the bell. Draw small, irregular spots and circles of different sizes. These represent the unique patterns found on many jellyfish species.
Step 9: Final Details
Add a few more curved lines inside the bell to show its shape. These lines should follow the curve of the bell, making it look rounded and three-dimensional.
Step 10: Bring It to Life with Color
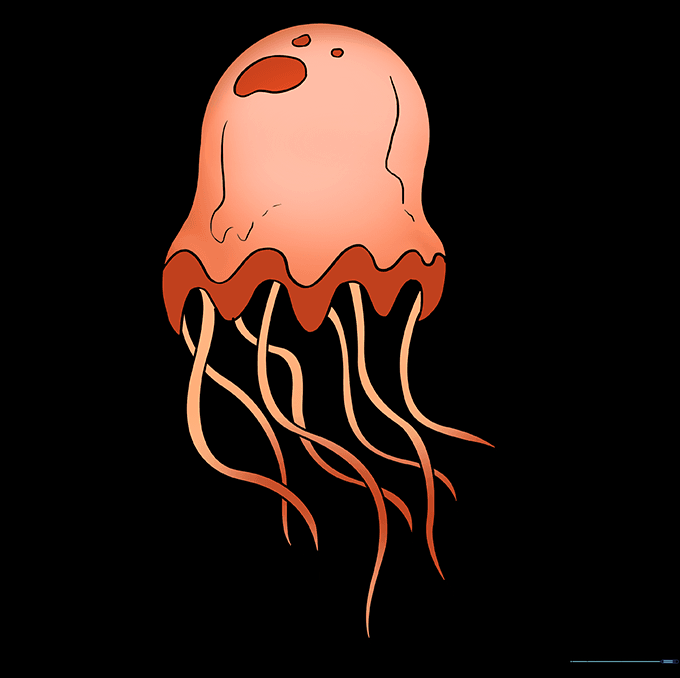
Time to color! Jellyfish can be any color you imagine, from soft pinks to deep blues. If you want to be extra creative, use bright neon markers to mimic the bioluminescence of deep-sea creatures.
More Tutorials


