How to Draw a Jacket: Easy 10-Step Guide for Kids
This step-by-step tutorial is perfect for young artists ages 5+ looking to add clothing to their character designs. You only need a pencil, an eraser, and a piece of paper to get started. By following these simple shapes, you will learn how to structure fabric and add realistic details like zippers and pockets.
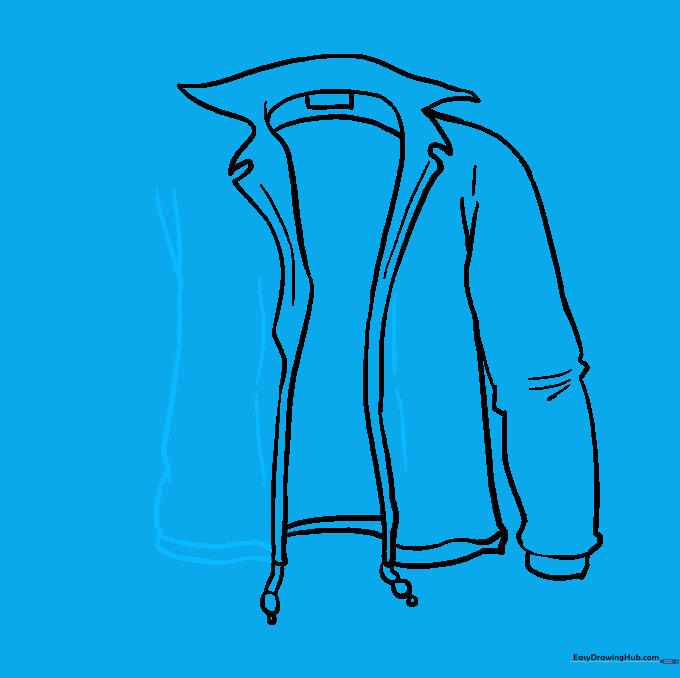
🎯 Final Result

Step-by-Step Instructions
Step 1: Sketching the Front Opening

Draw two vertical, slightly curved lines to represent the front opening of the jacket. Teacher's Tip: Keep these lines parallel to ensure the jacket looks balanced from the start.
Step 2: Shaping the Collar
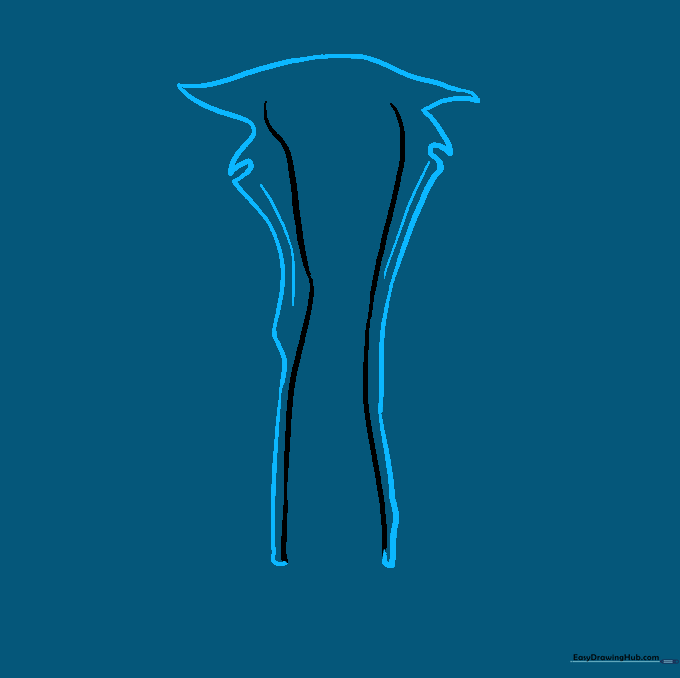
Extend lines from the top of your opening, curving them outward to create the lapels and collar notch. Teacher's Tip: Use a 'zigzag' motion to create the points of the collar, then mirror this on the opposite side.
Step 3: Adding the Neck Tag
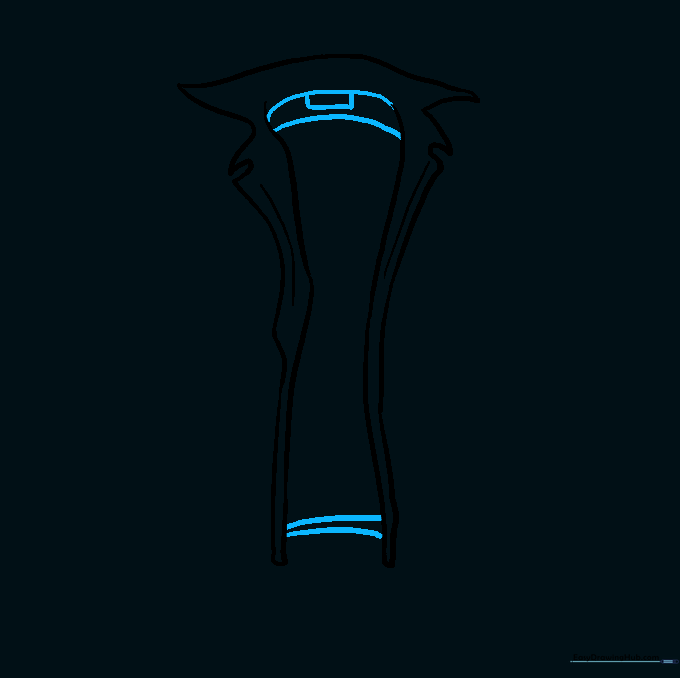
Draw a small rectangle at the top of the collar area to represent the clothing tag. Teacher's Tip: Keep the rectangle small so it doesn't distract from the jacket's shape.
Step 4: Drawing the Zipper

Add short, parallel lines down the center, finishing with small circles for the zipper pull. Teacher's Tip: Use your eraser to clean up any overlapping lines near the zipper for a professional look.
Step 5: Outlining the Body
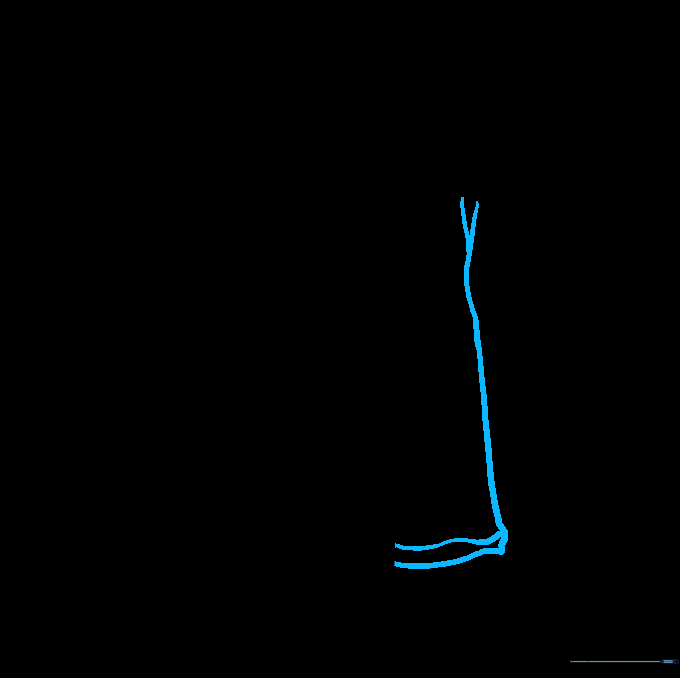
Draw a long line for the side of the jacket, adding a small 'V' shape at the top for the underarm. Teacher's Tip: The 'V' shape helps define where the sleeve will eventually attach.
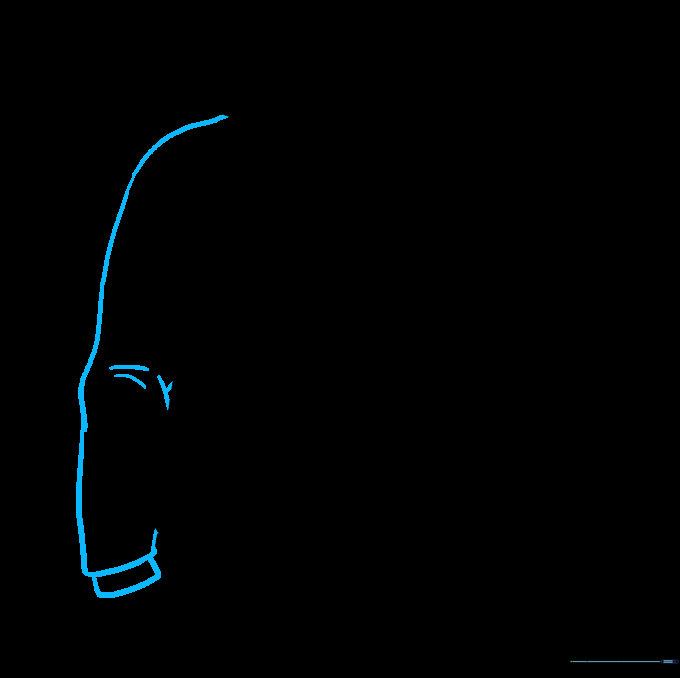
Step 6: Adding the First Sleeve
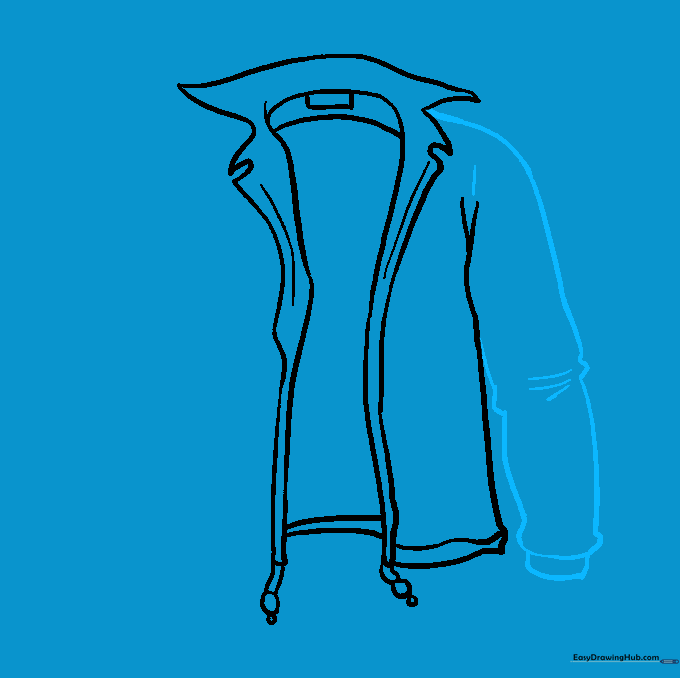
Outline the sleeve using long, curved lines and add a rectangular cuff at the end. Teacher's Tip: Add a few short, curved lines at the elbow to suggest natural fabric folds.
Step 7: Balancing the Other Side
Repeat the side body outline on the opposite side to maintain symmetry. Teacher's Tip: Check that your side lengths match so the jacket doesn't look lopsided.
Step 8: Adding the Second Sleeve
Draw the second sleeve to match the first, including the cuff and elbow creases. Teacher's Tip: If the sleeve looks too stiff, add a slight curve to the lines to make the fabric look softer.
Step 9: Final Details
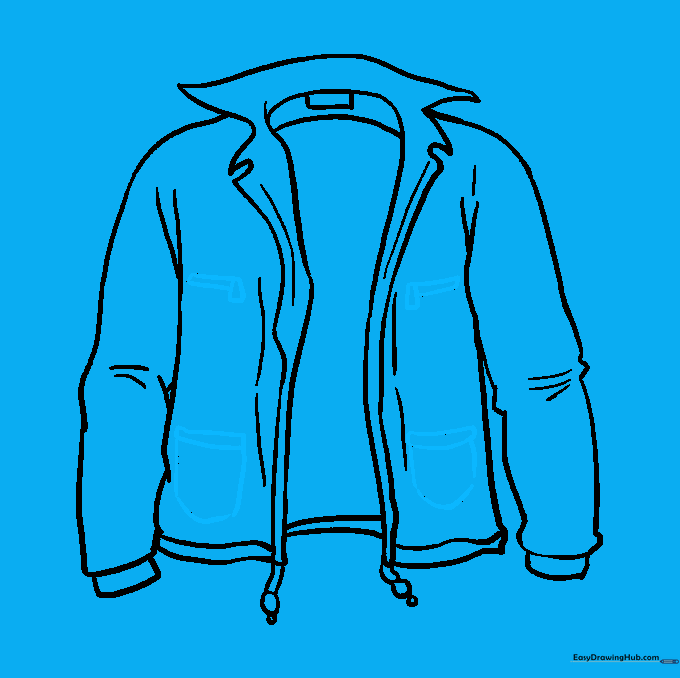
Add pockets and zipper hardware to finish the design. Teacher's Tip: Use small, rounded triangles for the zipper pull to make it look realistic.
Step 10: Bring It to Life with Color
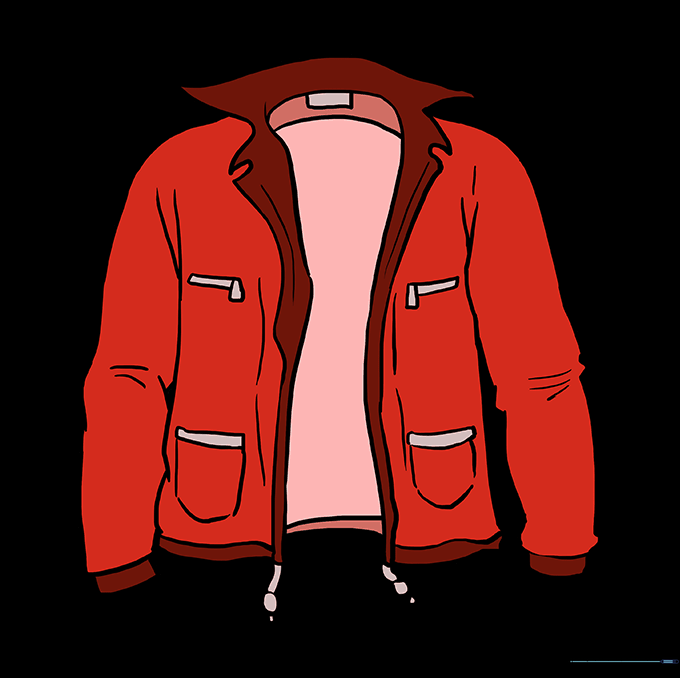
Color your jacket! Use bold colors for a sporty look or muted tones for a classic style. Teacher's Tip: Use darker shades near the seams to create a sense of depth and shadow.
More Tutorials


