How to Draw a Hydrangea: Easy 10-Step Guide for Kids
This hydrangea drawing tutorial is perfect for young artists ages 5 and up looking to master floral shapes. Grab a pencil, an eraser, and your favorite coloring supplies to get started. You will learn how to build a complex, clustered flower head using simple, repeating petal shapes.
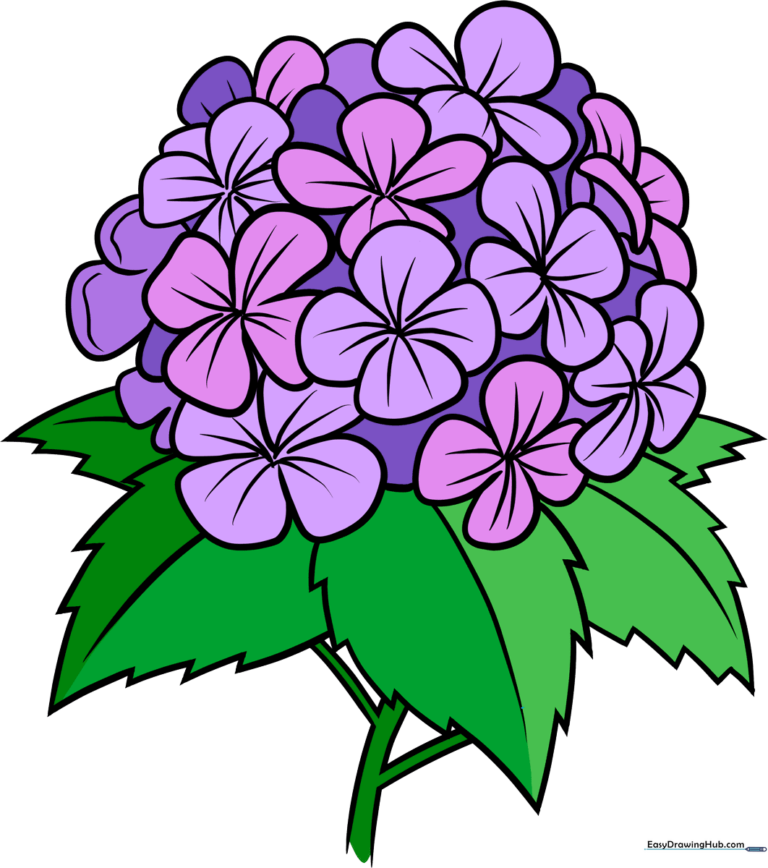
🎯 Final Result
Step-by-Step Instructions
Step 1: Sketching the First Petals

Start by drawing a small cluster of four-petaled flowers using soft, curved lines. Teacher's Tip: Imagine you are drawing a four-leaf clover; keep your pencil pressure light so you can easily adjust the spacing later.
Step 2: Adding Side-View Blossoms
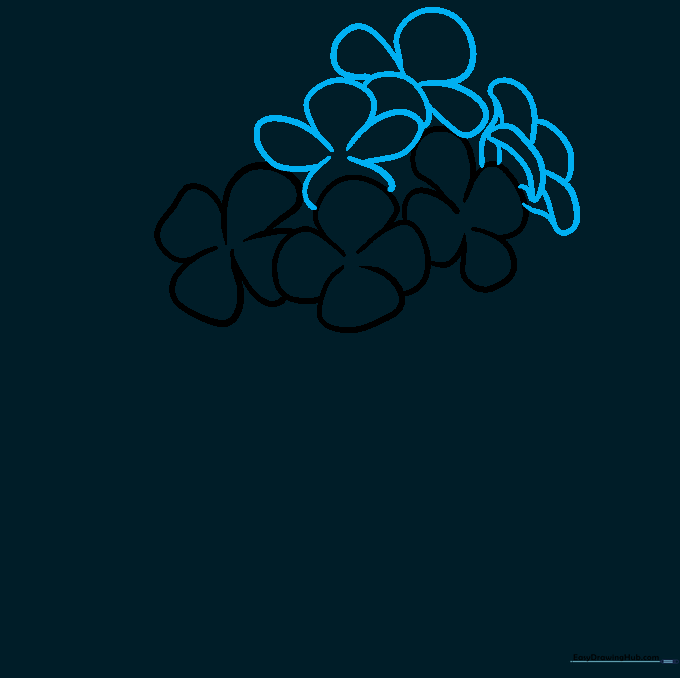
Add more blossoms around the first set. For the side-view flower, draw one flat petal and connect it to the others with curved lines. Tip: Overlapping your shapes is the secret to making the flower look like a dense, natural cluster.
Step 3: Building the Cluster

Continue adding more four-petaled flowers, ensuring they overlap the ones you've already drawn. Tip: Don't worry about making them perfect; hydrangeas are naturally irregular and organic in shape.
Step 4: Creating the Ball Shape

Keep adding petals until you have a large, rounded ball shape. Connect the outer edges with small, curved lines to define the silhouette. Tip: Use a circular motion with your hand to keep the overall shape balanced.
Step 5: Adding Center Details

Add texture by drawing a small starburst shape in the center of each flower. Two lines should extend into each of the four petals. Tip: Keep these lines short and crisp to represent the flower's stamen.
Step 6: Refining the Petals
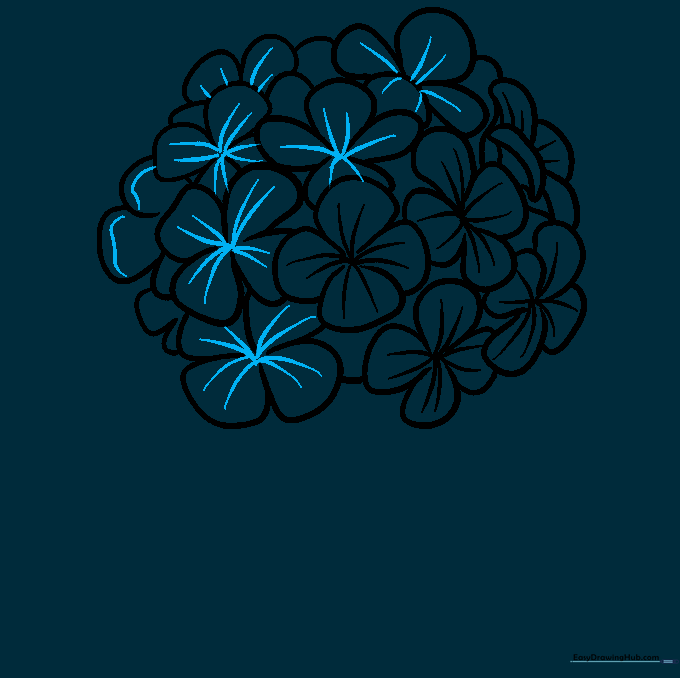
Continue adding starbursts to the remaining flowers. Use wavy, curved lines on the edges of some petals to give them a more realistic, ruffled look. Tip: Varying your line weight here adds depth to your drawing.
Step 7: Drawing the Leaves
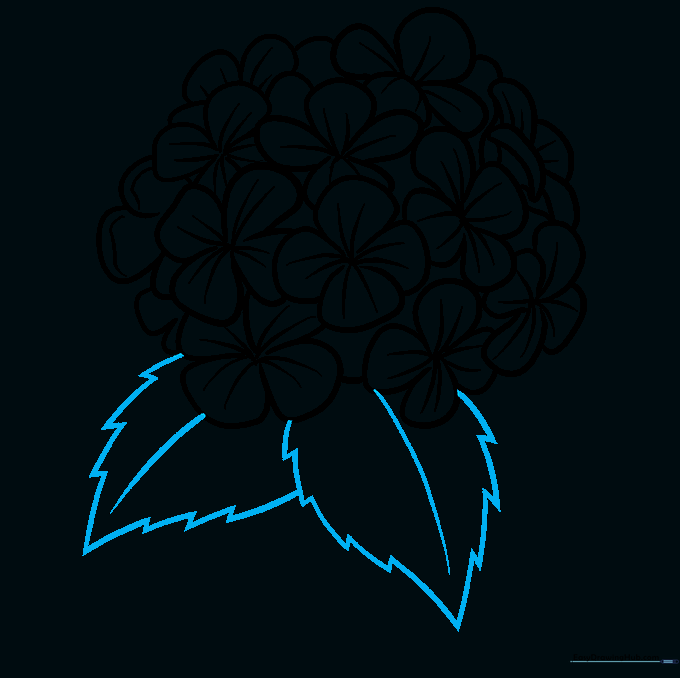
Draw the leaves by starting with a long, curved central vein. Outline the edges with short, jagged, connected lines. Tip: Hydrangea leaves are large and broad, so don't be afraid to make them take up space!
Step 8: Adding More Foliage
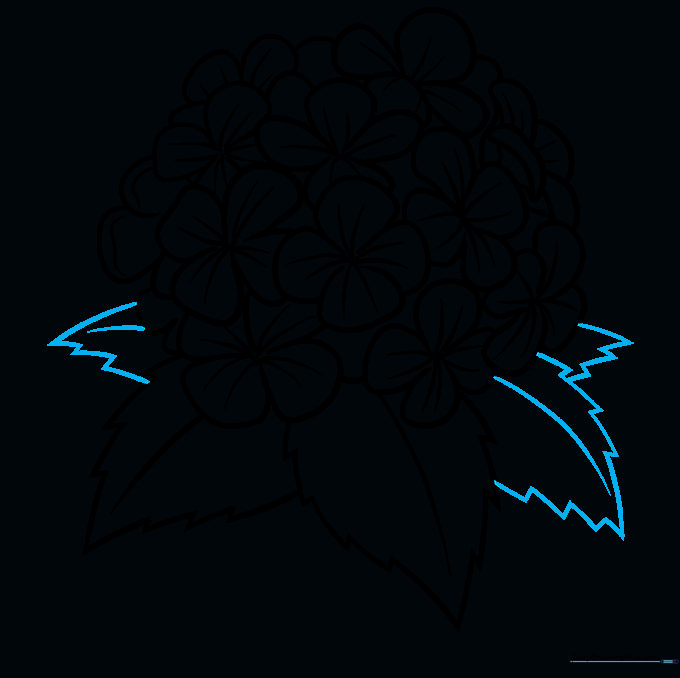
Add more leaves extending from the base at different angles to create a natural look. Use the same jagged-edge technique as before. Tip: Overlapping the leaves behind the flower head creates a nice sense of perspective.
Step 9: Drawing the Stem
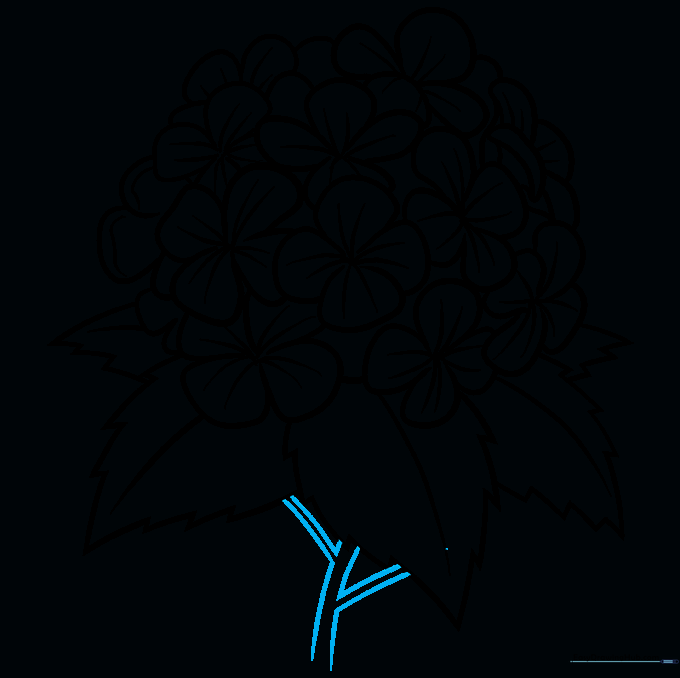
Use two parallel curved lines to draw the sturdy stem. Add small branches where the leaves meet the stem. Tip: Keep the stem lines smooth to contrast with the jagged leaves.
Step 10: Bringing It to Life with Color
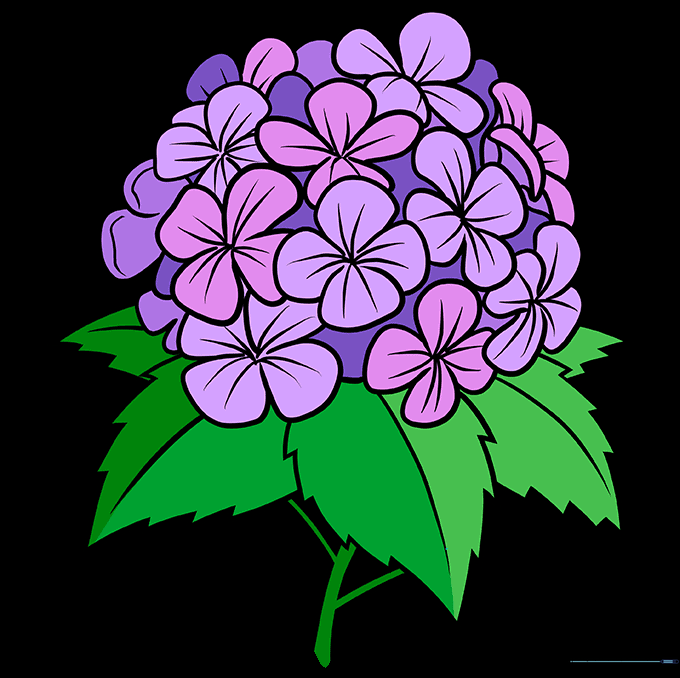
Time to color! Hydrangeas come in beautiful shades of blue, pink, purple, or white. Tip: Use light pressure with your colored pencils to create soft, blended gradients on the petals.
More Tutorials


