How to Draw a Husky: Easy 10-Step Guide for Beginners
Capture the spirit of a husky with this simple, step-by-step drawing lesson. Designed for young artists and beginners, this guide uses basic shapes to build a professional-looking canine. Grab your pencil and paper, and let’s bring this sled dog to life!
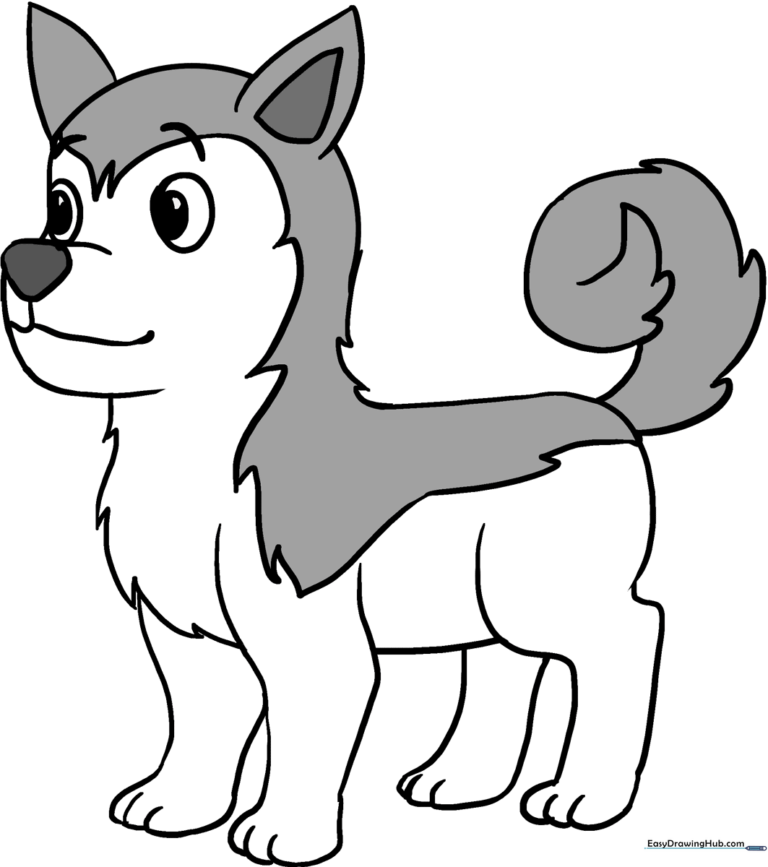
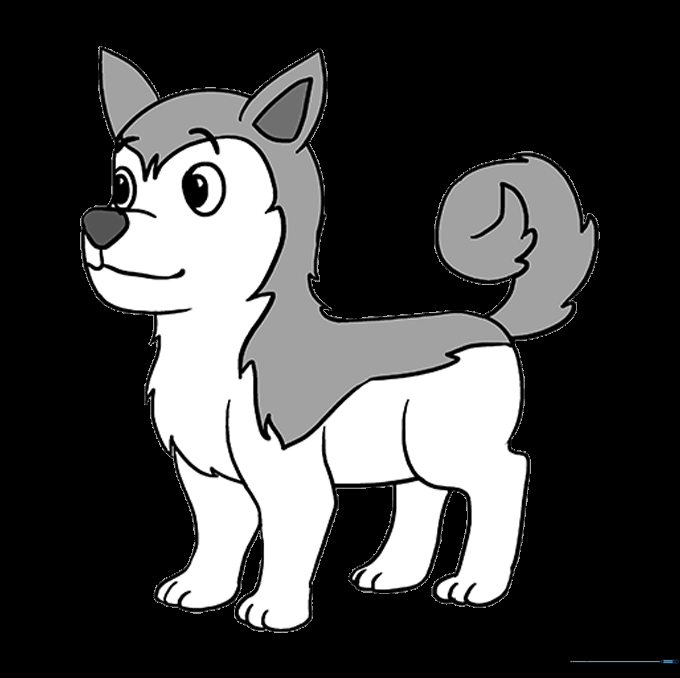
🎯 Final Result
Step-by-Step Instructions
Step 1: Sketching the Head

Draw a light circle to serve as the base for the husky's head. Teacher's Tip: Keep this circle about the size of a coin and press very lightly with your pencil so it's easy to clean up later.
Step 2: Forming the Body
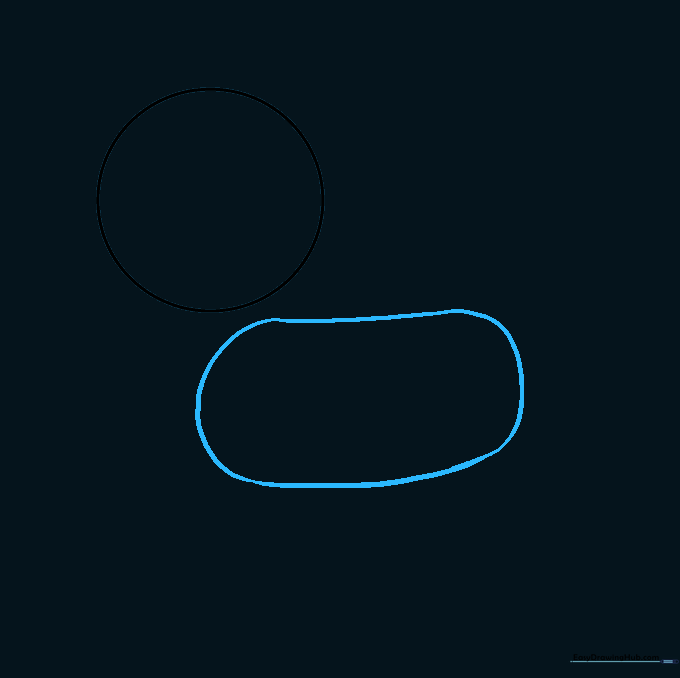
Draw an irregular bean shape beneath the head to form the husky's torso. Teacher's Tip: Think of this as a slightly tilted oval; it doesn't need to be perfect, just keep it proportional to the head.
Step 3: Creating the Furry Neck
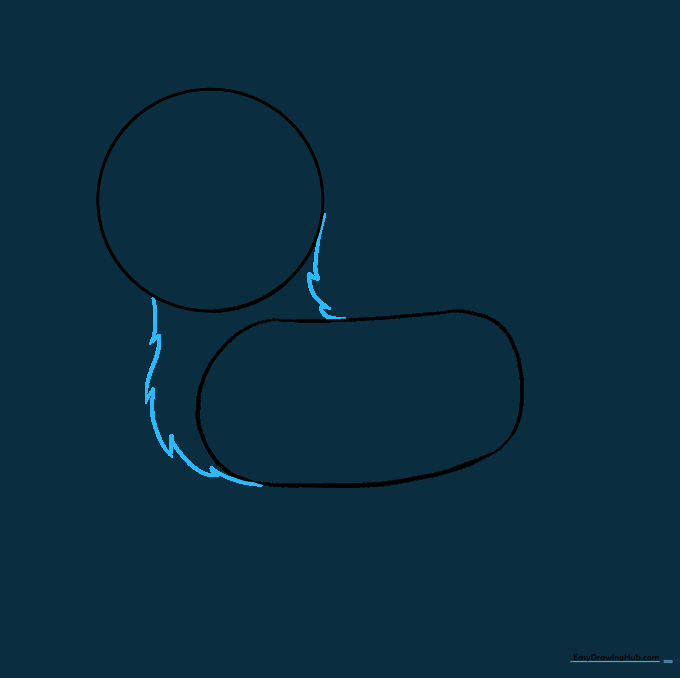
Connect the head and body using short, jagged, overlapping lines. Teacher's Tip: Use quick, flicking motions with your pencil to mimic the look of shaggy fur.
Step 4: Sketching Ears and Snout
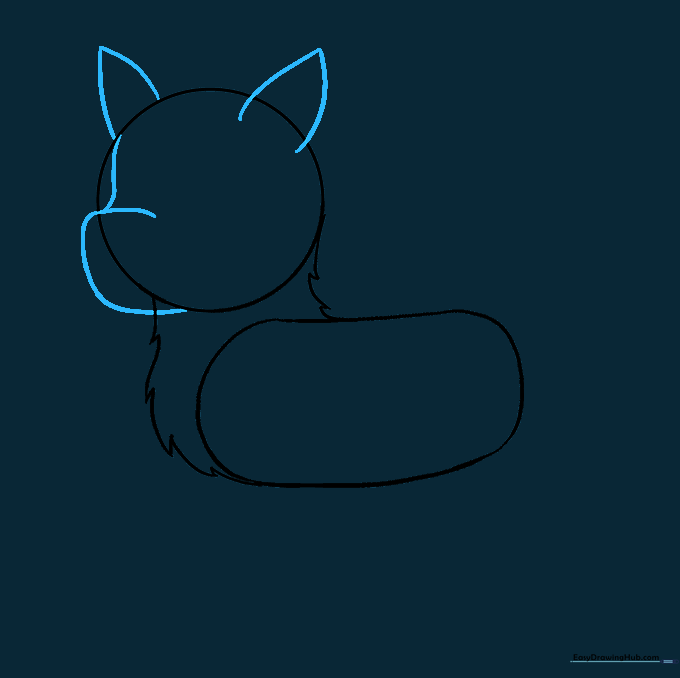
Draw two curved triangles on top of the head for ears. Add a large 'C' shape on the side of the face for the snout. Teacher's Tip: Huskies have upright, alert ears, so make sure the triangles point straight up.
Step 5: Drawing Front Legs

Extend two curved lines downward from the body for each leg, finishing with small 'U' shapes for toes. Teacher's Tip: Notice the slight bend in the lines to represent the knee joint.
Step 6: Drawing Back Legs
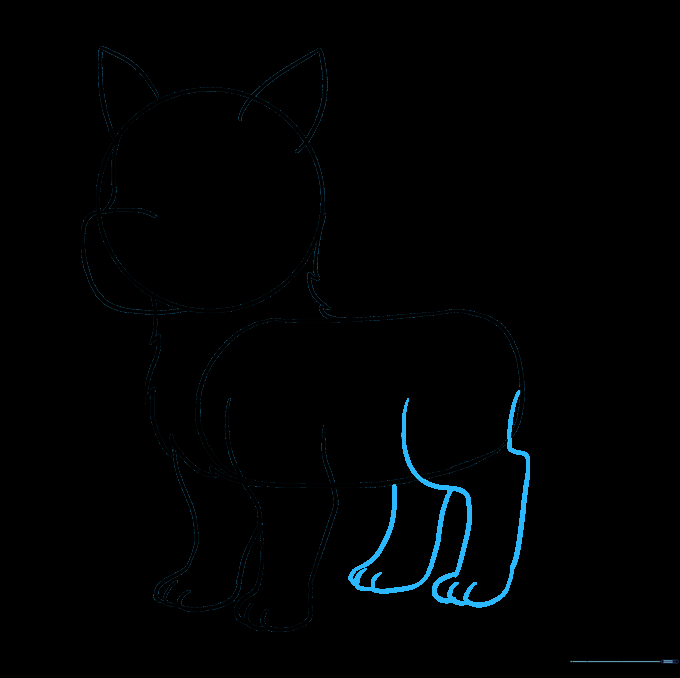
Sketch the back legs with a more pronounced curve at the top to show the thigh muscle. Connect them with 'U' shapes for the paws. Teacher's Tip: The back legs are usually thicker at the top than the front legs.
Step 7: Cleaning Up
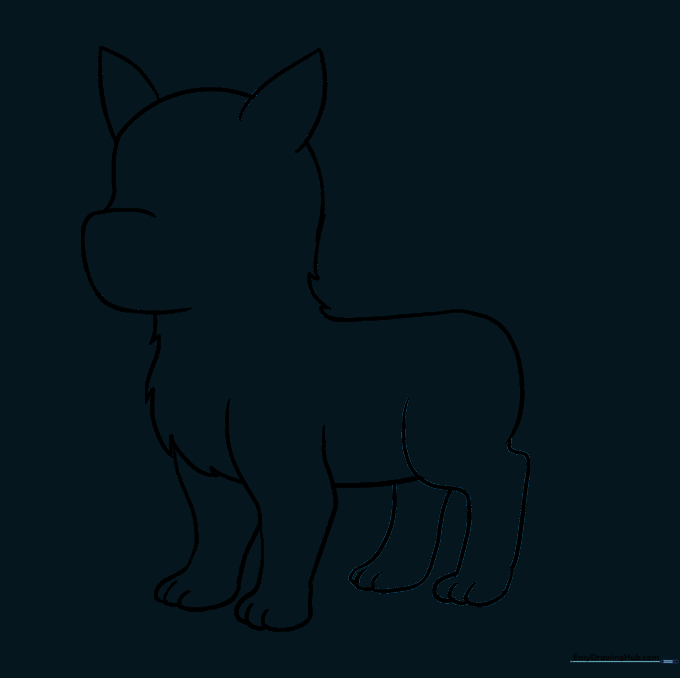
Gently erase your initial guide circles and lines. Teacher's Tip: Use a soft eraser and hold the paper down firmly so you don't accidentally wrinkle it.
Step 8: Adding Fur and Tail
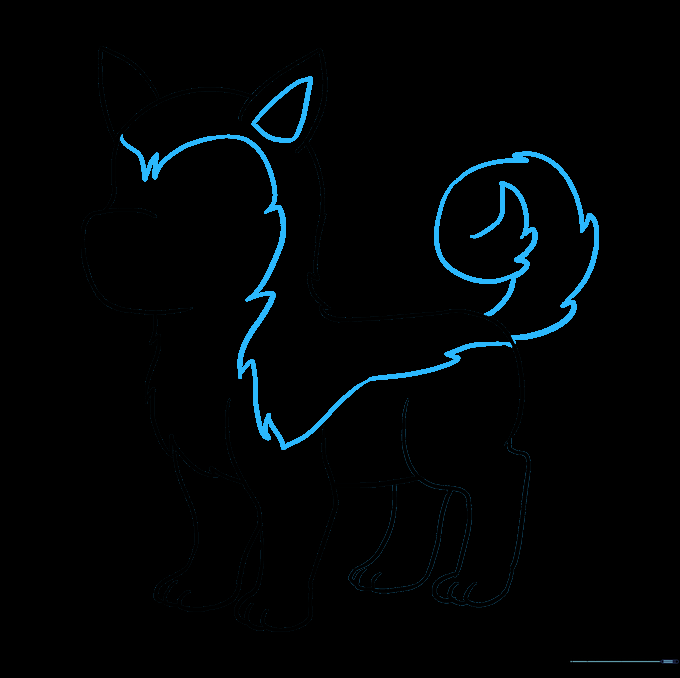
Add a triangle inside the ear and use jagged lines to mark the husky's coat patterns. Sketch a fluffy, curly tail. Teacher's Tip: Huskies have very thick fur, so use those jagged, zig-zag lines to show texture.
Step 9: Facial Features
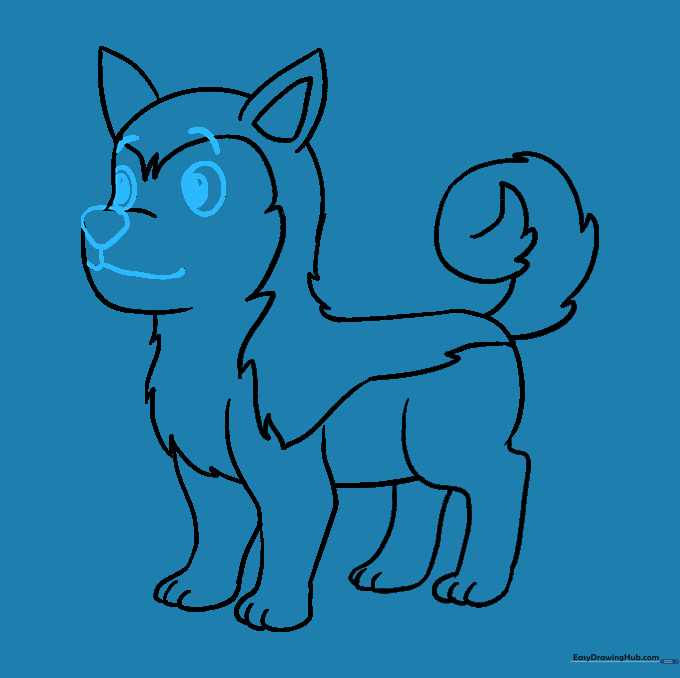
Draw oval eyes with shaded pupils, eyebrows, a triangular nose, and a simple mouth. Teacher's Tip: Keep the eyes expressive by leaving a tiny white dot unshaded to represent a 'glint' of light.
Step 10: Final Coloring
Color your husky! Use shades of grey, black, and white for a classic look, or try brown and cream. Teacher's Tip: Use light, short strokes with your colored pencil to mimic the direction of the fur.
More Tutorials


