How to Draw a Hurricane: Simple Step-by-Step Guide
Perfect for young meteorologists and artists ages 7+, this tutorial breaks down the complex shape of a hurricane into manageable, flowing lines. You will only need a pencil, an eraser, and a sheet of paper to bring this powerful storm to life. Follow along to master the art of drawing swirling wind patterns and atmospheric movement.
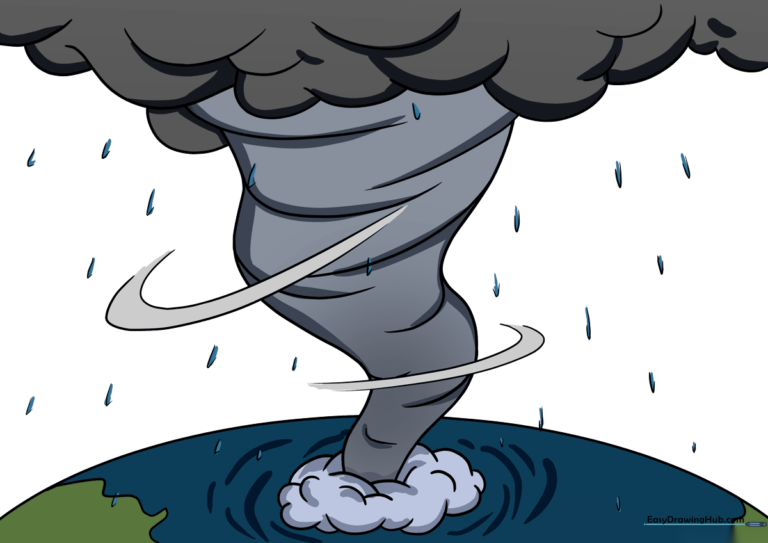
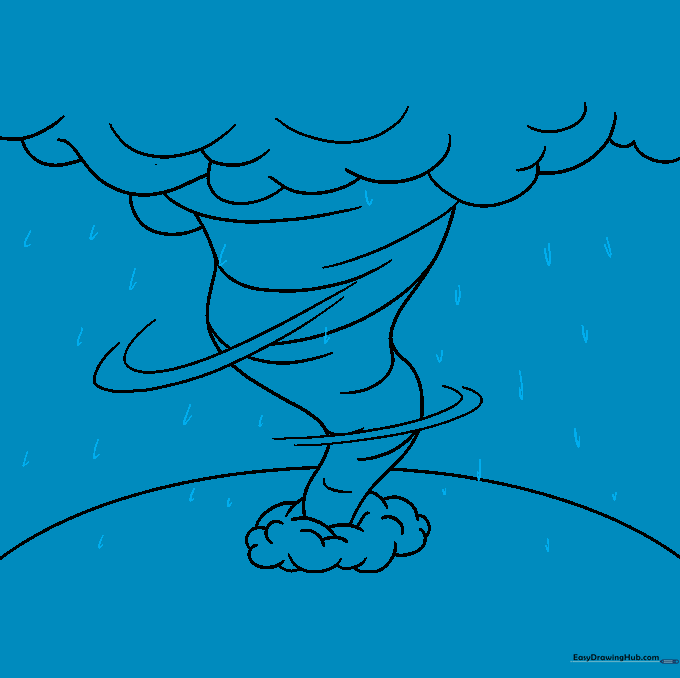
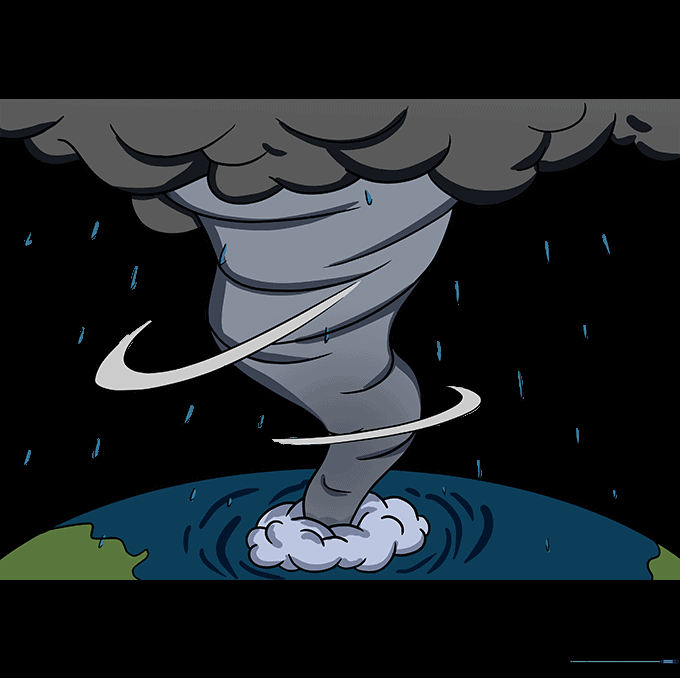
🎯 Final Result
Step-by-Step Instructions
Step 1: Establishing the Horizon

Draw a gentle, wide-curved line across the bottom of your paper. Teacher's Tip: Keep this line light! It acts as your horizon, helping ground the massive scale of the storm in your composition.
Step 2: Outlining the Storm's Core
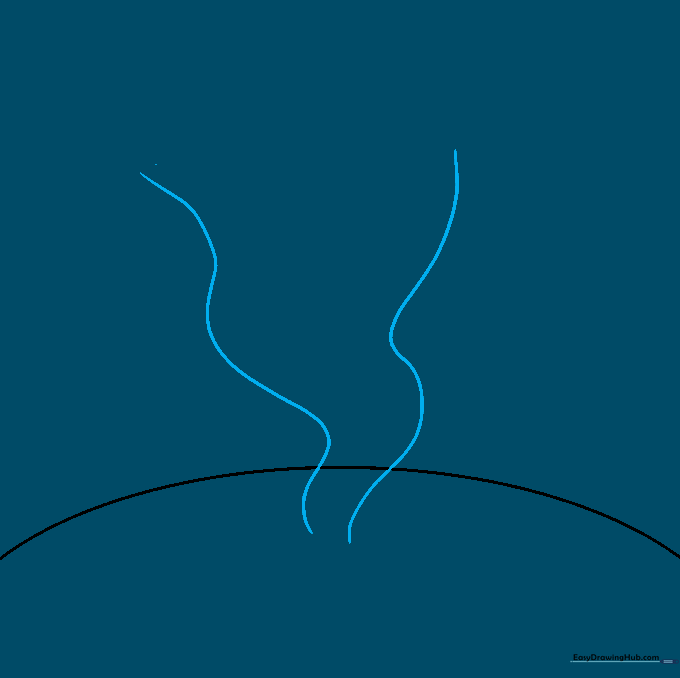
Sketch two long, wavy lines that taper toward the bottom. Teacher's Tip: Think of these as the 'walls' of the storm; keep them slightly uneven to mimic the unpredictable nature of wind.
Step 3: Adding Cloud Texture

Use overlapping, rounded 'C' shapes to create a cloud-like base at the bottom. Teacher's Tip: Vary the size of your curves to make the clouds look fluffy and voluminous rather than flat.
Step 4: Creating Swirling Winds
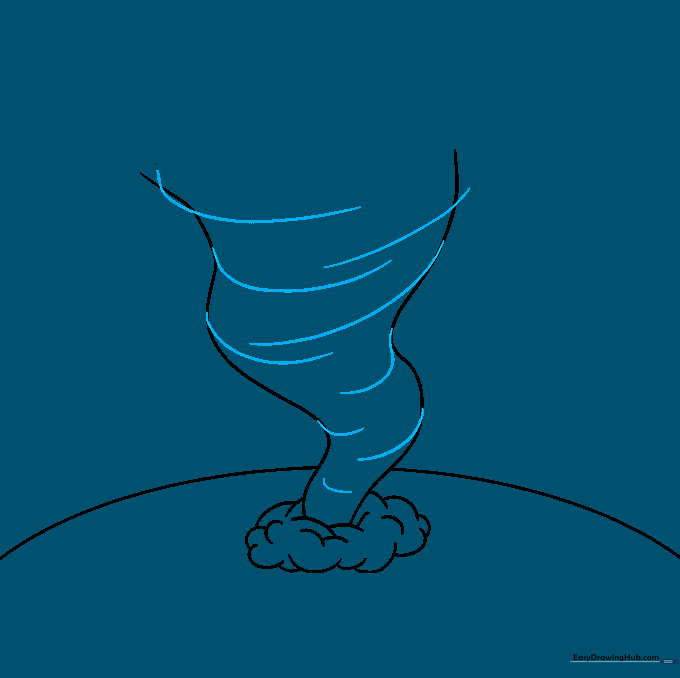
Add long, sweeping curved lines around the funnel to suggest motion. Teacher's Tip: Follow the direction of the funnel to make the storm look like it is spinning rapidly.
Step 5: Sketching the Upper Canopy
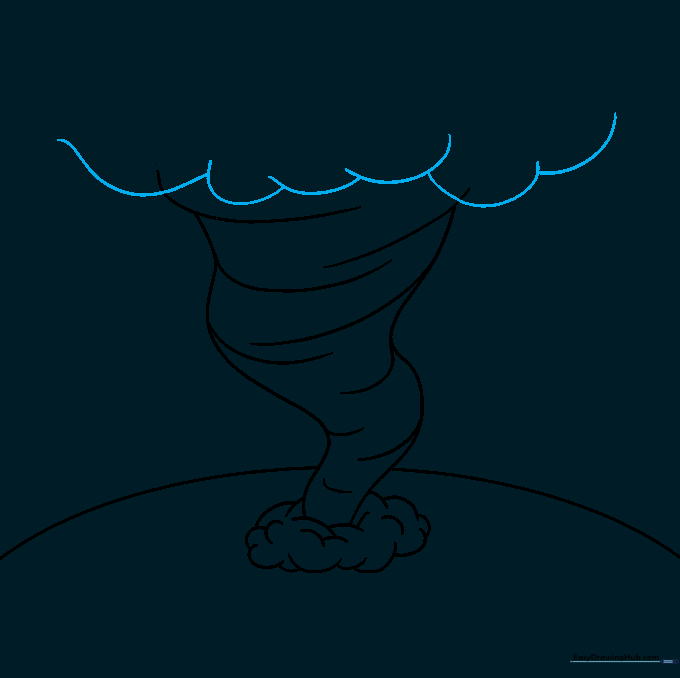
Connect the top of your funnel with a series of large, overlapping curves to form the storm's canopy. Teacher's Tip: Don't worry about perfect symmetry; nature is rarely perfectly symmetrical!
Step 6: Adding Depth to Clouds
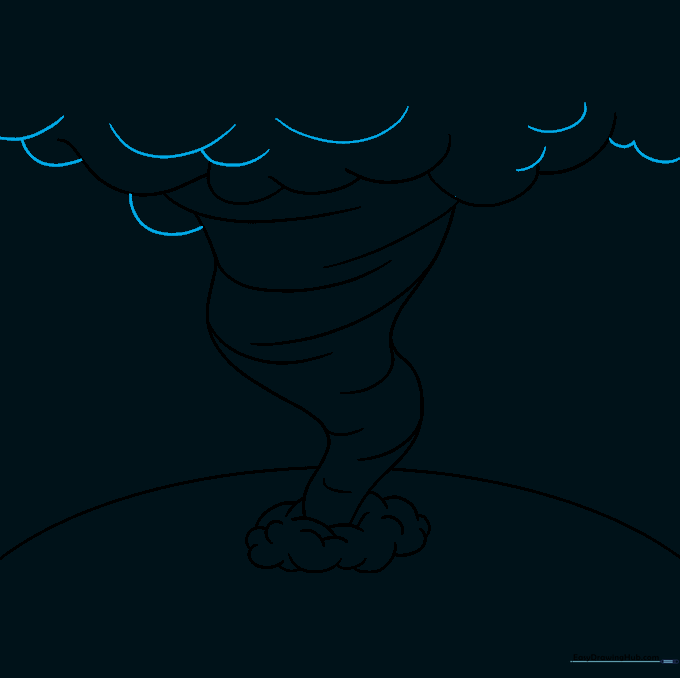
Layer more curved lines above and below the canopy to add thickness. Teacher's Tip: Use shorter, tighter curves to create the illusion of dense, heavy storm clouds.
Step 7: Detailing the Funnel
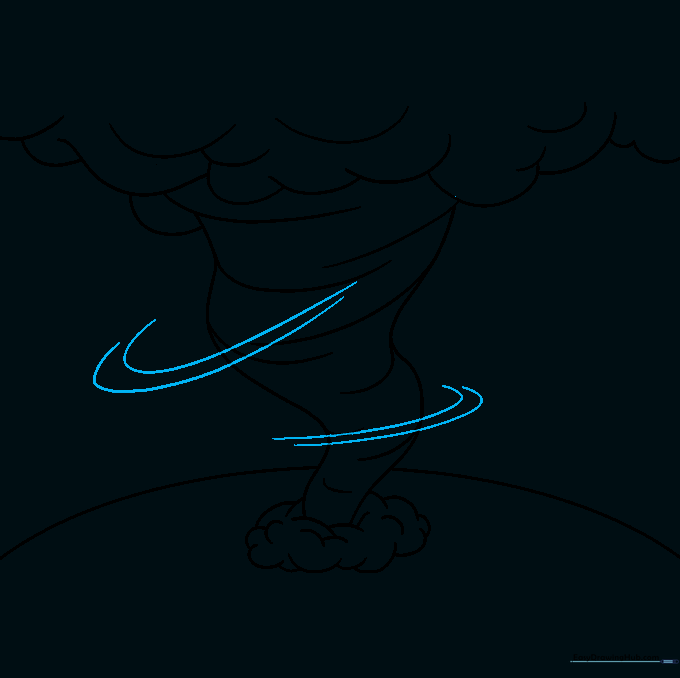
Draw pairs of curved lines encircling the funnel to emphasize the wind speed. Teacher's Tip: Keep these lines parallel to each other to create a clean, rhythmic look.
Step 8: Adding Rain Details
Add small 'V' and 'L' shaped marks throughout the drawing. Teacher's Tip: These represent heavy rain—scatter them randomly to make the storm look active and intense.
Step 9: Finalizing the Landscape
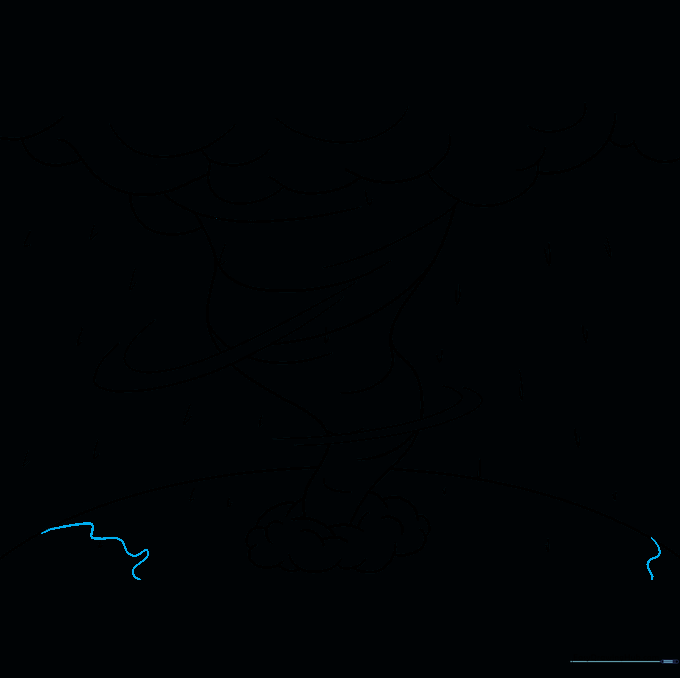
Draw wavy lines below the horizon to represent water or land. Teacher's Tip: Use horizontal strokes for the water to contrast with the circular motion of the storm above.
Step 10: Adding Color
Bring your storm to life with shades of grey, blue, and white. Did you know? These storms are called typhoons in Asia and cyclones near Australia! Use dark blues for the rain to make it pop against the clouds.
More Tutorials


