How to Draw a Human Heart: Simple Anatomy Guide for Students
This anatomical drawing guide is designed for students and budding artists looking to master the structure of the human heart. You will need a pencil, eraser, and paper to complete this study. Follow these steps to break down complex cardiovascular anatomy into manageable, clean lines.
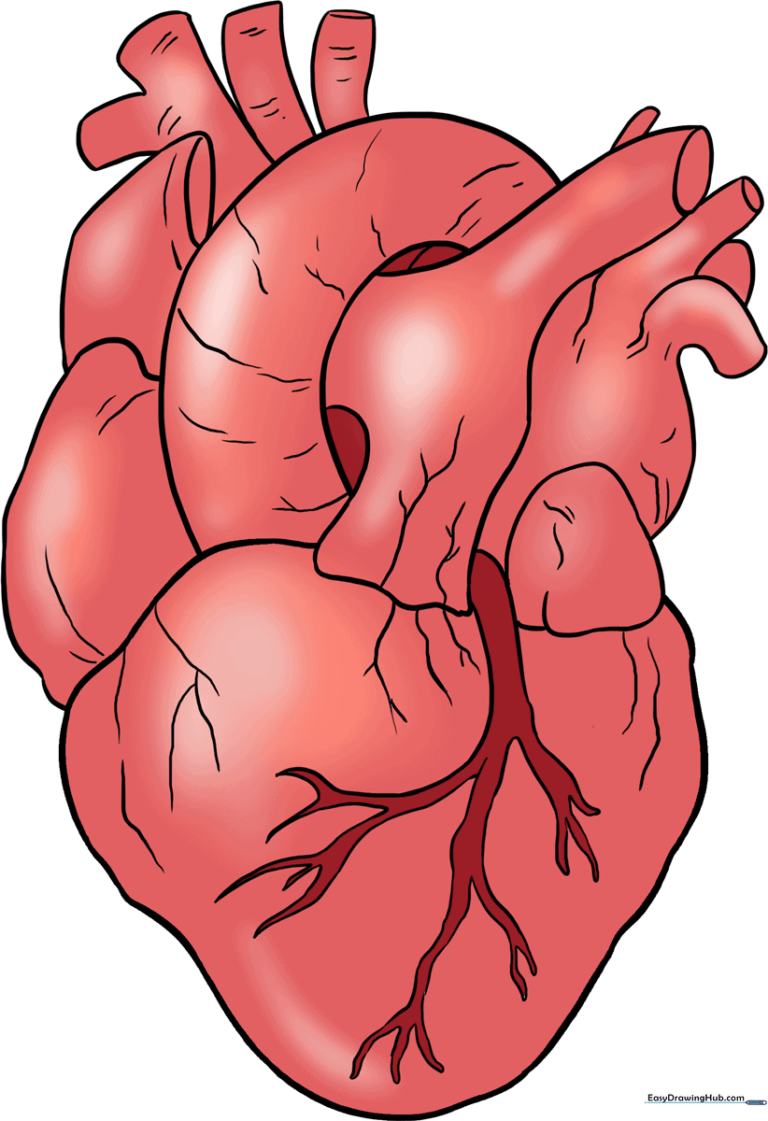
🎯 Final Result
Step-by-Step Instructions
Step 1: Sketching the Ventricles

Draw a rounded, irregular shape that resembles a tilted pear or the continent of Africa. This forms the base of the heart. Teacher's Tip: Keep your pencil pressure light so you can easily adjust the shape later if needed.
Step 2: Forming the Aortic Arch
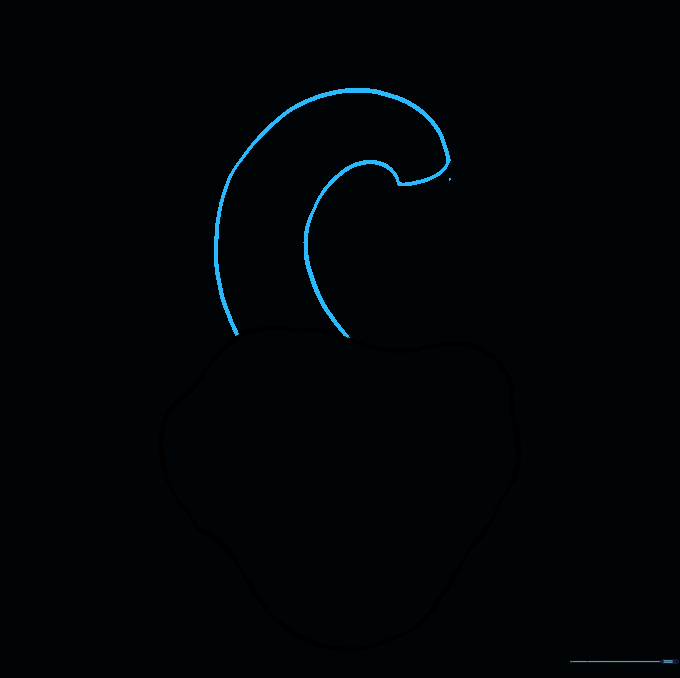
Extend two parallel curved lines upward from your base shape to create the aortic arch. Connect them at the top with a smooth curve. Teacher's Tip: Think of this as a thick, curved pipe—keep the width consistent throughout the arch.
Step 3: Adding the Pulmonary Arteries

Draw a wavy line inside the base, extending it upward to meet the arch. Add a small oval on the side to represent the pulmonary artery. Teacher's Tip: Use short, deliberate strokes to ensure the connections look like natural vessels.
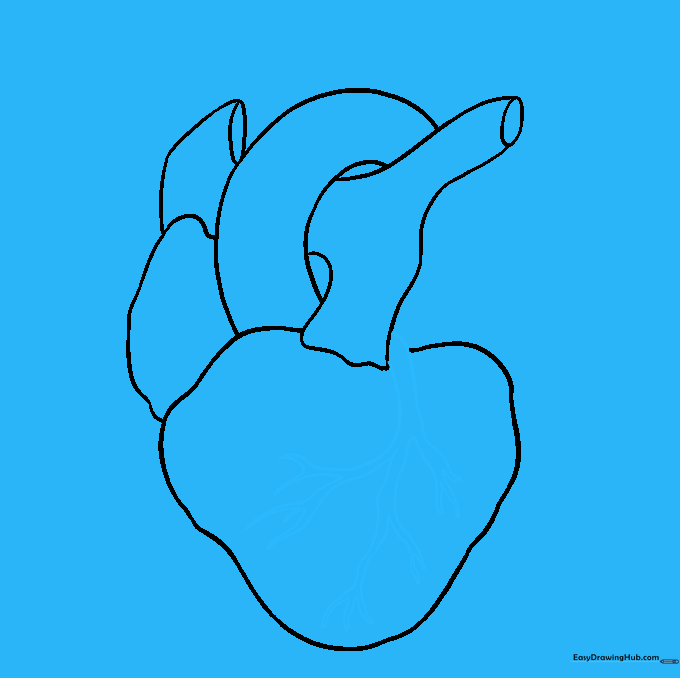
Step 4: Refining the Outline

Carefully erase any overlapping guide lines inside the heart structure. Teacher's Tip: Use a kneaded eraser to gently lift graphite without smudging your main outlines.
Step 5: Drawing the Atrium and Vena Cava
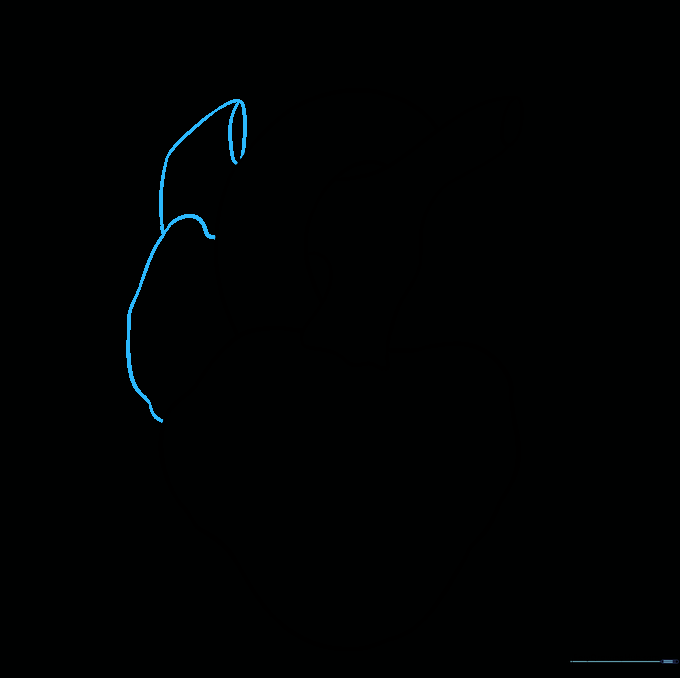
Enclose an irregular shape at the junction of the ventricle and arch for the atrium. Add a narrow vertical oval above it for the superior vena cava. Teacher's Tip: Keep these shapes slightly rounded to mimic the soft tissue of the heart.
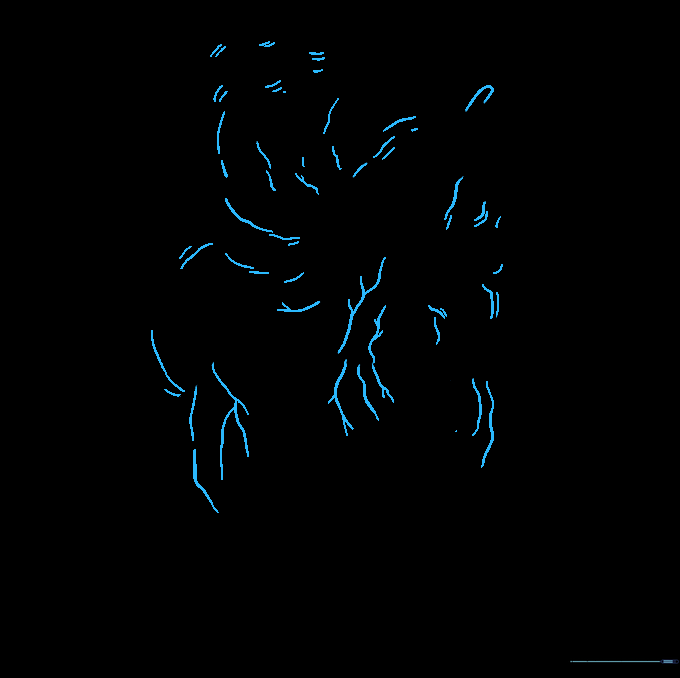
Step 6: Detailing the Coronary Artery
Draw branching lines across the ventricle to represent the coronary artery. Teacher's Tip: Vary the length of the branches to make them look like a natural, organic network.
Step 7: Adding Major Arteries
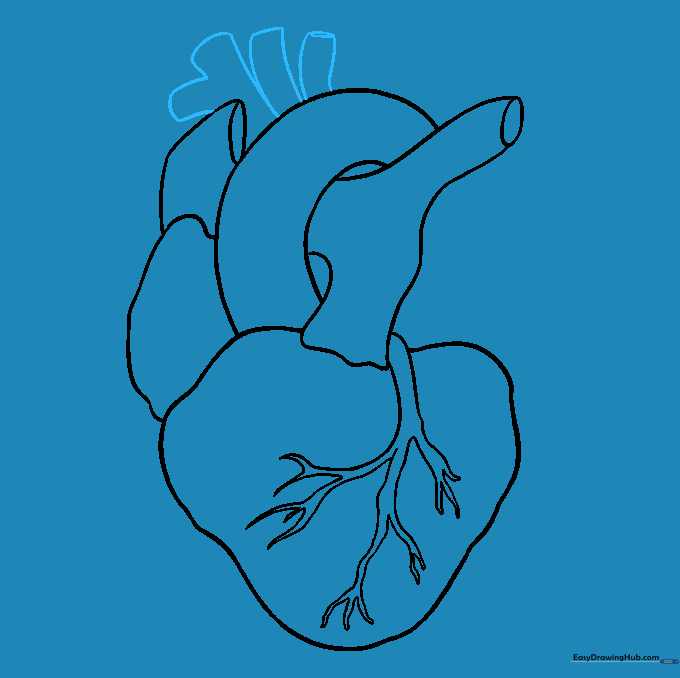
Extend parallel curved lines from the top of the aortic arch. Add a 'V' shape to one to show branching. Teacher's Tip: Ensure these lines are smooth to represent the flow of blood vessels.
Step 8: Finalizing the Atrium and Veins
Add the left atrium and pulmonary veins using parallel curved lines. Teacher's Tip: Use small ovals to cap the ends of the veins for a realistic finish.
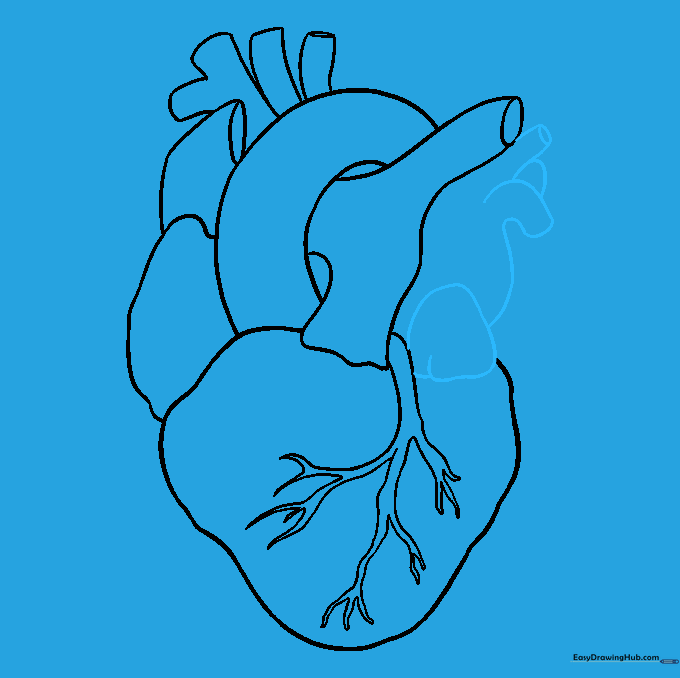
Step 9: Adding Texture and Detail
Add short, fine lines throughout the heart to suggest texture and veins. Teacher's Tip: Less is more—don't over-clutter the drawing; focus on the main vessels.
Step 10: Coloring Your Anatomy Study
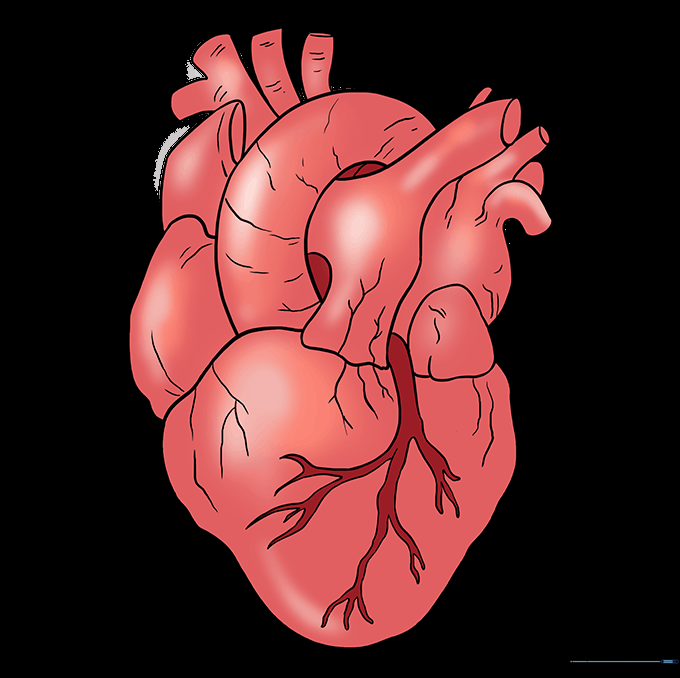
Color oxygenated areas red and deoxygenated areas blue or purple. Teacher's Tip: Use colored pencils to blend the edges where the colors meet for a professional scientific look.
More Tutorials