How to Draw a Hug: Easy Step-by-Step Guide for Beginners
Capture the warmth of a hug with this simple drawing guide, designed for ages 6 and up. You will only need a pencil, an eraser, and a piece of paper to get started. Follow these steps to master character proportions and overlapping shapes while creating a heartfelt scene.
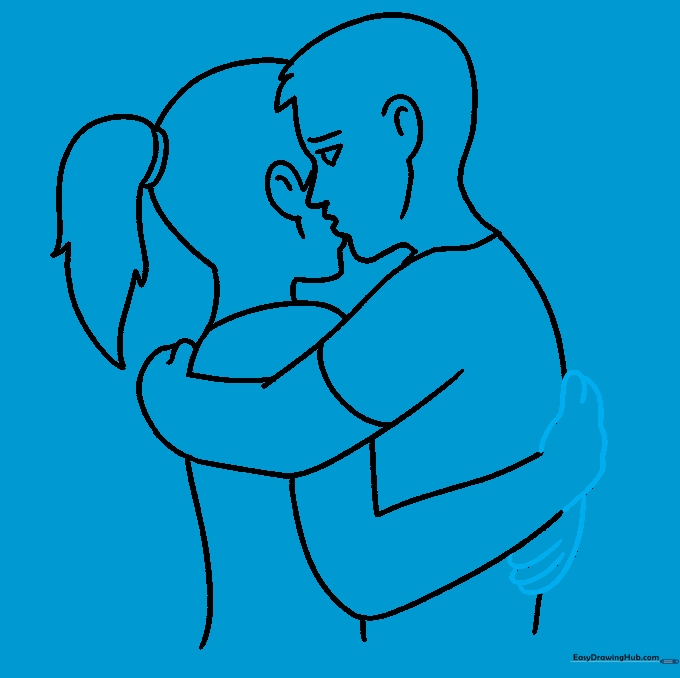
🎯 Final Result

Step-by-Step Instructions
Step 1: Sketching the First Face

Start by outlining the boy's face using soft, curved lines. Include the jagged tufts of hair at the forehead and the gentle curve of the chin. Teacher's Tip: Keep your pencil pressure light so you can easily adjust the shape later if needed.
Step 2: Adding Facial Features

Add detail to the face by sketching the brow, ear, and cheek with smooth curves. Draw a curved triangular shape for the eye. Teacher's Tip: Focus on the 'C' shape of the ear to give the character depth.
Step 3: Outlining the Torso

Sketch the boy's body using a long, curved line for the back and a shorter one for the front. Teacher's Tip: Think of the torso as a bean shape to help keep the proportions balanced.
Step 4: Drawing the Arm and Hand
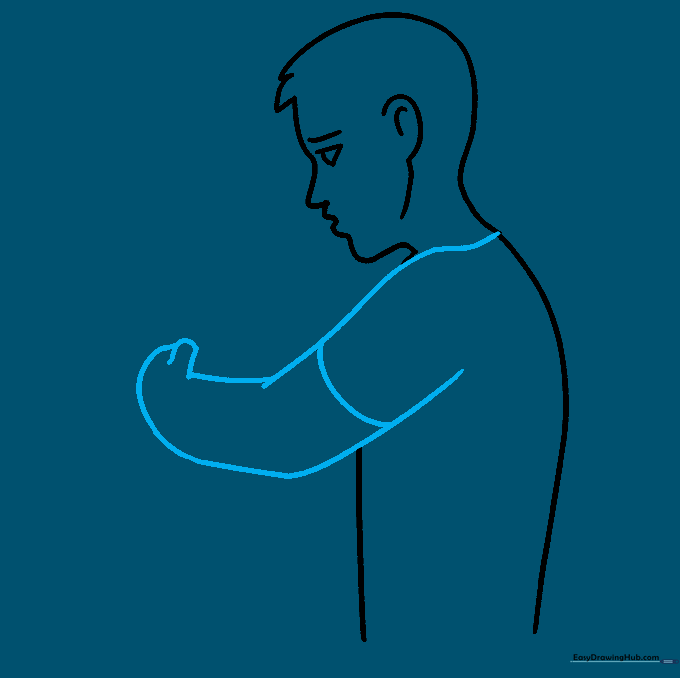
Erase a small section of the chest to make room for the arm. Sketch the shoulder and arm with a bend at the elbow, finishing with simple, overlapping curves for the fingers. Teacher's Tip: Overlapping lines are the secret to making the hand look like it's actually wrapping around someone.
Step 5: Starting the Second Character

Begin the girl's profile by drawing the back of her head, neck, and chin. Add the ear and cheek details. Teacher's Tip: Make sure her head is positioned slightly lower than the boy's to show the hug interaction.
Step 6: Adding Hair and Ponytail

Draw the ponytail and ribbon using curved lines. Use jagged, uneven lines for the hair to give it a natural, flowing texture. Teacher's Tip: Vary the length of your hair strokes to avoid a 'stiff' look.
Step 7: Outlining the Shoulders
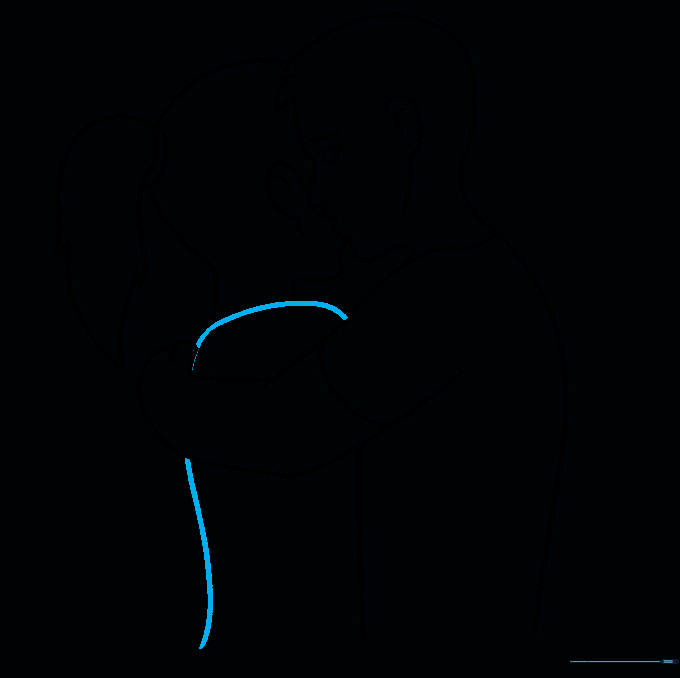
Use smooth, curved lines to define the woman's shoulder and back. Teacher's Tip: Keep these lines rounded to suggest the soft curve of a shoulder.
Step 8: Drawing the Second Arm
Draw the woman's arm, ensuring the elbow bend aligns with the hug position. Teacher's Tip: If the arm looks too straight, add a slight curve at the elbow to make it look more natural.
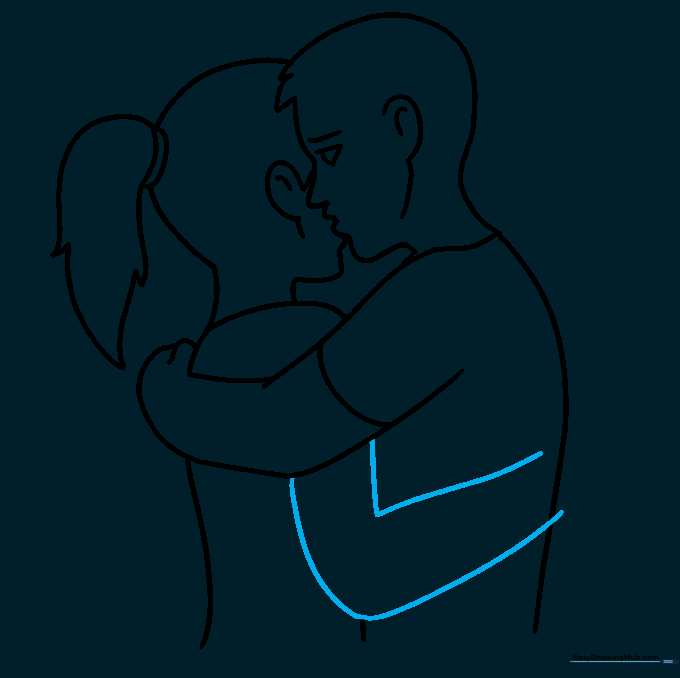
Step 9: Finalizing the Hands
Draw the hands using overlapping curves to show fingers wrapping around the other character. Teacher's Tip: Erase any overlapping lines inside the hands to make them look clean and finished.
Step 10: Adding Color

Bring your drawing to life with your favorite colors! Use soft skin tones and bright colors for the clothing. Teacher's Tip: Try using colored pencils to add light shading around the edges to give your characters a 3D feel.
More Tutorials


