How to Draw a House with a Swimming Pool: Easy 9-Step Guide
Perfect for young artists ages 6+, this tutorial helps you build a detailed summer mansion scene using basic geometric shapes. You will need a pencil, eraser, and paper to get started. Follow along to master perspective and composition while creating your own backyard paradise.
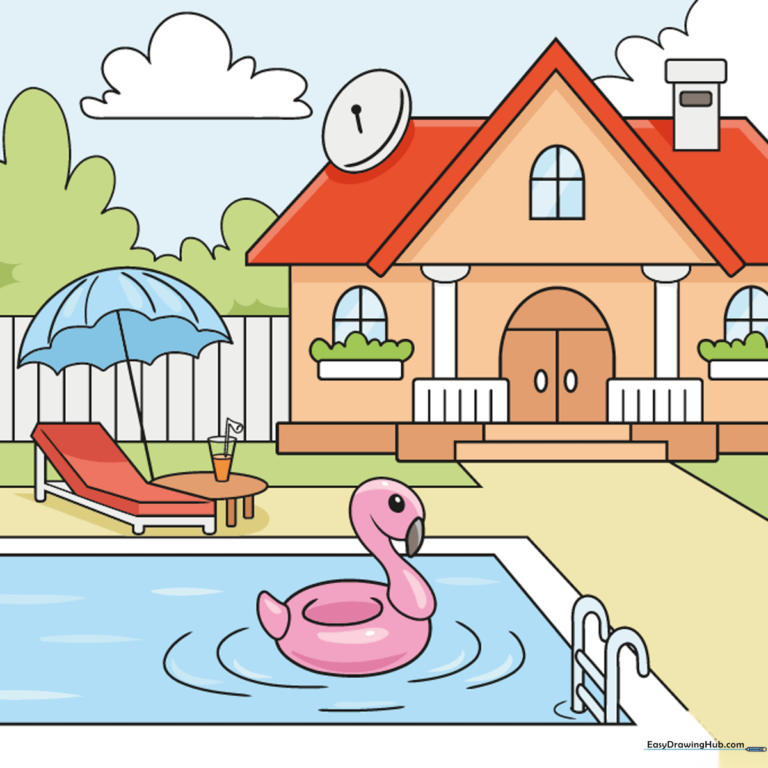
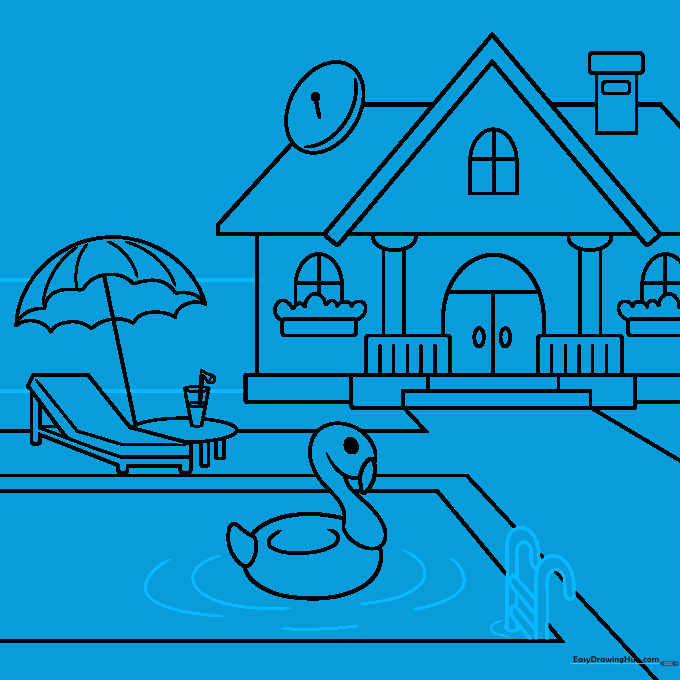
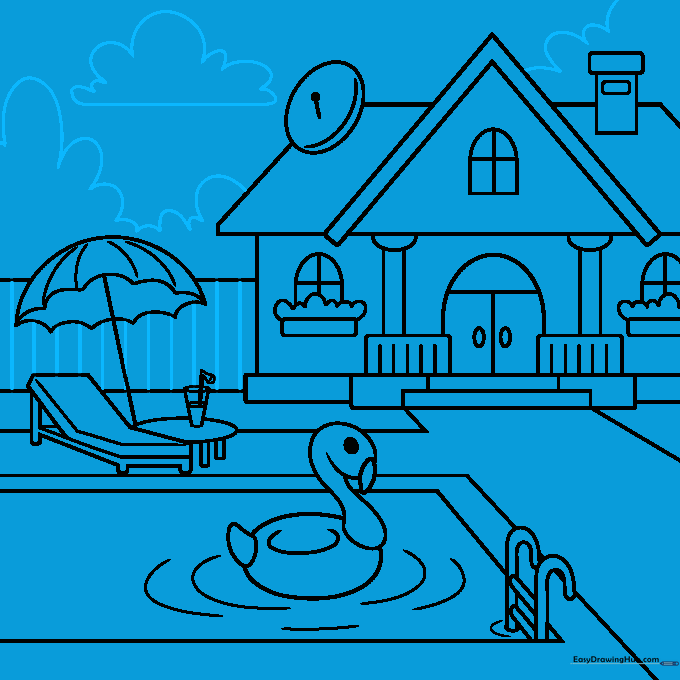
🎯 Final Result
Step-by-Step Instructions
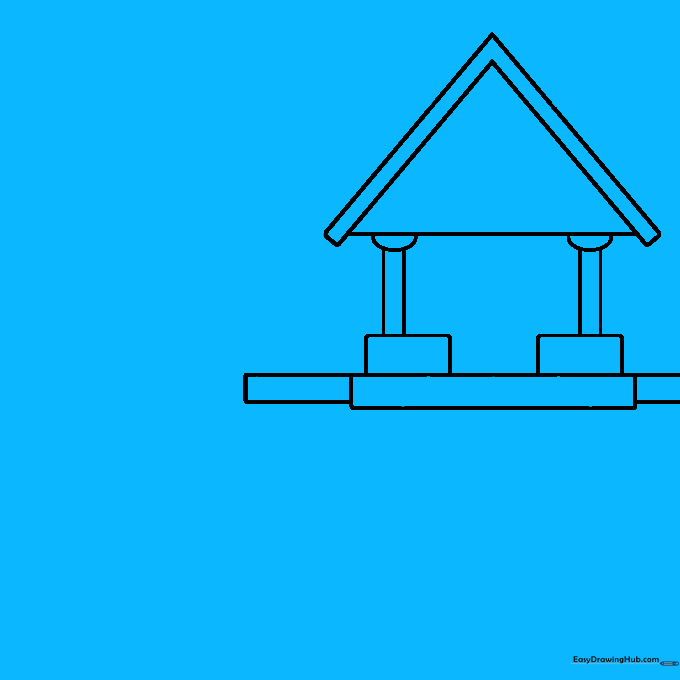
Step 1: Sketching the Roof and Columns
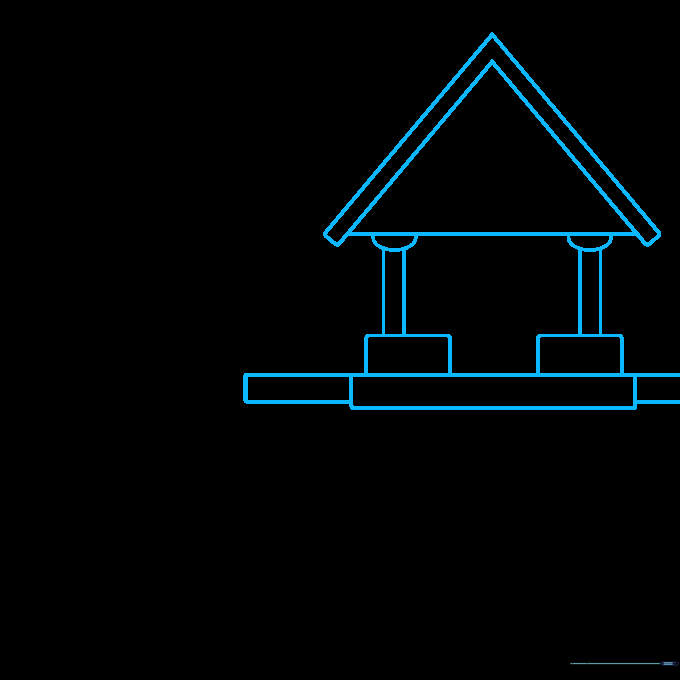
Start by drawing a large triangle for the main roof, adding a 'V' shape on top for dimension. Below, sketch two half-ovals connected to parallel lines to form the support columns. Teacher's Tip: Keep your pencil lines very light at this stage so you can easily adjust your house proportions later.
Step 2: Defining the Mansion Structure
Extend the roof with parallelograms on each side and draw the rectangular front wall. Add stacked rectangles at the base for porch steps and sketch in your arched windows and doors. Teacher's Tip: Use a ruler if you want perfectly straight walls, but freehand lines give your drawing a charming, storybook feel.
Step 3: Adding Roof Details

Add a satellite dish using an oval and a chimney using stacked rectangles on the roof. Below the windows, draw rectangular flower boxes with curved lines for plants. Teacher's Tip: Adding small details like flower boxes makes your drawing look more 'lived-in' and realistic.
Step 4: Creating the Swimming Pool
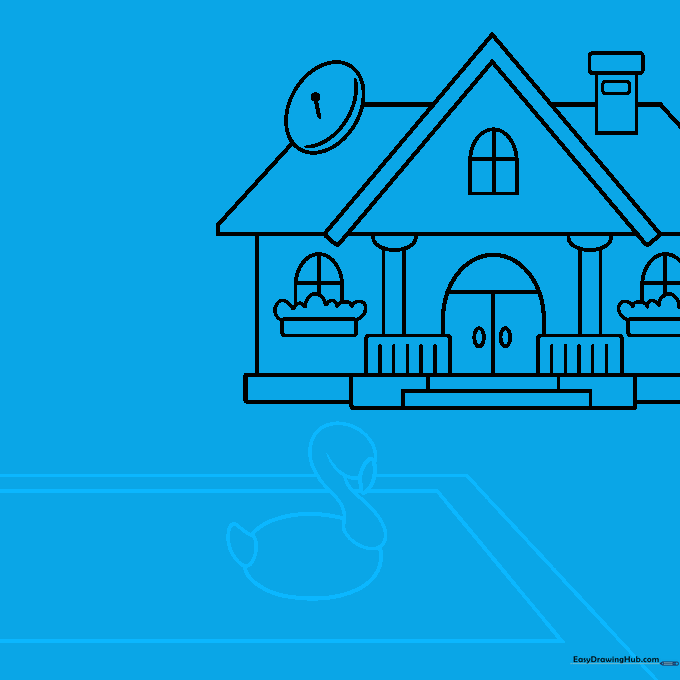
Draw a large rectangle in the yard for the pool, then add a smaller one inside to show the water's edge. Sketch a flamingo pool float using an oval body and a curved neck. Teacher's Tip: Use light, wavy lines on the water surface to show movement.
Step 5: Adding Poolside Furniture
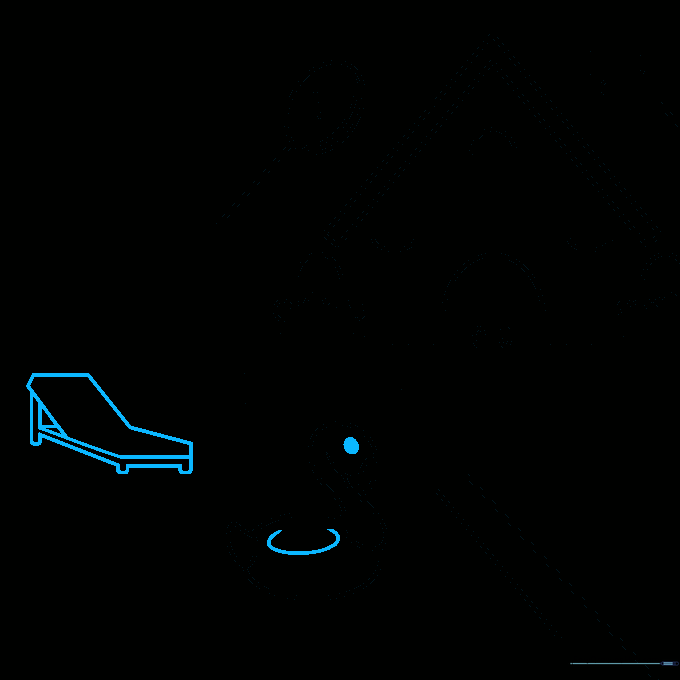
Detail the flamingo float with an eye and a 'C' shaped opening. Next, draw a lounge chair using an 'L' shape and small rectangular legs. Teacher's Tip: Make sure the chair legs are all the same height so it looks like it's sitting flat on the patio.
Step 6: Adding Refreshments
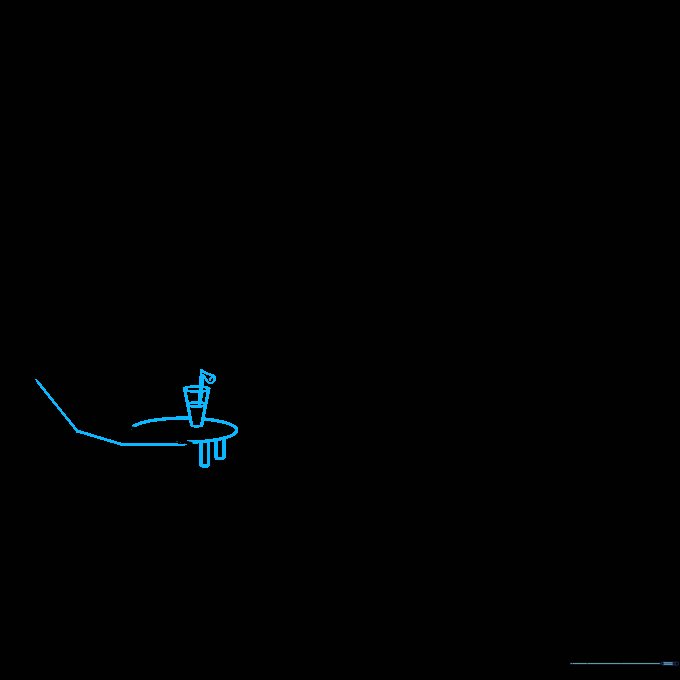
Give your chair depth by adding an extra 'L' line. Draw a small side table with a glass of lemonade and a bendy straw. Teacher's Tip: A simple 'J' shape for the straw adds a fun, realistic touch to your summer scene.
Step 7: Adding the Umbrella and Path
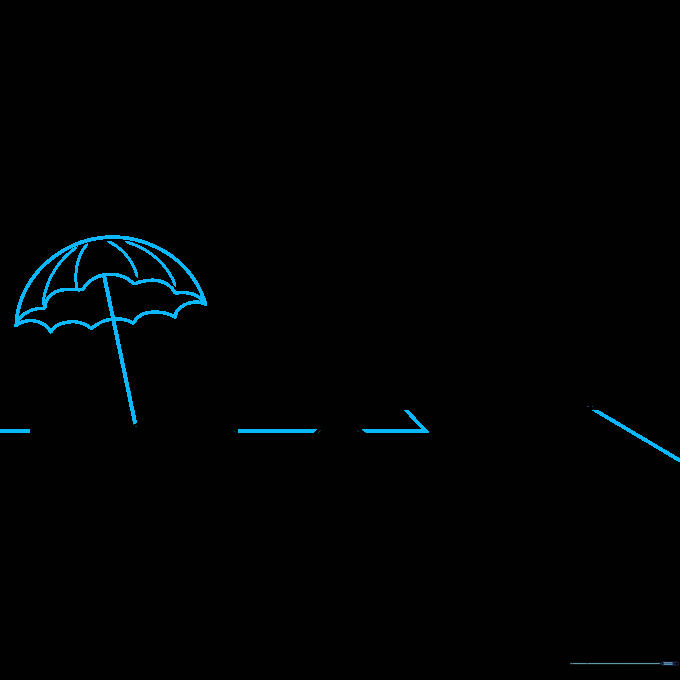
Draw a tall line from the table and top it with a curved umbrella canopy. Sketch a path leading from the pool area toward the house. Teacher's Tip: Use slightly wider lines for the path to create a sense of depth and perspective.
Step 8: Pool Ladder and Fencing
Draw a 'J' shaped ladder for the pool and add ripples in the water using short, curved lines. Extend two horizontal lines from the house to start your fence. Teacher's Tip: Keep the fence lines parallel to the ground to ensure the house looks like it's sitting on flat land.
Step 9: Final Touches and Background
Add vertical lines to the fence to create slats. Finish your scene by drawing fluffy clouds and trees in the background. Teacher's Tip: Vary the size of your clouds to make the sky look natural and open.
Step 10: Bring Your Drawing to Life with Color

Use bright, sunny colors for your mansion and cool blues for the water. Don't forget to color the flamingo pink! Teacher's Tip: Use a darker blue for the edges of the pool to give the water a sense of depth.
More Tutorials


