How to Draw a Hospital: Easy 10-Step Guide for Kids
This hospital drawing tutorial is perfect for young artists ages 5 and up. You will need a pencil, an eraser, and your favorite markers or crayons to bring this community building to life. Follow these steps to practice drawing geometric shapes while creating a helpful scene.
🎯 Final Result

Step-by-Step Instructions
Step 1: Sketching the Building Base

Start by drawing the main rectangular outline of the building. Tip: Use light, loose pencil strokes so you can easily erase any overlapping lines later.
Step 2: Adding the Roof and Entrance

Draw flat, narrow rectangles on top of each section for the roof. Add a large rectangle for the doorway. Tip: Keep your vertical lines parallel to make the building look sturdy.
Step 3: Drawing Windows and Doors

Add square windows across the building sections and two vertical lines in the doorway for the glass doors. Tip: Space your windows evenly to create a sense of symmetry.
Step 4: Adding Signage and Symbols
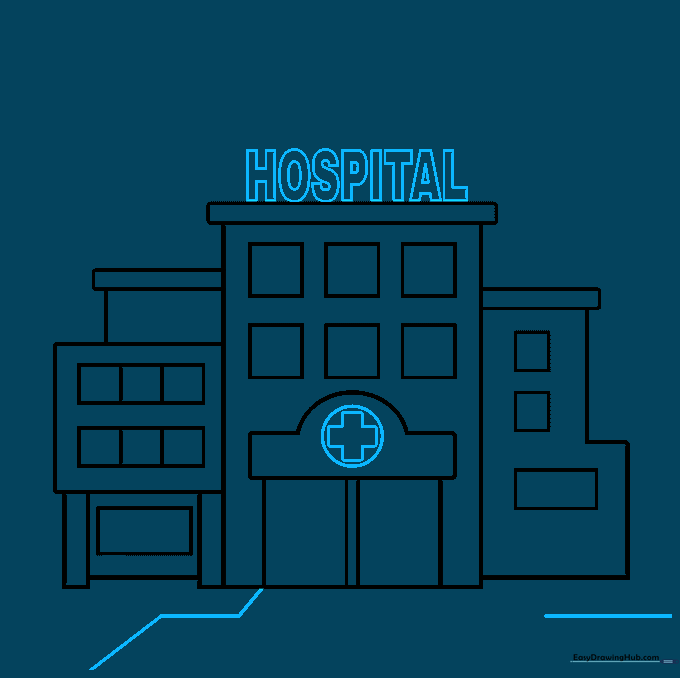
Write 'HOSPITAL' clearly on the roof and draw a circle with a cross inside above the door. Tip: The cross is a universal medical symbol—take your time to make it centered.
Step 5: Sketching the Ambulance

Draw the ambulance body using a five-sided shape and add two circles for wheels. Tip: Connect the wheels with a small rectangle to create the chassis.
Step 6: Detailing the Emergency Vehicle
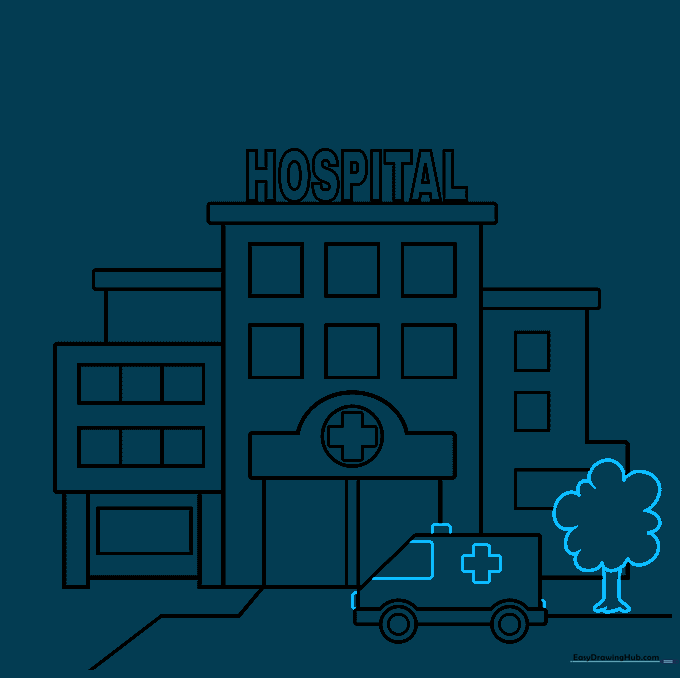
Add a cross to the side of the ambulance, a windshield, and a flashing light on top. Tip: Use a darker pencil stroke for these final details to make them stand out.
Step 7: Adding Landscaping and Helicopter

Draw small square planters in front and a rounded teardrop shape for the helicopter body. Tip: Keep the helicopter shape simple; it's just a basic oval with a tail.
Step 8: Finishing the Helicopter
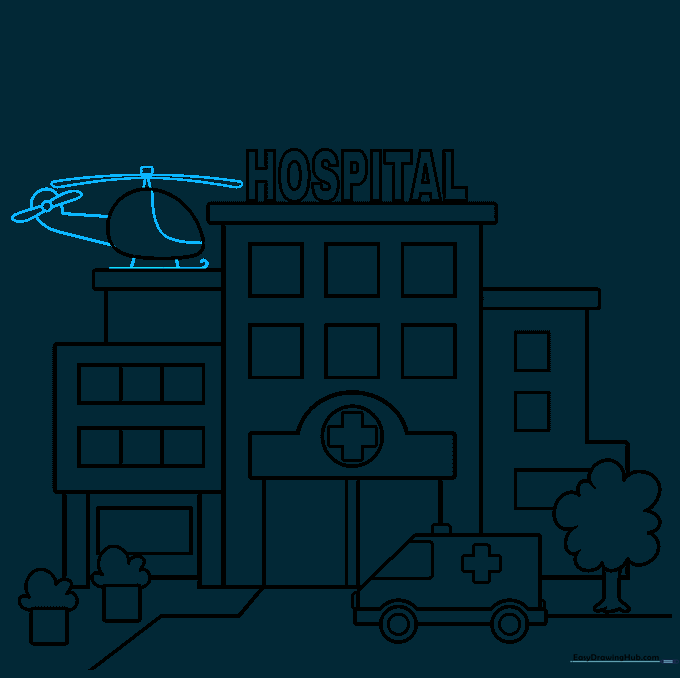
Add the rotor blades, tail, and landing gear to your helicopter. Tip: Use curved lines for the blades to give them a sense of motion.
Step 9: Adding the Background

Draw a horizon line, some distant trees, and fluffy clouds. Tip: Draw the clouds with soft, rounded 'bumpy' lines to contrast with the straight lines of the building.
Step 10: Bringing it to Life with Color

Color your hospital using bright, cheerful colors. Tip: Use red for the medical crosses to make them instantly recognizable.
More Tutorials


