How to Draw a Horse Rider: Easy 10-Step Guide
Ready to bring an equestrian scene to life? This tutorial is perfect for young artists ages 6+ who want to master drawing both a horse and its rider. Grab a pencil, an eraser, and a piece of paper to follow along as we break down this complex subject into simple, manageable shapes.
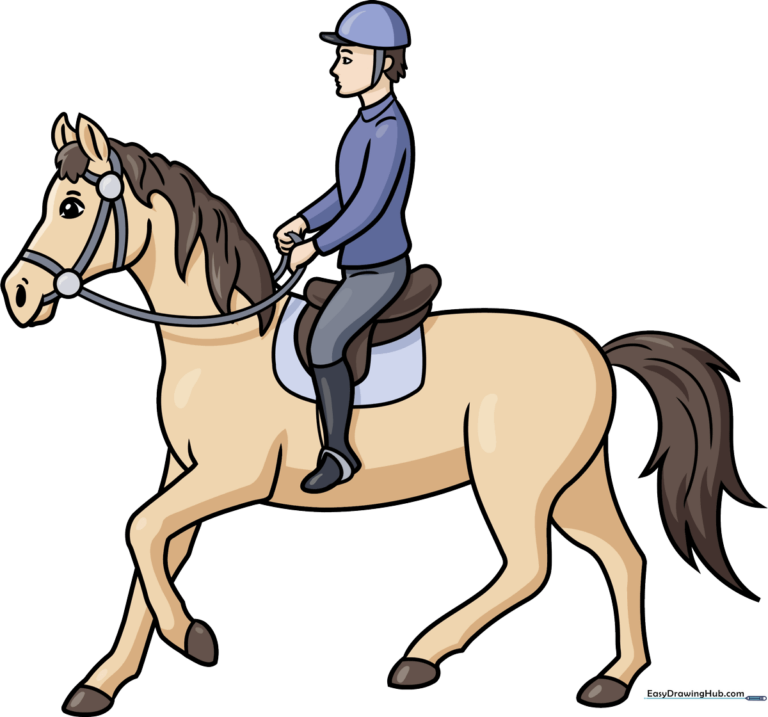
🎯 Final Result
Step-by-Step Instructions
Sketching the Horse's Profile

Start by drawing the horse’s face using gentle, curved lines for the jaw and muzzle. Add a small circle near the mouth area to help define the bridle. Teacher's Tip: Keep your pencil lines very light at this stage so you can easily erase any overlapping lines later.
Refining the Bridle and Ears
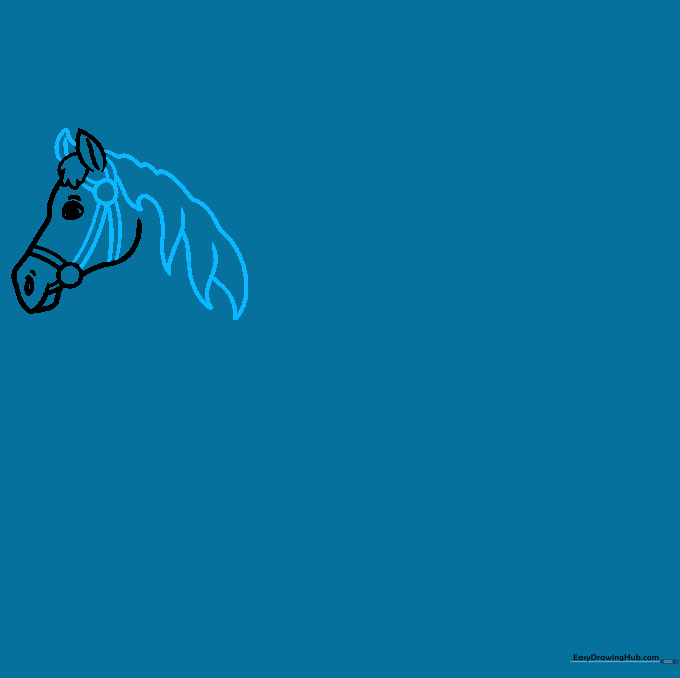
Draw a circle below the ear to anchor the bridle straps. Connect these to the jawline with smooth, curved lines. Add the second ear and a few shaggy lines for the mane. Teacher's Tip: Think of the mane as a series of soft 'C' shapes to give it a natural, flowing look.
Forming the Neck and Foreleg
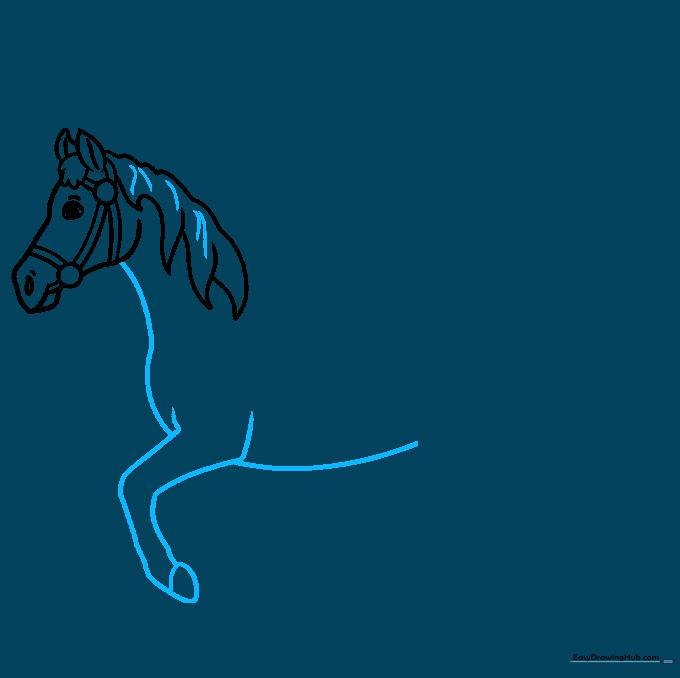
Use long, sweeping curves to draw the neck and chest. Extend a line down to create the first foreleg, ending with a small horizontal band for the hoof. Teacher's Tip: Horses have strong, muscular necks; make sure your lines are bold and confident here.
Outlining the Body and Rear Legs
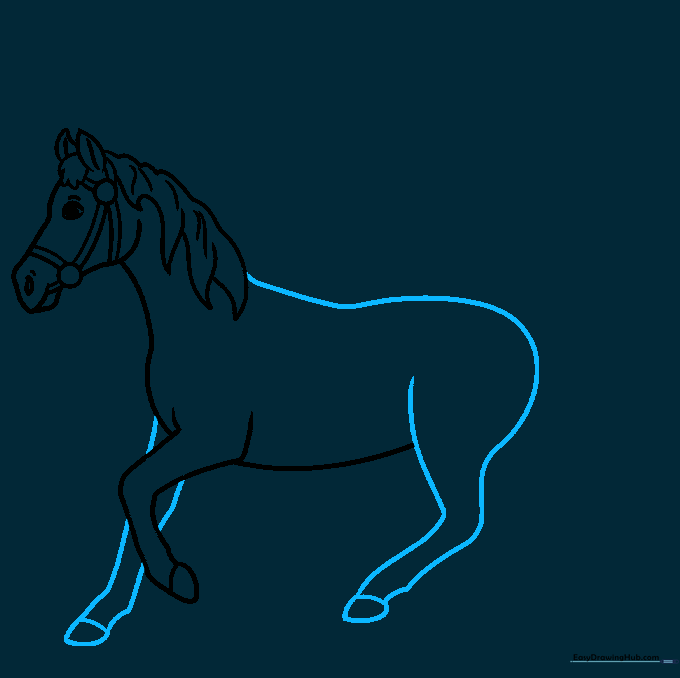
Draw the horse's back and rump with one continuous, smooth line. Add the rear leg and the second foreleg. Teacher's Tip: Keep the legs slightly angled to give your horse a sense of movement, as if it's walking.
Adding the Tail and Saddle Base
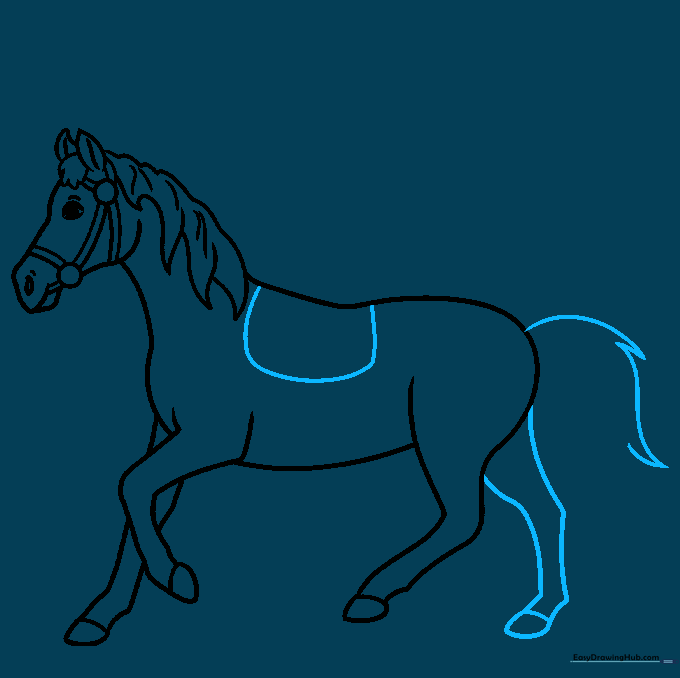
Sketch the final leg and add a jagged tail. On the horse's back, draw a rounded rectangle to serve as the base for the saddle. Teacher's Tip: The saddle sits right behind the shoulders—check your proportions to ensure it looks comfortable for the rider!
Drawing the Rider's Profile
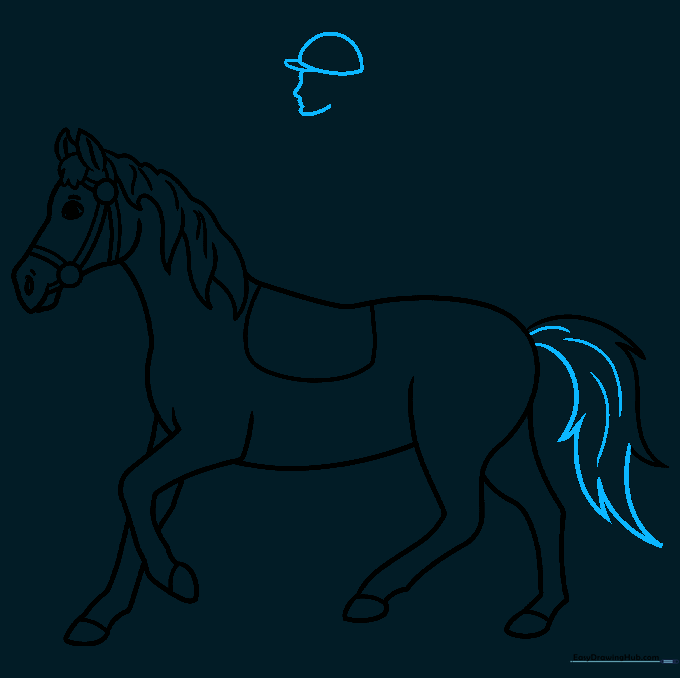
Now, let's add the rider! Draw the profile of the face and a simple hat shape using a semicircle. Teacher's Tip: Keep the rider's head small in proportion to the horse to maintain a realistic scale.
Adding Rider Details
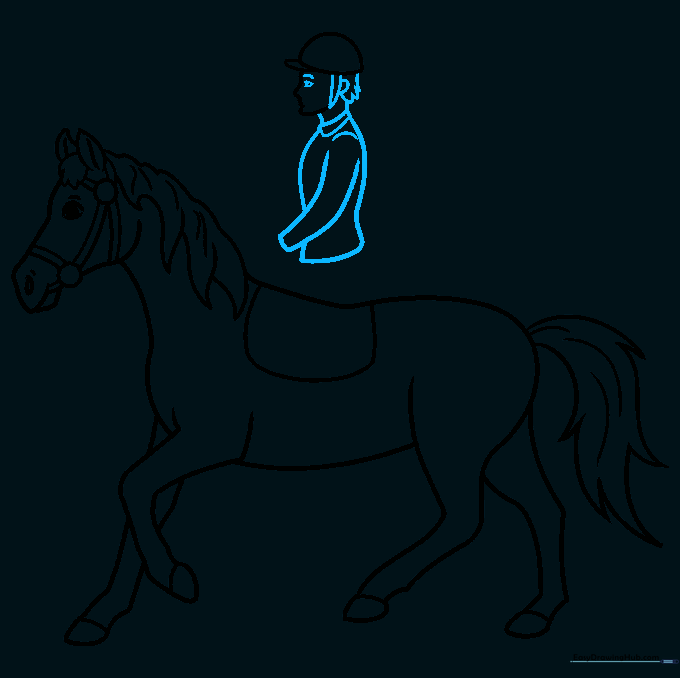
Sketch the eye, eyebrow, and the strap of the riding helmet. Continue with the neck, shirt collar, and shoulders. Teacher's Tip: Use short, clean lines to define the collar to make the clothing look structured.
Drawing the Hands and Reins
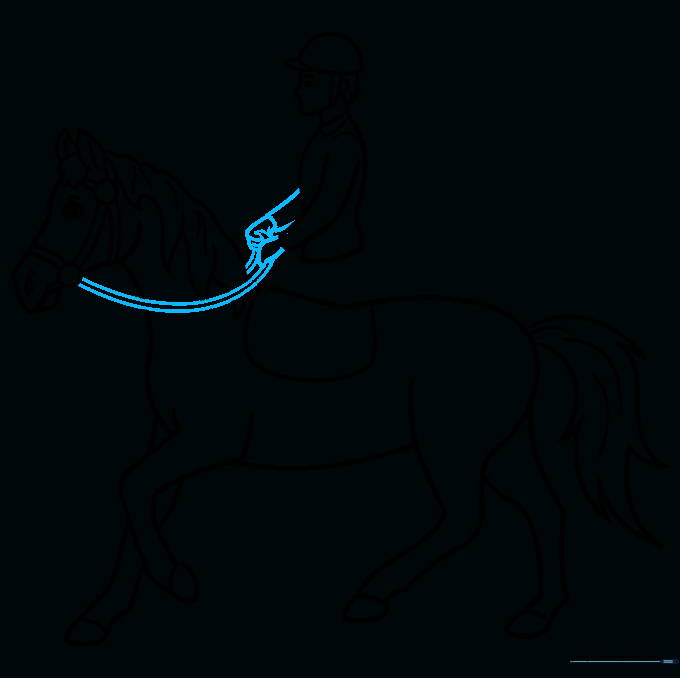
Draw the hands holding the reins. Use overlapping lines for the fingers and long, smooth lines for the reins connecting to the bridle. Teacher's Tip: If the reins look too stiff, add a slight curve to show they are being held with tension.
Finalizing Legs and Saddle
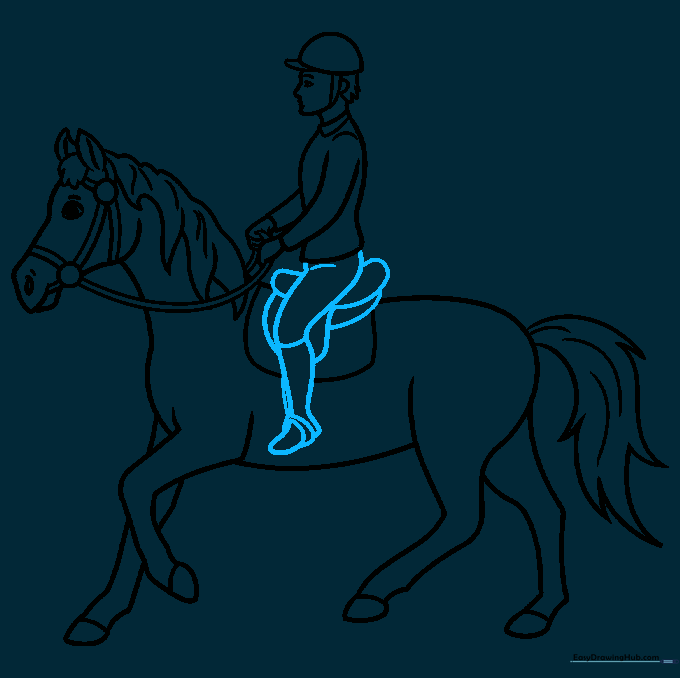
Complete the rider's legs, adding bands for the boots and stirrups. Finish the English-style saddle by adding the pommel and kneepad details. Teacher's Tip: Focus on the stirrups—they should hang naturally from the saddle.
Coloring Your Masterpiece
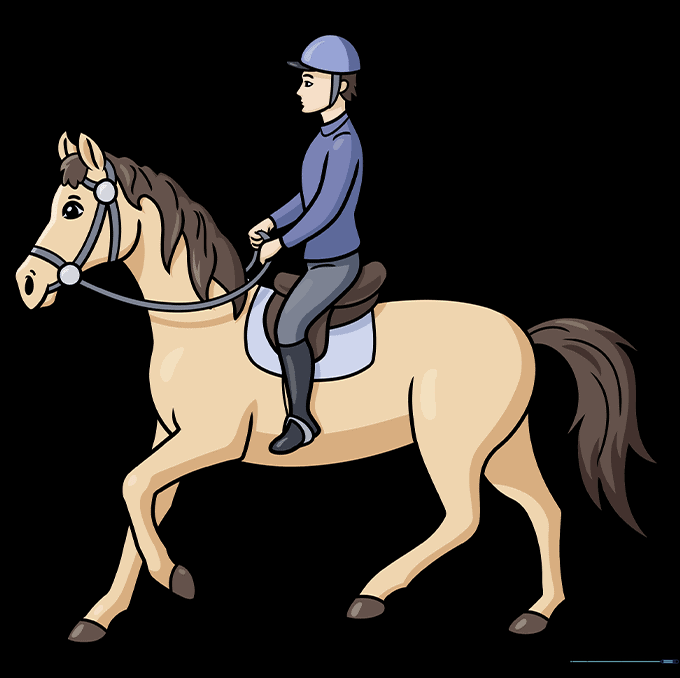
Time to bring your drawing to life with color! Use your favorite markers or colored pencils. Teacher's Tip: Think about the rider's competition colors—what theme will you choose for your equestrian team?
More Tutorials


