How to Draw a Hood: Easy 10-Step Guide for Beginners
Ready to add some mystery to your character designs? This tutorial is perfect for artists ages 6+ looking to master fabric folds and head shapes. Grab a pencil, an eraser, and a piece of paper to follow along with these simple, guided steps.
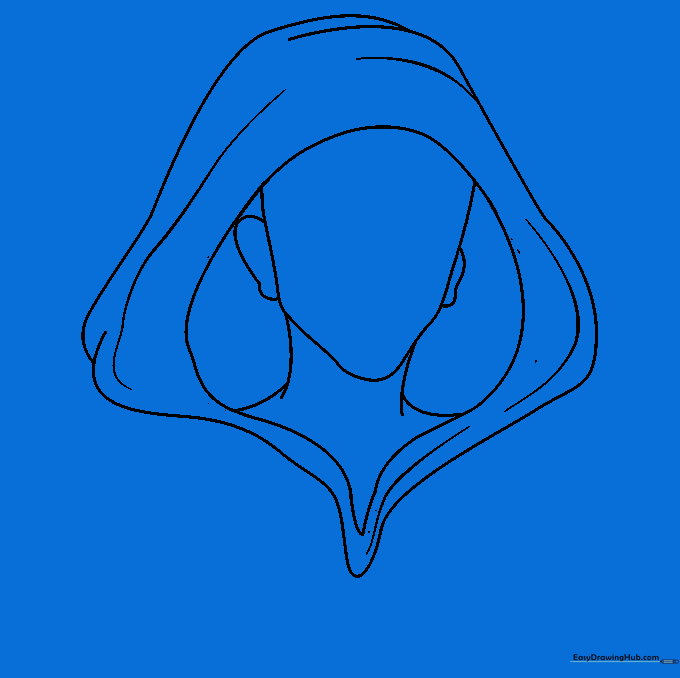
🎯 Final Result

Step-by-Step Instructions
Step 1: Sketching the Head and Neck
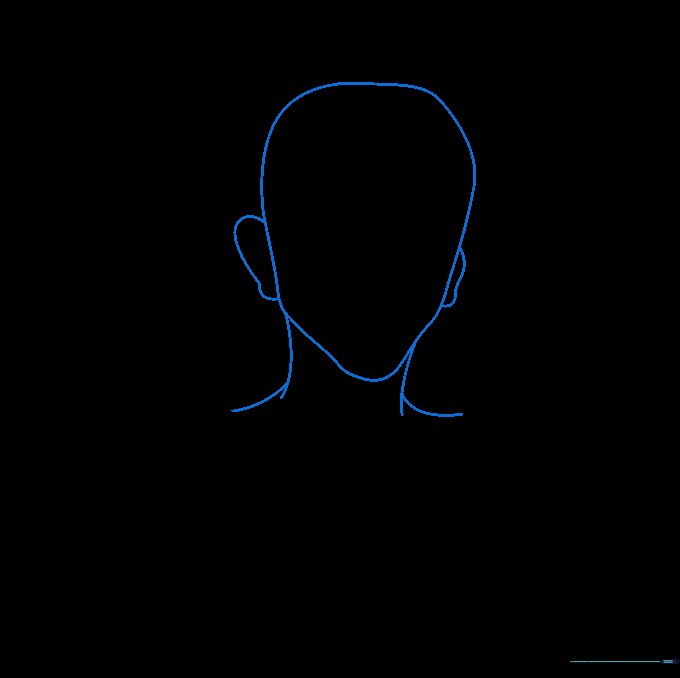
Start by sketching a soft, rounded shape for the head and two curved lines for the neck. Teacher's Tip: Keep your pencil pressure light so you can easily erase the top of the head later when we add the hood.
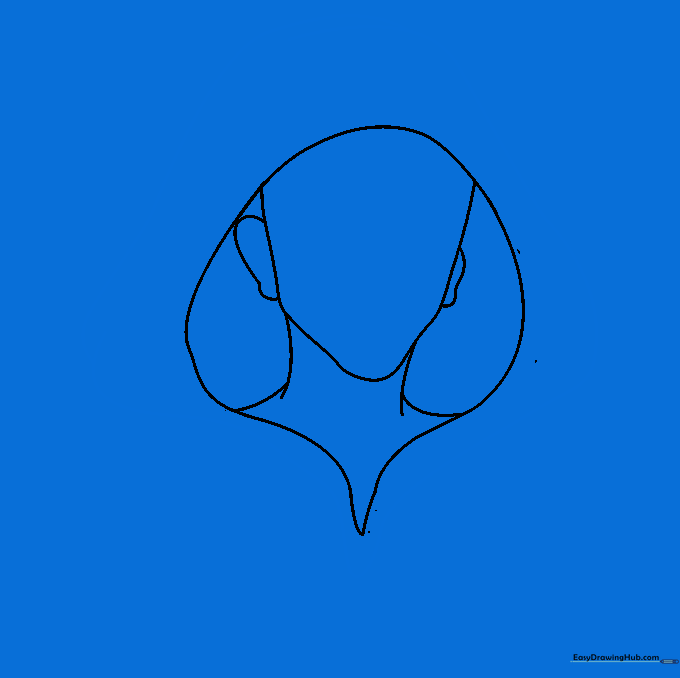
Step 2: Defining the Hood Opening
Draw an inverted teardrop shape to create the hood opening. Tip: Make sure the bottom of the teardrop points toward the chin area to give the hood a natural, draped look.
Step 3: Outlining the Hood
Add a parallel curved line around the outside of your teardrop shape to form the thickness of the hood. Now, you can carefully erase the lines of the head that are hidden inside the hood.
Step 4: Adding Fabric Folds
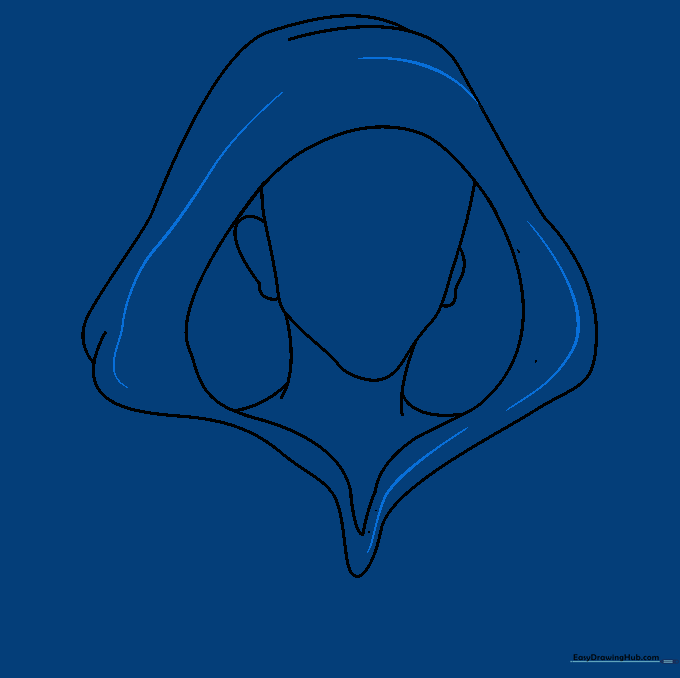
Draw a few soft, curved lines across the surface of the hood. Tip: Think of these as small 'valleys' in the fabric; keeping them curved makes the hood look like soft cloth rather than stiff plastic.
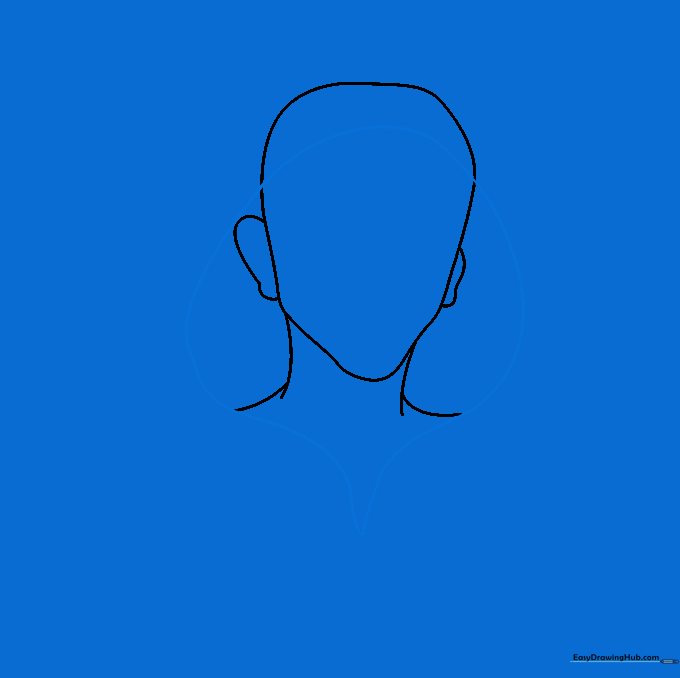
Step 5: Drawing the Face
Sketch the eyes, nose, and mouth inside the hood opening. Tip: Start with the eyes first to establish the expression, then draw the nose and mouth slightly below them.
Step 6: Adding Hair Details
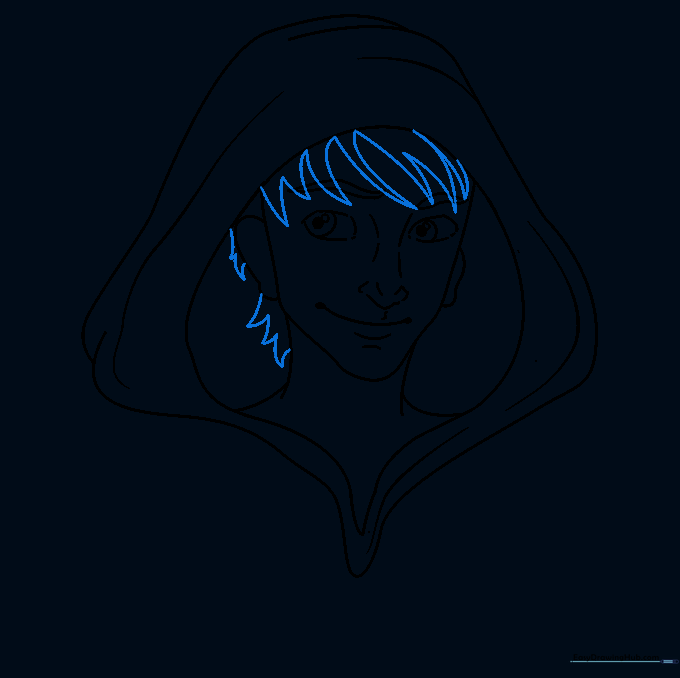
Use small, pointed curved lines to draw hair peeking out from the hood. Tip: Vary the size of these points to make the hair look more natural and less like a solid block.
Step 7: Drawing the Zipper

Add a small zipper detail at the base of the hood opening. Draw a small rectangle with a circle above it to represent the pull tab.
Step 8: Sketching the Shoulders

Extend long, sweeping curved lines from the neck to create the shoulders. Tip: Make these lines flow naturally from the hood to show how the garment sits on the body.
Step 9: Refining the Details
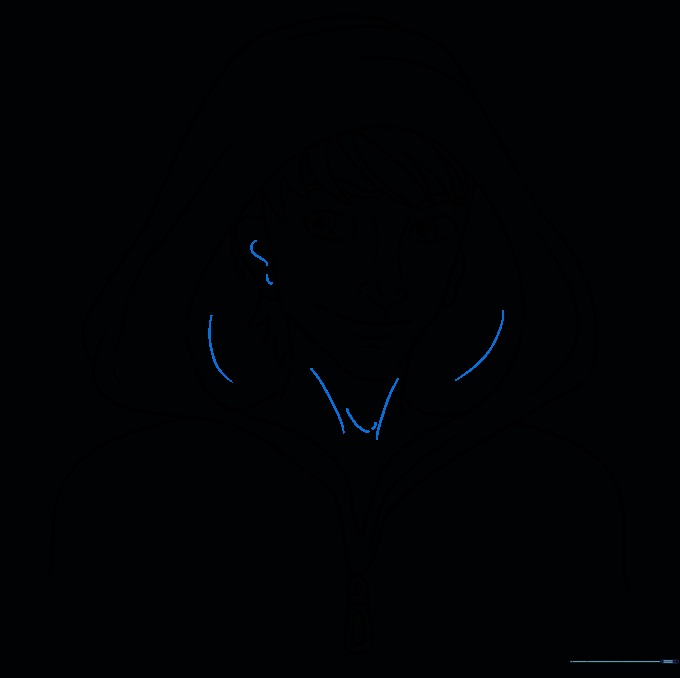
Add final touches like the inner ear and extra shading lines inside the hood. This adds depth to your drawing and makes the fabric look thicker.
Step 10: Coloring Your Masterpiece

Time to bring your character to life! Use your favorite colors. Tip: Try using a darker shade of your main color in the folds to create a realistic shadow effect.
More Tutorials


