How to Draw a Honeycomb: Easy 10-Step Guide for Kids
Perfect for young artists ages 5 and up, this honeycomb tutorial turns simple geometry into a buzzing masterpiece. All you need is a pencil, an eraser, and your favorite markers or crayons. Follow along to practice drawing hexagons and bringing a busy bee colony to life on your page.
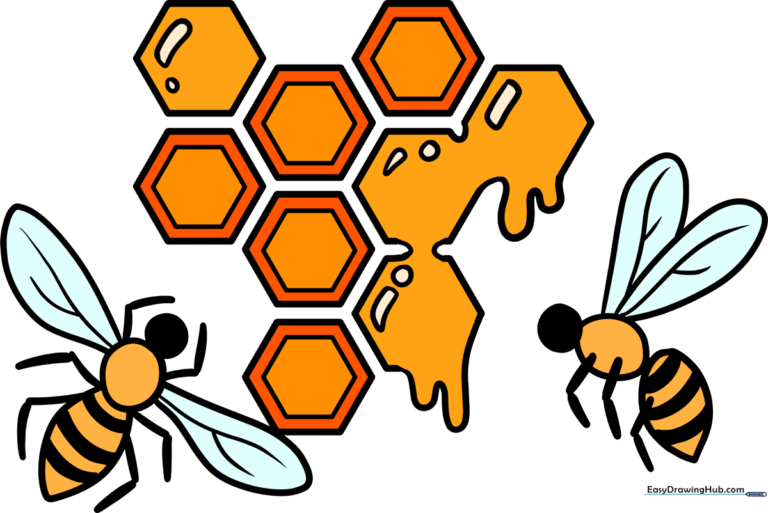
🎯 Final Result
Step-by-Step Instructions
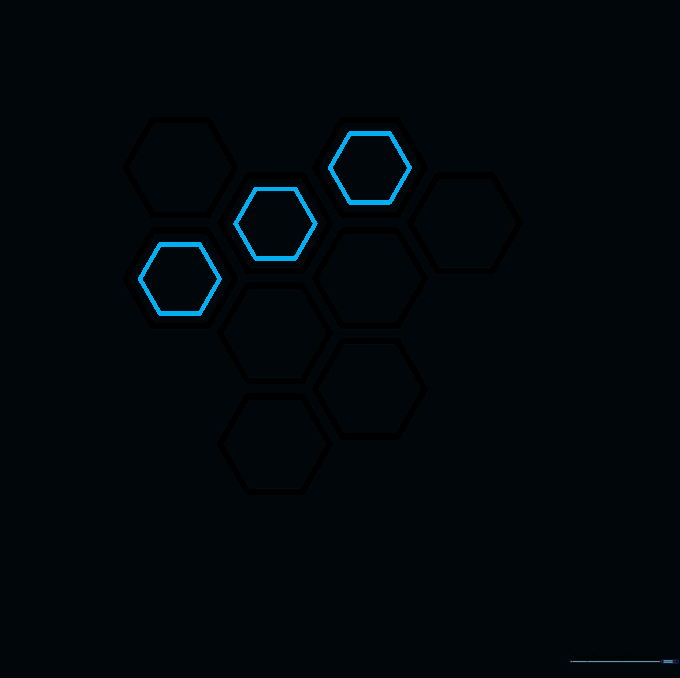
Step 1: Sketching the Base Hexagons

Start by drawing three regular hexagons. Tip: Think of these as six-sided puzzle pieces. Keep your lines light and straight to ensure they fit together perfectly.
Step 2: Expanding the Hive

Add three more hexagons to your cluster. Tip: Try to match the size of your first three shapes to keep the honeycomb pattern looking consistent and professional.
Step 3: Building the Foundation

Add three more hexagons below the others. Tip: Imagine you are building a wall of bricks; let the corners of the new shapes touch the sides of the ones above.
Step 4: Adding Depth
Draw smaller hexagons inside three of your existing shapes. Tip: Keep these inner lines parallel to the outer edges to create the illusion of thickness in the honeycomb walls.
Step 5: Defining Empty Cells
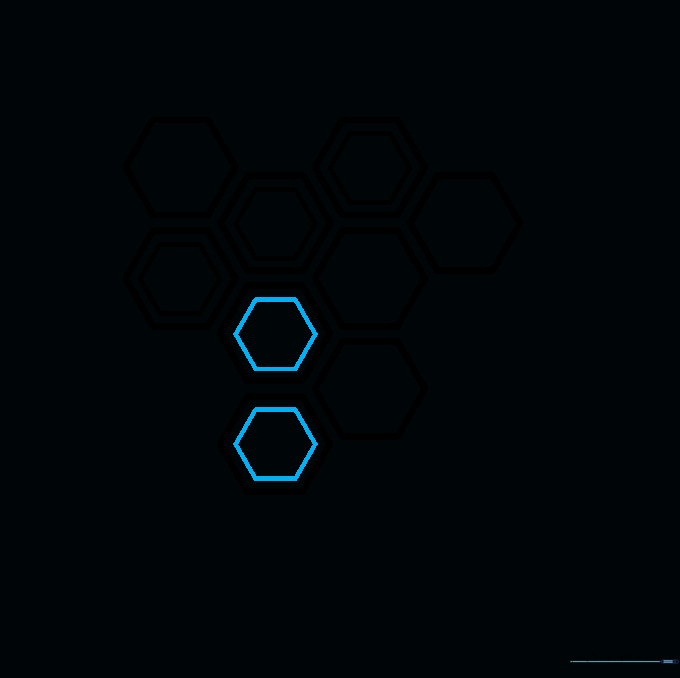
Add inner lines to two more cells. Tip: These represent empty chambers where the bees haven't stored honey yet, so keep these lines clean and sharp.
Step 6: Adding Dripping Honey
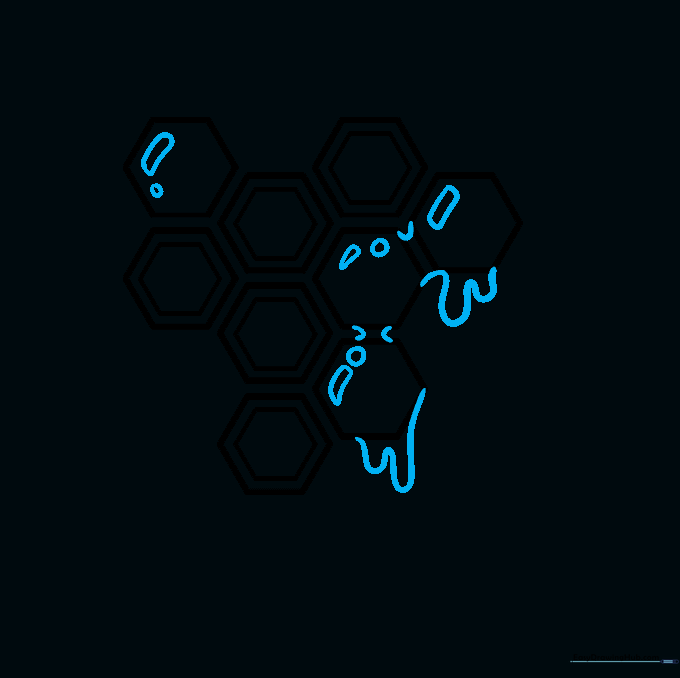
Draw wavy, doubled-back lines dripping from the cells. Add small circles on the filled cells to represent the wax seals. Tip: Use a light touch for the drips to make them look fluid and sticky.
Step 7: Sketching the First Bee
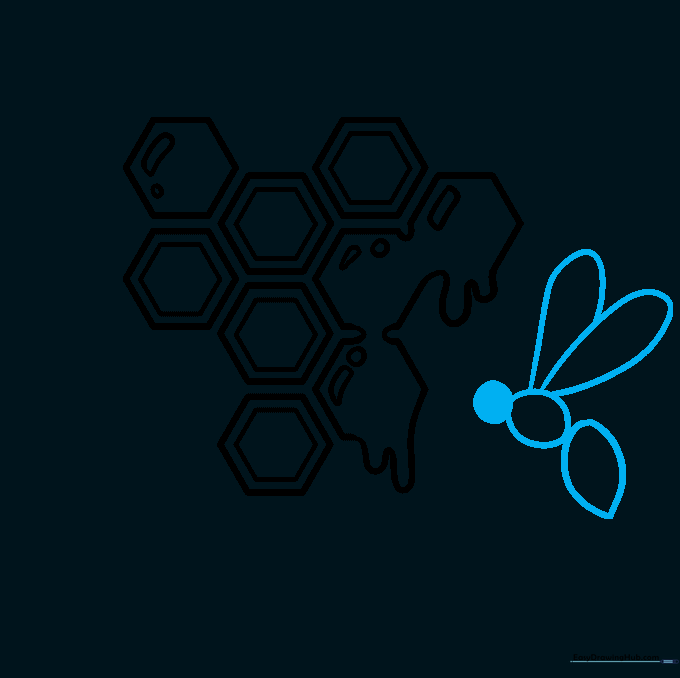
Erase parts of the honeycomb to make room for a bee. Draw a circle for the head, an oval for the thorax, and a teardrop for the abdomen. Tip: Shade the head lightly to give it a friendly, cartoonish look.
Step 8: Adding a Second Bee
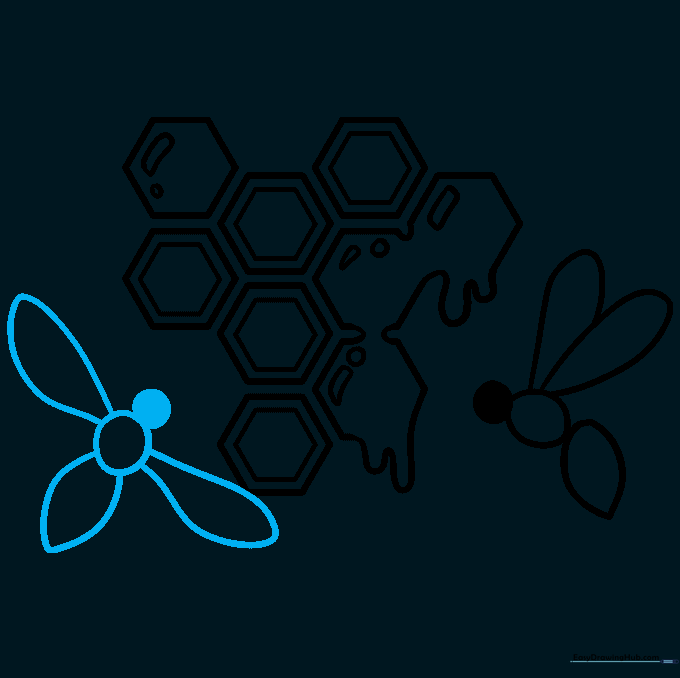
Repeat the process to add a second bee. Tip: Vary the angle of the second bee to make your drawing look more dynamic and active.
Step 9: Detailing the Bees
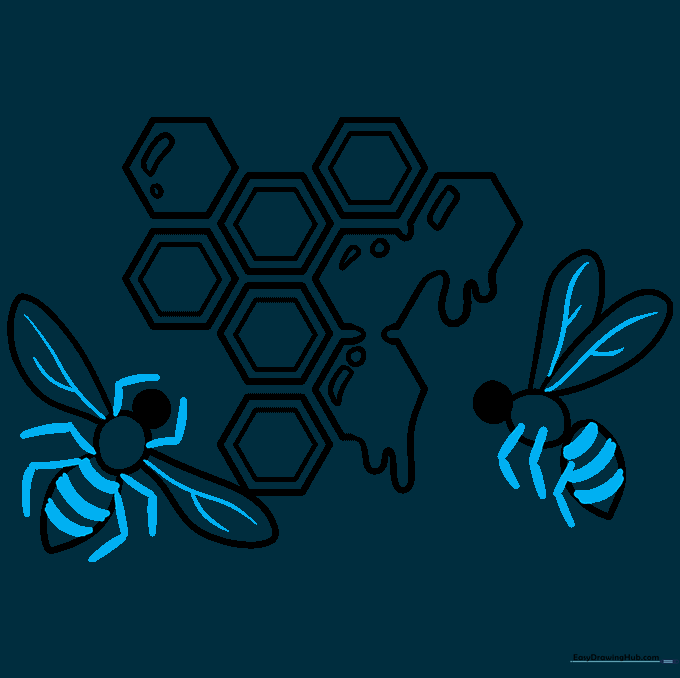
Add stripes to the abdomens and draw simple, jointed legs. Texture the wings with delicate, branching lines. Tip: Keep the legs thin so they don't distract from the main body.
Step 10: Adding Color
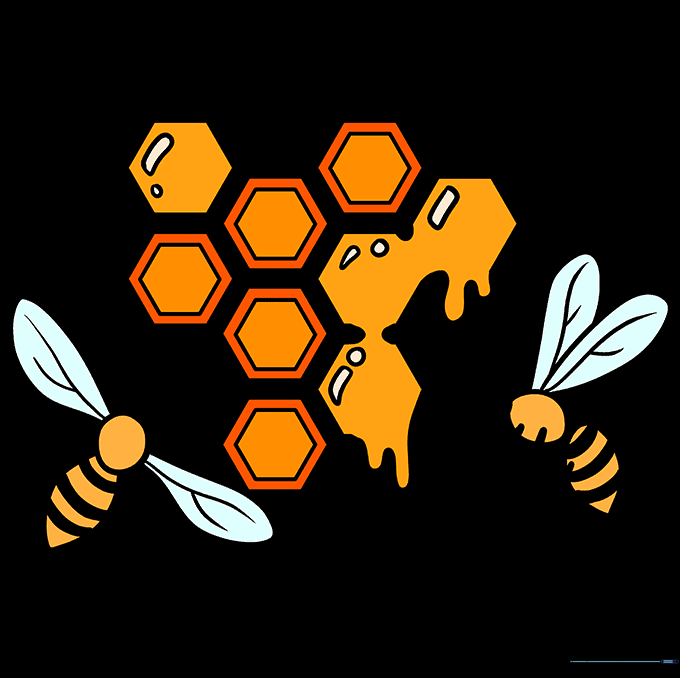
Bring your drawing to life with bright yellows and deep blacks. Tip: Use a light orange for the honey to make it look sweet and translucent.
More Tutorials


