How to Draw a Hockey Player: Easy 10-Step Guide
Ready to hit the ice? This tutorial is perfect for young sports fans ages 7+ looking to capture the action of a hockey player in motion. You will only need a pencil, an eraser, and your favorite markers to bring this athlete to life.
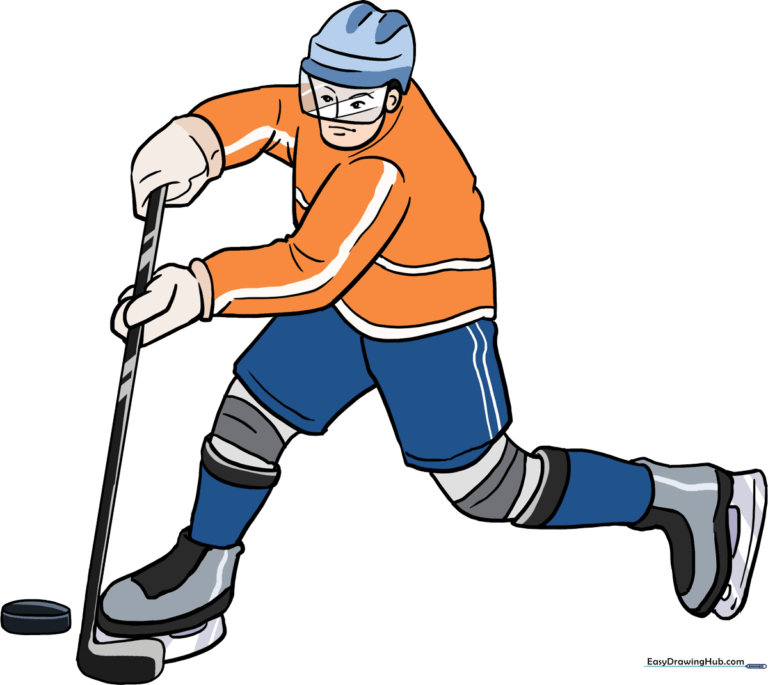
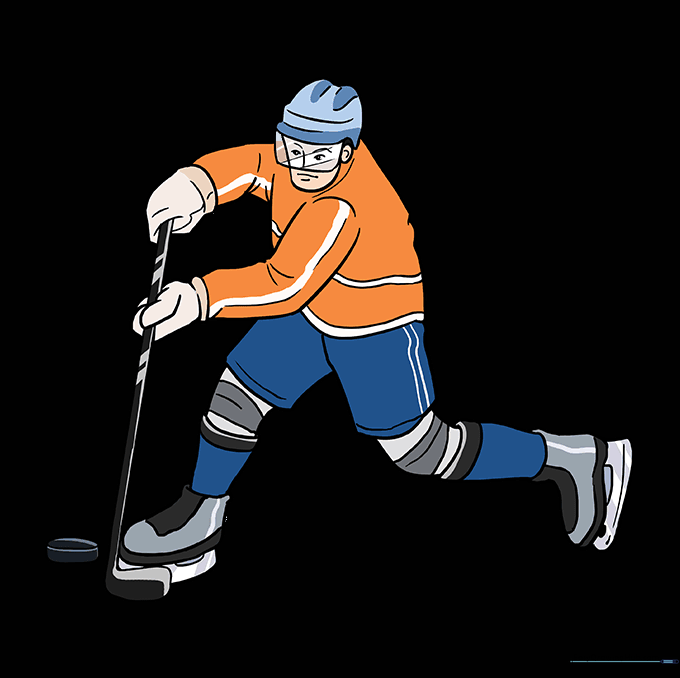
🎯 Final Result
Step-by-Step Instructions
Sketching the Head and Chin

Start by drawing two gentle curved lines to form the chin and ear area. Teacher's Tip: Keep these lines soft and rounded; they serve as the foundation for the helmet later.
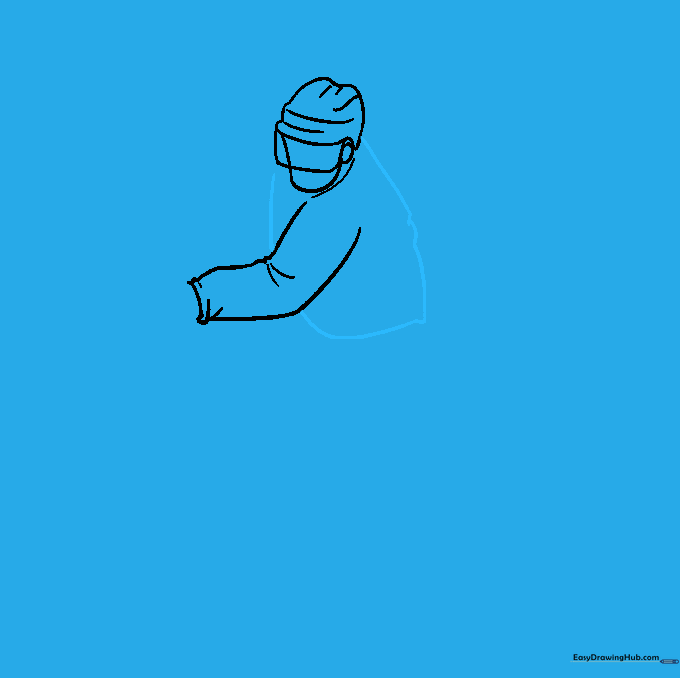
Adding the Helmet and Mask

Connect the ear to the opposite side of the face with a large curve to form the helmet. Add a rectangular shape for the face mask. Tip: Use a ruler if you struggle with straight lines for the mask, but freehand adds more character!
Forming the First Arm
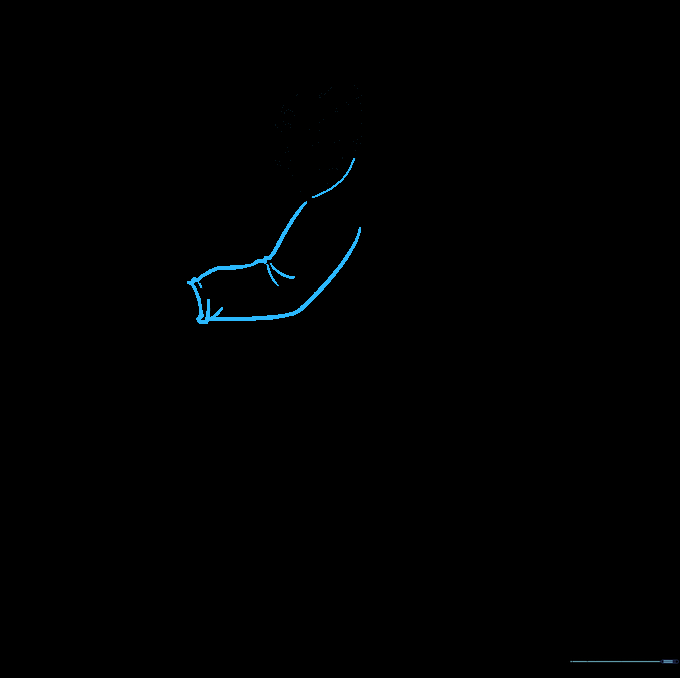
Draw two long, parallel curved lines to create the arm. Add smaller curves at the wrist and elbow to suggest fabric folds. Tip: Think of the arm as a tube—keep the width consistent.
Outlining the Torso
Use smooth, sweeping curved lines to define the back and torso. Tip: Keep your pencil moving in one fluid motion to make the jersey look natural and loose.
Drawing the Second Arm and Glove

Sketch the opposite arm and glove using curved lines. Add small 'V' shapes to show where the fabric bunches at the joints. Tip: Gloves are bulky, so make these shapes slightly larger than the arm.
Detailing the Glove
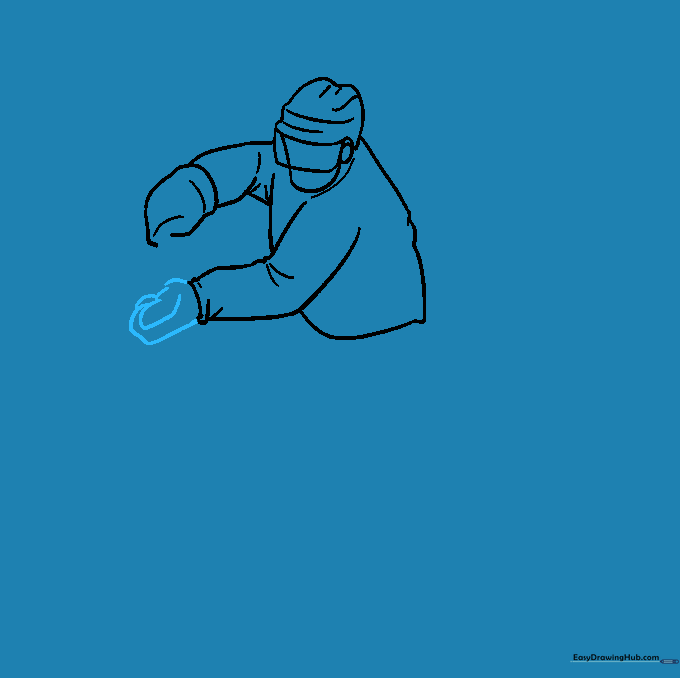
Focus on the glove details by drawing overlapping lines for the fingers and thumb. Tip: Observe your own hand to see how fingers overlap when making a fist.
Adding the Hockey Stick
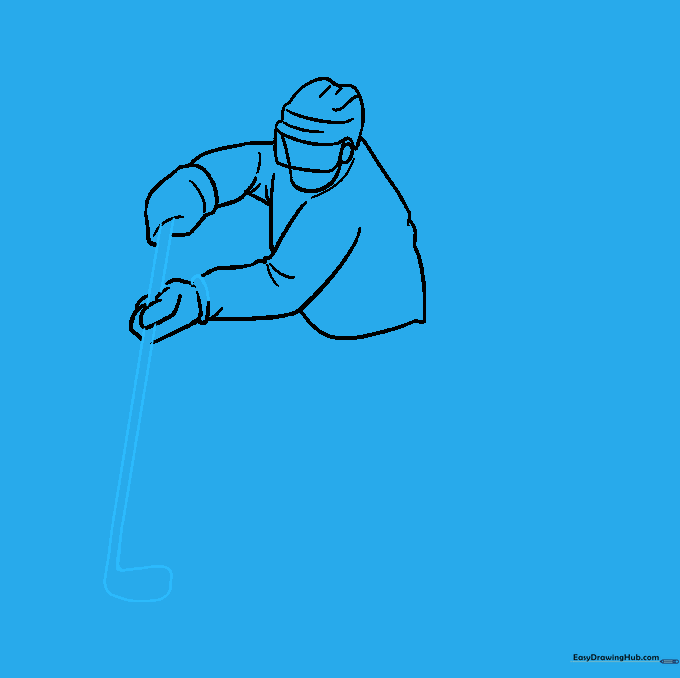
Draw two parallel lines extending from the gloves to create the shaft of the stick. Add a rounded rectangle at the bottom for the blade. Tip: Erase any lines that overlap the stick to make it look like it's being held.
Sketching the Uniform and Skates
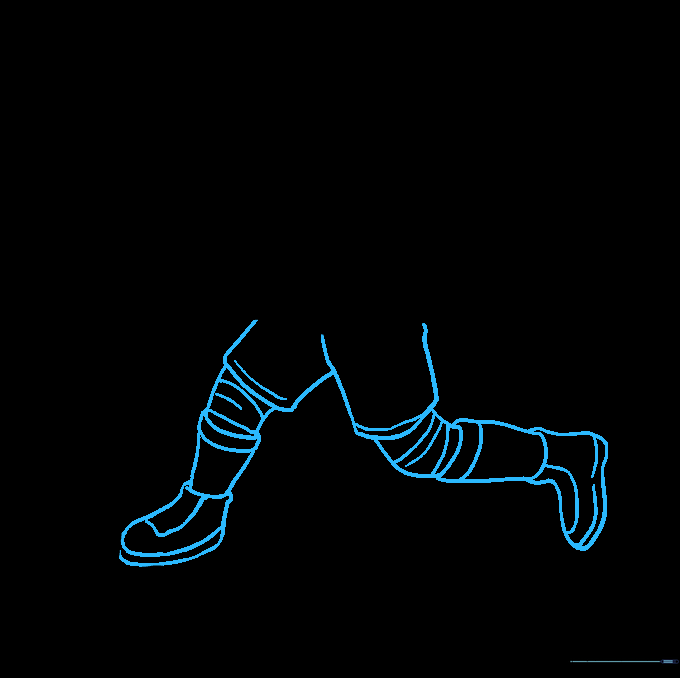
Draw the pants, legs, and socks. Add the soles and tongues of the ice skates. Tip: Hockey socks are thick, so draw them wider than the legs to show volume.
Final Touches and the Puck
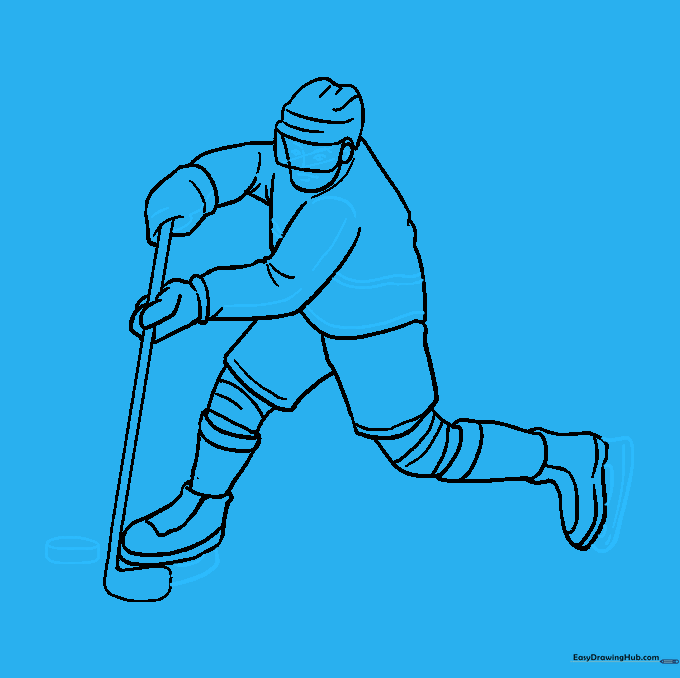
Add the skate blades and a small oval for the puck. Draw a focused expression on the face. Tip: A small oval in front of the stick blade creates the perfect puck!
Coloring Your Masterpiece
Bring your player to life with color! Use your favorite team's colors for the jersey and socks. Tip: Use a light grey for the skate blades to give them a metallic look.
More Tutorials