How to Draw a Hibiscus: Easy 10-Step Guide for Beginners
Bring a touch of the tropics to your sketchbook with this hibiscus drawing tutorial. Designed for artists ages 5 and up, this screen-free activity requires only a pencil, eraser, and paper. Follow these simple steps to master the iconic shape and delicate details of this vibrant flower.
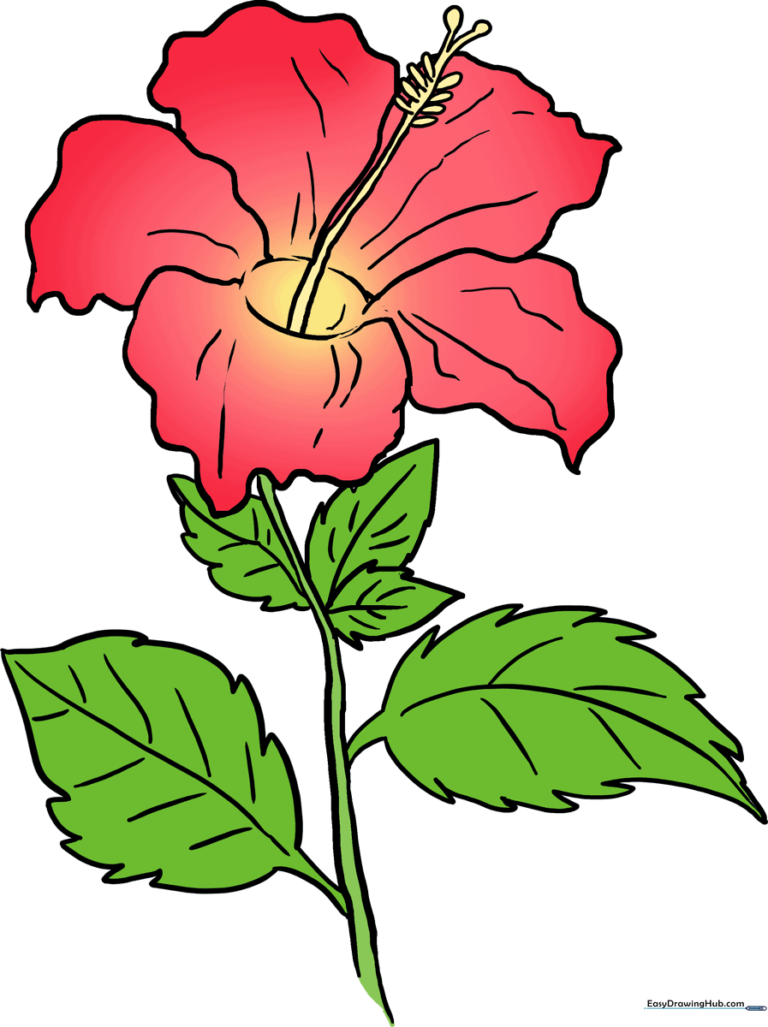
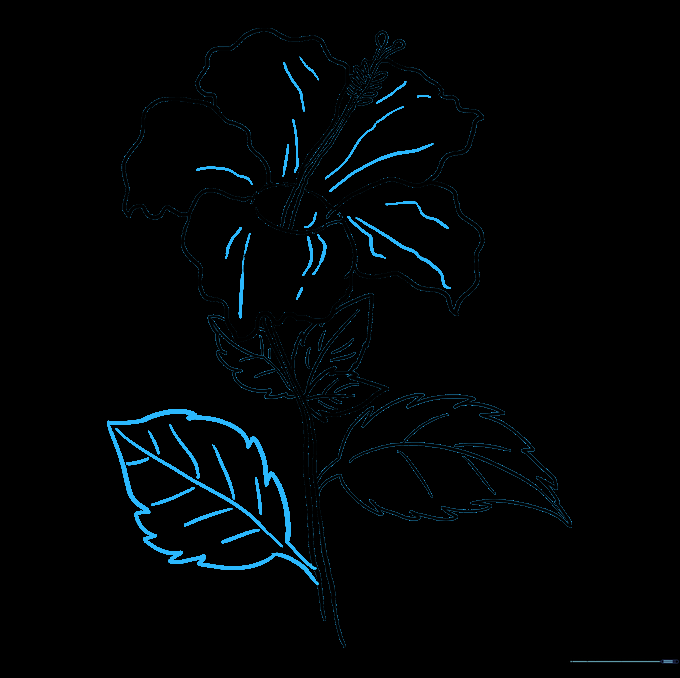
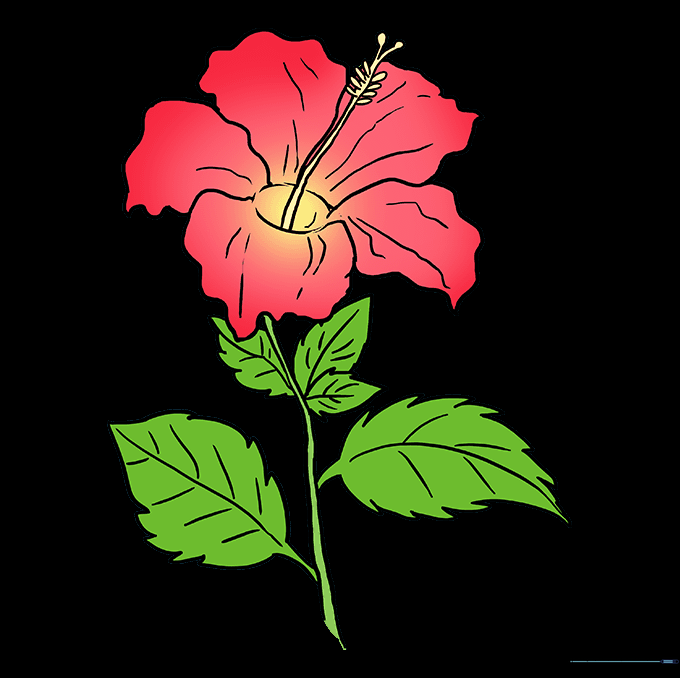
🎯 Final Result
Step-by-Step Instructions
Sketching the Center

Start by drawing a small, neat oval in the middle of your page to serve as the flower's heart. Teacher's Tip: Keep your pencil pressure light so you can easily adjust the shape later if needed.
Forming the First Petals

Extend a wavy, curved line from the center to create a pointed petal shape, then loop it back to the oval. Repeat this to add two more petals. Teacher's Tip: Hibiscus petals aren't perfectly round, so don't worry if your waves look a bit uneven—it makes them look more natural!
Filling the Background
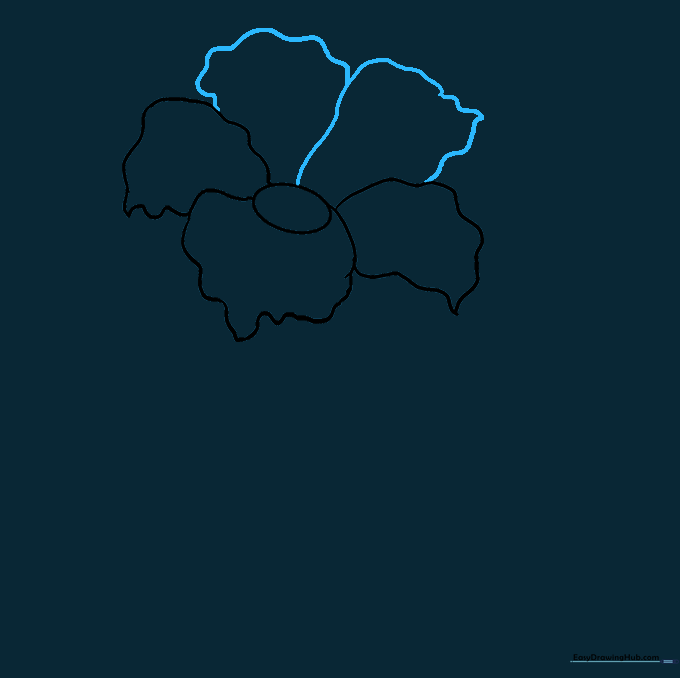
Add two more wavy petals behind the first set to give your flower depth. Teacher's Tip: Imagine these petals are tucked behind the others, so draw them slightly smaller to create a sense of perspective.
Refining the Center
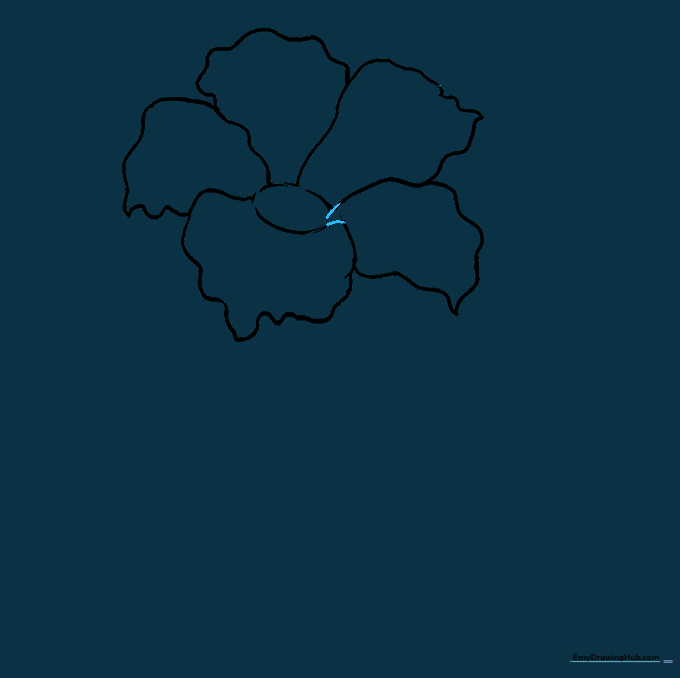
Carefully erase the lines of the center oval that overlap with your petals. This helps the petals look like they are growing directly from the heart of the flower. Teacher's Tip: Use a kneaded eraser if you have one for cleaner lines.
Drawing the Stem
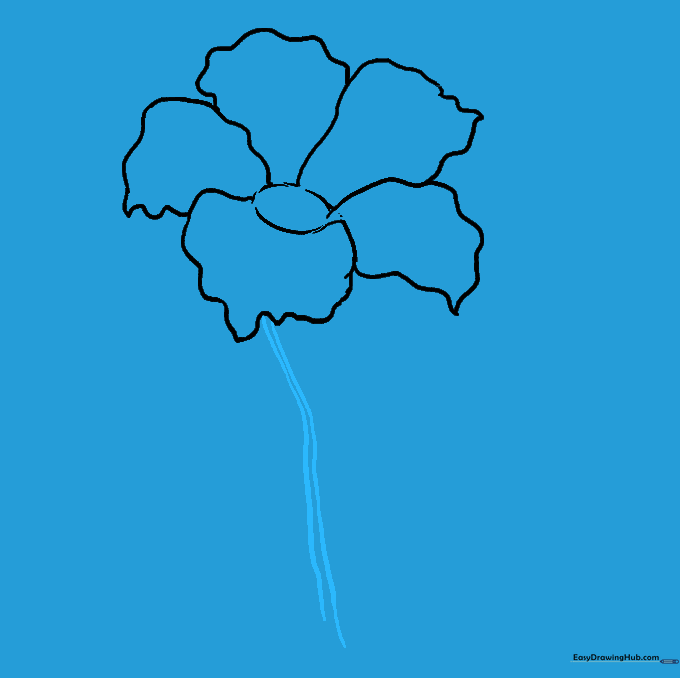
Draw two parallel, slightly curved lines extending downward from the base of the flower. Teacher's Tip: Keep these lines close together to make the stem look sturdy and realistic.
Adding the Pistil
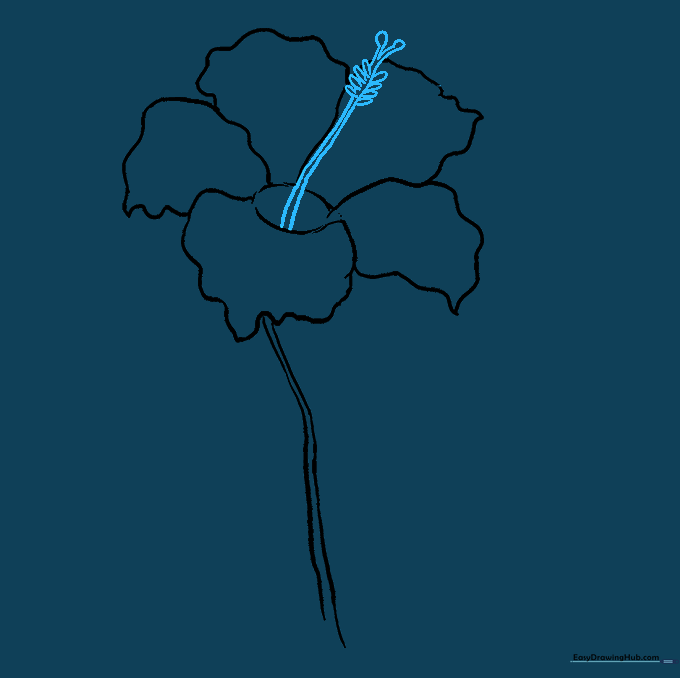
Extend two narrow lines upward from the center, branching into a 'V' shape at the top. Add small circles at the ends to create the stigma. Teacher's Tip: This is the 'star' of the hibiscus, so take your time making these small, delicate details.
Sketching the First Leaf
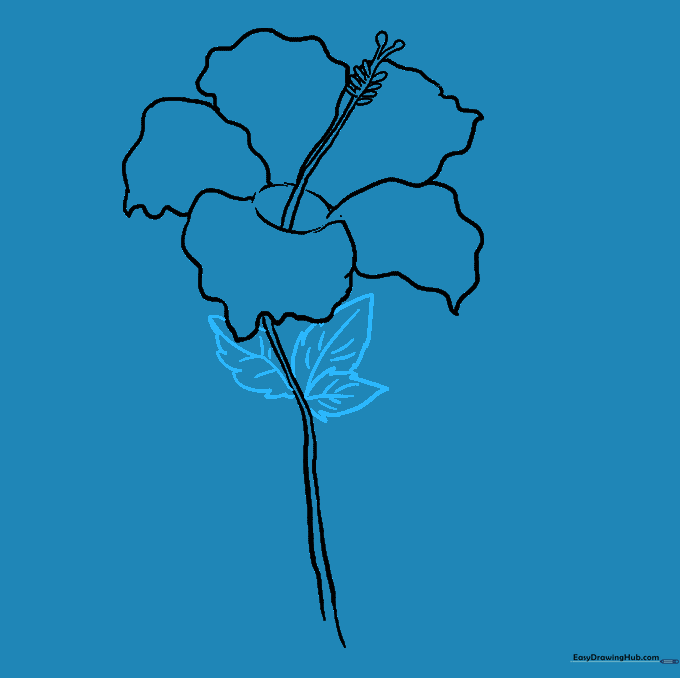
Draw a jagged, pointed leaf shape near the stem. Add a central vein line and smaller lines branching out. Teacher's Tip: Use short, quick strokes to give the leaf edges that natural, serrated look.
Adding More Leaves
Repeat the process to add another leaf on the opposite side. Teacher's Tip: Varying the size of your leaves makes the drawing look more balanced and professional.
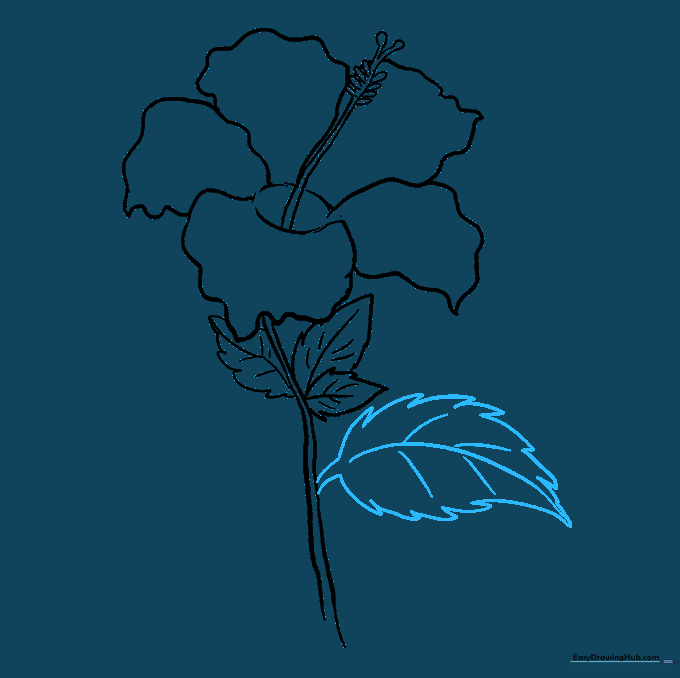
Final Touches
Add one more leaf and draw curved lines on the petals to show their texture. Teacher's Tip: These lines should follow the curve of the petal to give the flower a 3D feel.
Coloring Your Masterpiece
Bring your hibiscus to life with bright colors! Try bold reds, sunny yellows, or tropical pinks. Teacher's Tip: Use a darker shade of your chosen color near the center to create a beautiful shadow effect.
More Tutorials


