How to Draw a Hello Kitty Face: Easy 5-Minute Guide
Ready to bring everyone's favorite character to life? This tutorial is perfect for artists ages 5 and up. All you need is a pencil, an eraser, and a piece of paper to practice these iconic shapes and build your confidence as an illustrator.
🎯 Final Result

Step-by-Step Instructions
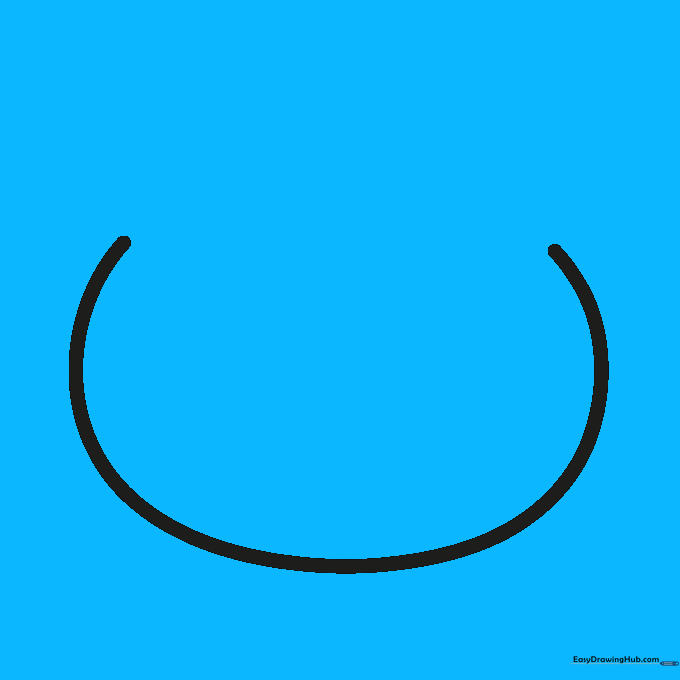
Step 1: Sketching the Head Shape

Draw a large, wide oval for the head, leaving the top slightly open for the ears. Teacher's Tip: Keep your hand loose and draw lightly; this helps you get a smooth, rounded shape without needing to press hard.
Step 2: Placing the Eyes
Draw two small, solid ovals in the center of the face. Teacher's Tip: Make sure they are spaced evenly apart so your character looks balanced and friendly.
Step 3: Adding the Nose and Head Curve

Draw a small oval between the eyes for the nose, then add a soft curve at the top of the head. Teacher's Tip: The nose should be slightly lower than the eyes to give her that classic, cute expression.
Step 4: Drawing the First Ear

Add a rounded triangle shape on the left side of the head. Teacher's Tip: Think of this as a soft mountain peak; don't make the corners too sharp!
Step 5: Completing the Ears

Repeat the triangle shape on the right side and connect the lines to finish the head outline. Teacher's Tip: Check that both ears are roughly the same size for symmetry.
Step 6: Sketching the Bow
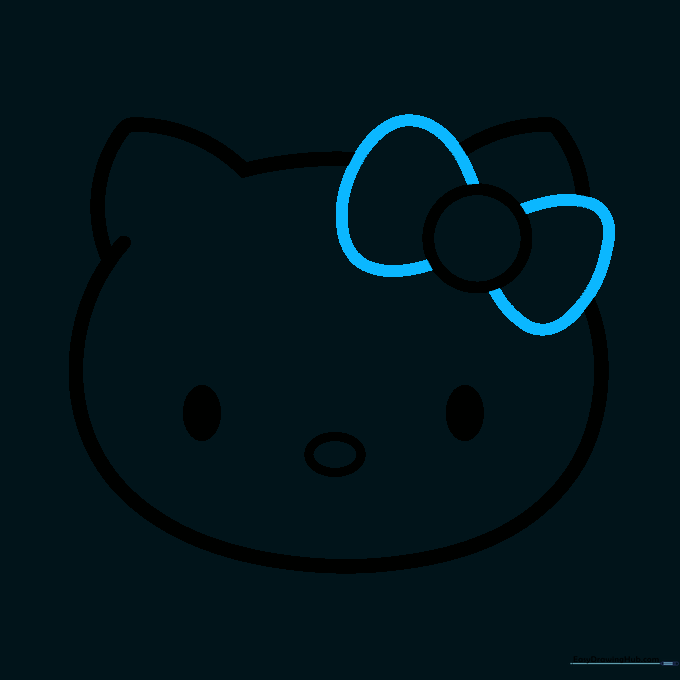
Draw two wide, rounded triangles on the side of the head to form the bow. Teacher's Tip: Make these shapes slightly overlapping to give the bow a 3D look.
Step 7: Adding Bow Detail
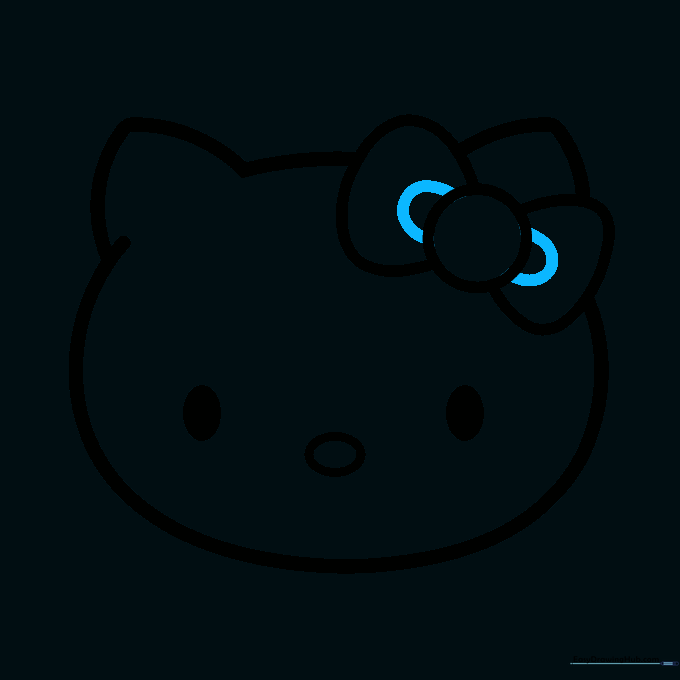
Add a small circle in the center of the bow and small loops inside the triangles. Teacher's Tip: This adds depth and makes the bow look like it's tied with ribbon.
Step 8: Drawing Left Whiskers
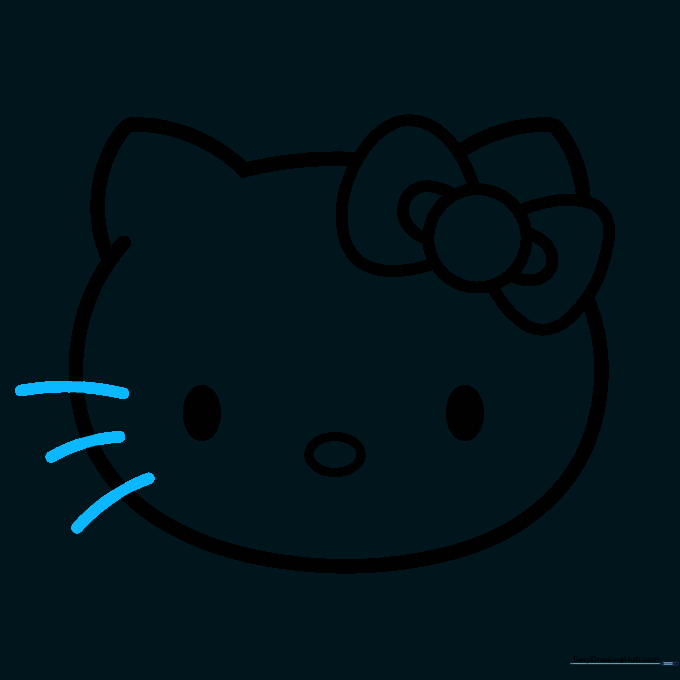
Add three short, horizontal lines on the left cheek. Teacher's Tip: Keep the lines parallel to each other for a clean, professional look.
Step 9: Drawing Right Whiskers

Repeat the three lines on the right cheek. Teacher's Tip: Try to match the angle of the whiskers on the left side to keep the face looking balanced.
Step 10: Final Outline and Color
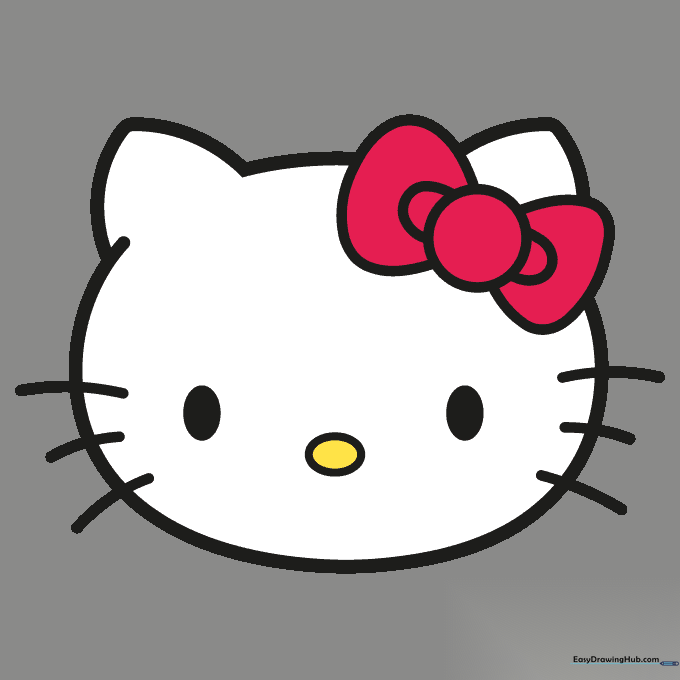
Trace your final lines with a black marker. Color the nose yellow and the bow dark pink. Teacher's Tip: Use a steady hand when outlining to make your character pop off the page!
More Tutorials


