How to Draw a Heliconia: Easy 9-Step Tropical Flower Guide
Bring a touch of the tropics to your sketchbook with this Heliconia drawing guide, designed specifically for budding artists ages 6 and up. You will need a pencil, an eraser, and your favorite markers or colored pencils. By the end of this lesson, you'll master the art of drawing overlapping organic shapes to create a lush, exotic flower display.
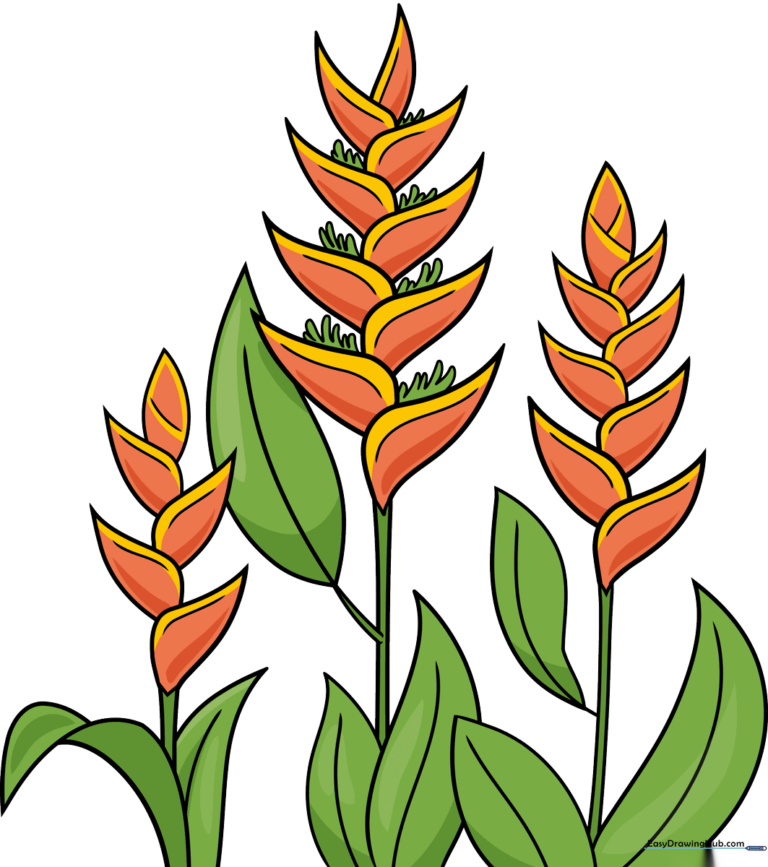
🎯 Final Result
Step-by-Step Instructions
Step 1: Sketching the First Bract
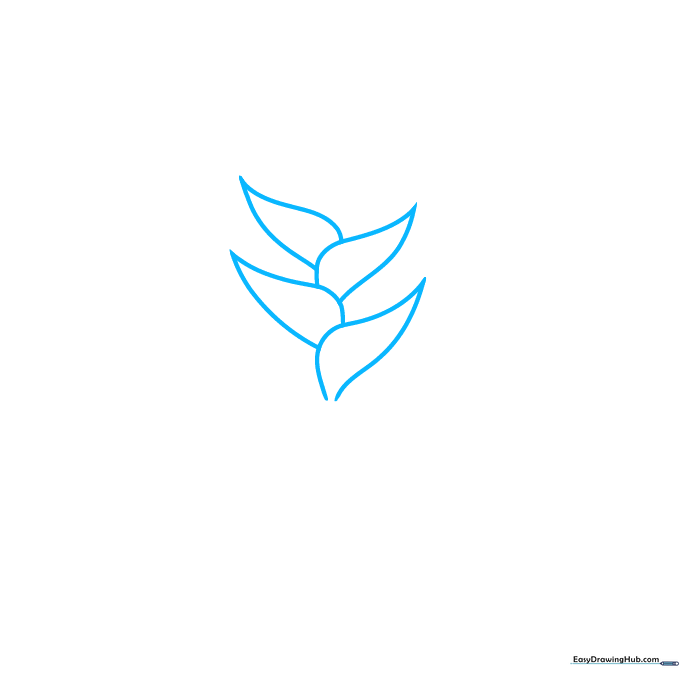
Start by drawing an incomplete teardrop shape that is open at the bottom. Teacher's Tip: Keep this shape loose and rounded—it represents the colorful bracts that protect the flower. Don't worry about perfection; nature is rarely perfectly symmetrical!
Step 2: Layering the Bracts
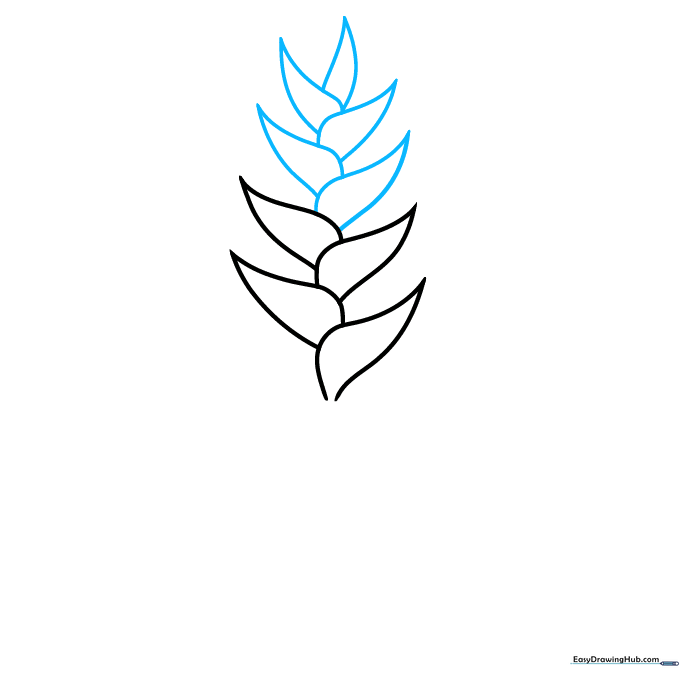
Draw five more overlapping teardrop shapes beneath the first one. Tip: Imagine you are stacking colorful paper cups; ensure each new shape slightly overlaps the one above it to create a sense of depth.
Step 3: Adding Stems and Leaves
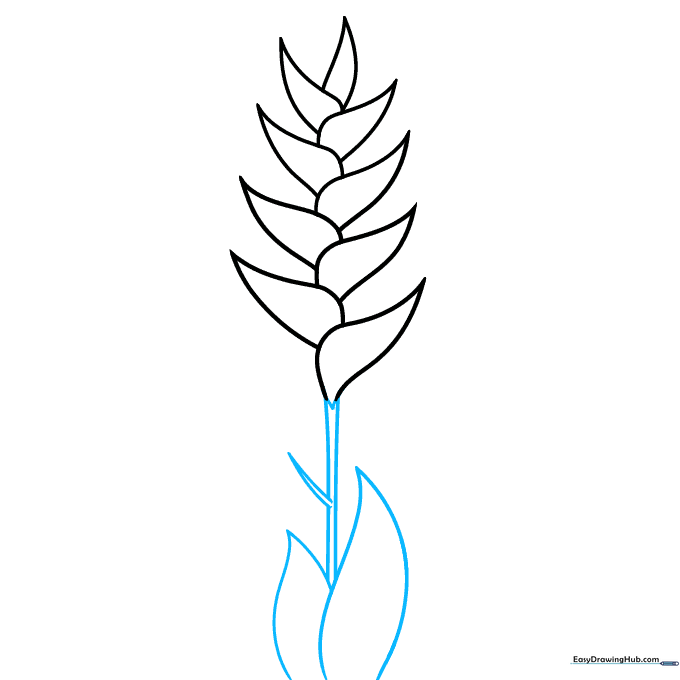
Close the bottom bract with a small 'V' shape and draw two parallel lines downward for the stem. Add a sharp, pointed leaf extending from the side. Tip: Use long, sweeping strokes for the leaves to give them a natural, graceful curve.
Step 4: Starting the Second Flower
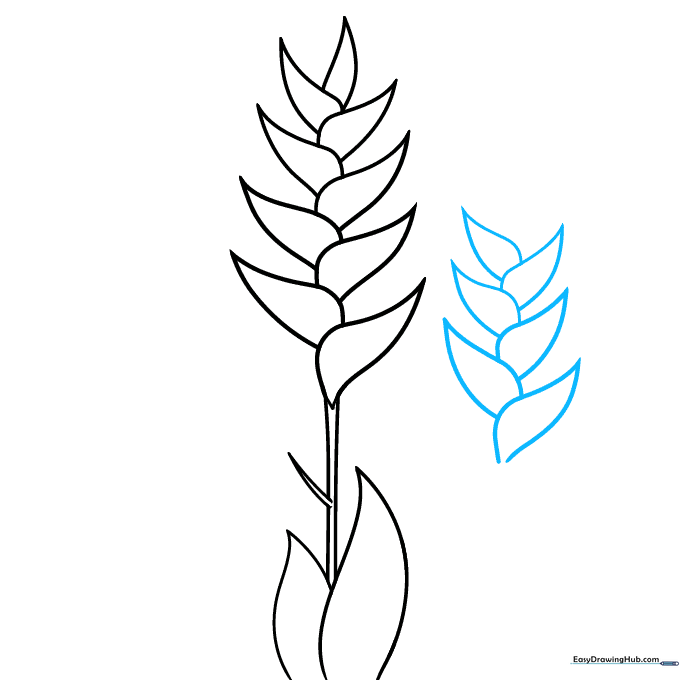
Begin a second Heliconia plant next to the first one by repeating the stack of overlapping teardrop shapes. Tip: Vary the height of this second flower slightly to make your garden scene look more realistic.
Step 5: Expanding the Garden
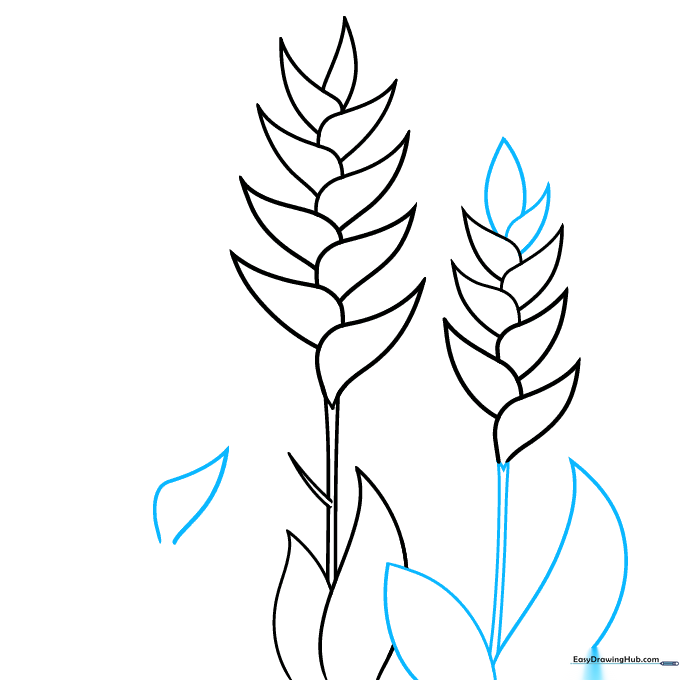
Complete the second flower's stem and add large leaves at its base. Then, start the first bract of a third flower. Tip: Keep your pencil pressure light here so you can easily adjust the placement of the third flower.
Step 6: Adding Dimension to Leaves
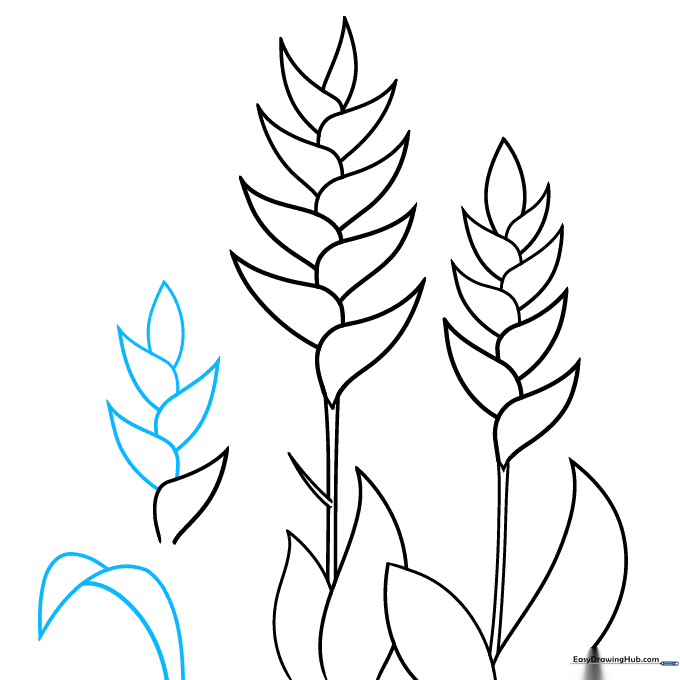
Finish the third flower and add a leaf that appears to fold over. Tip: To create a 3D effect, draw a small triangle shape at the tip of the leaf to show where it bends.
Step 7: Finalizing Stems and Foliage
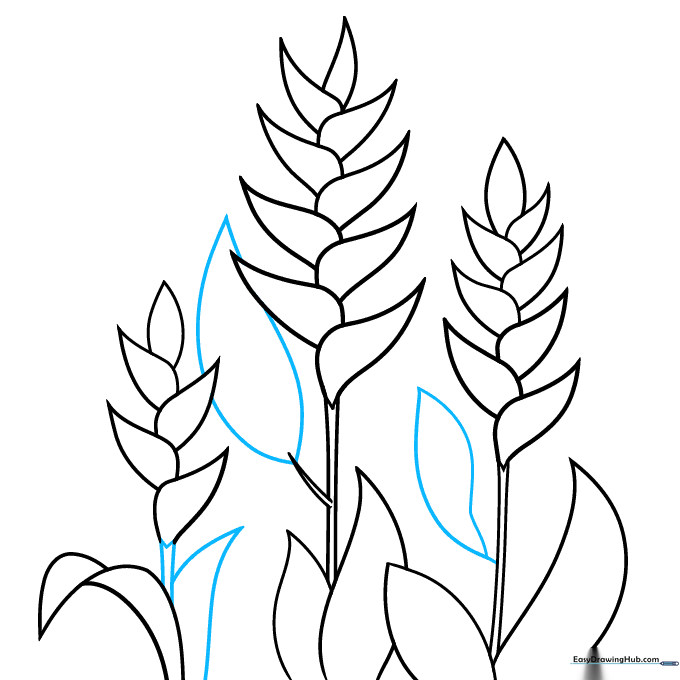
Connect all stems to the ground area and add large, teardrop-shaped leaves to the base of the first two plants. Tip: Ensure the leaves vary in size to create a natural, organic look.
Step 8: Adding Texture and Detail
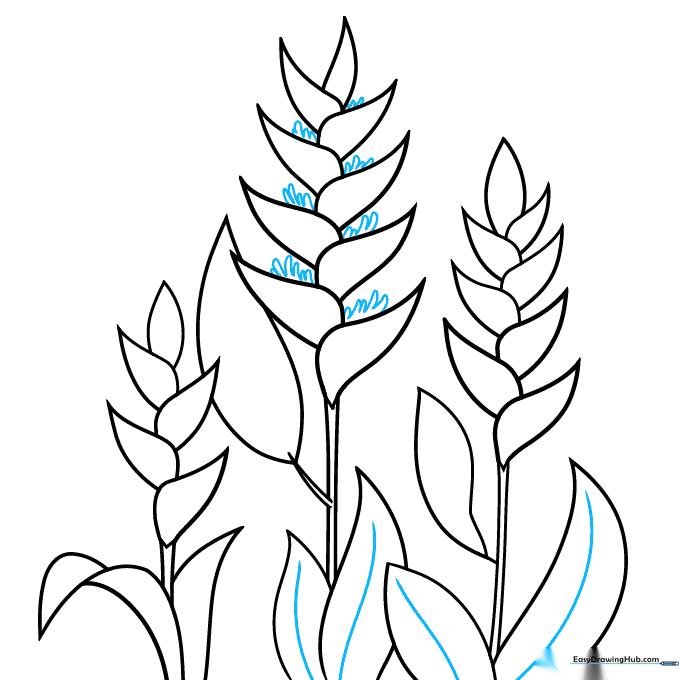
Use small 'U' shaped lines to draw the pollen-bearing structures on the bracts. Draw a central vein down each leaf. Tip: Use a steady hand for the 'U' shapes to keep them uniform and neat.
Step 9: Final Touches
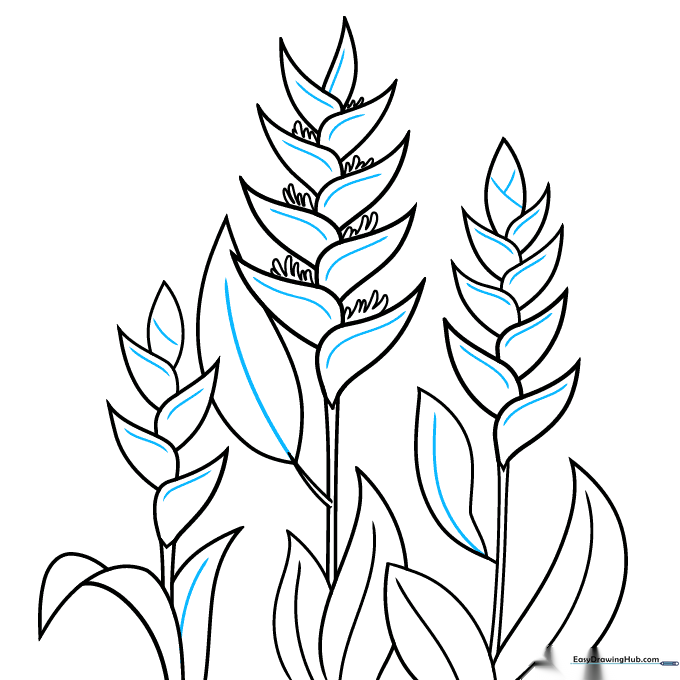
Add final details like parallel lines on the bracts to give them a finished look. Tip: Now is the time to erase any stray pencil marks and darken your final outlines for a crisp, professional result.
Step 10: Bring Your Flower to Life with Color
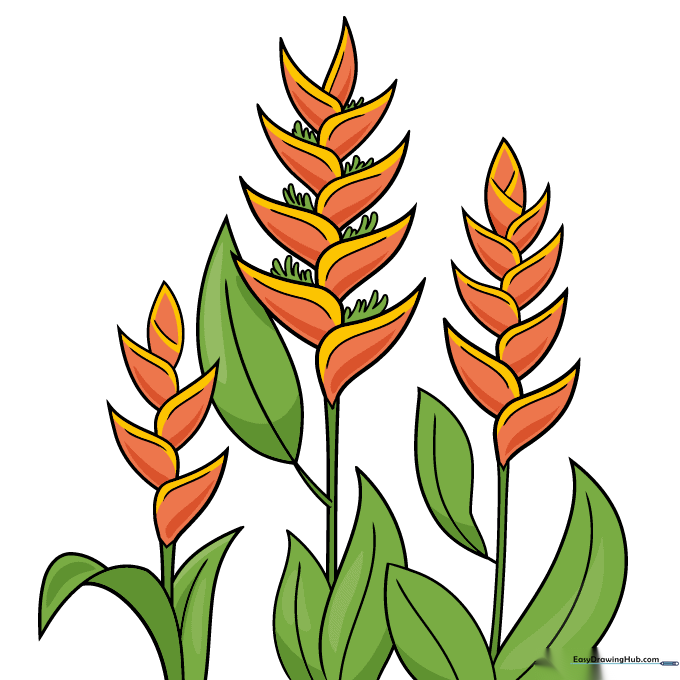
Time to color! Use vibrant oranges, reds, and yellows for the flowers, and deep, lush greens for the leaves. Tip: Try blending two shades of orange on the bracts to create a realistic, sun-kissed gradient.
More Tutorials


