How to Draw a Heart with Wings: Easy 10-Step Guide
Perfect for artists ages 5 and up, this heart with wings tutorial is a fantastic way to practice symmetry and curved lines. All you need is a pencil, an eraser, and a piece of paper to get started. Follow along to create a beautiful, balanced design that is perfect for cards or creative doodles.
🎯 Final Result

Step-by-Step Instructions
Step 1: Sketching the Heart Base

Draw a classic heart shape in the lower center of your paper. Teacher's Tip: Keep your pencil pressure light so you can easily erase any overlapping lines later. Leave plenty of space above the heart for the wings!
Step 2: Starting the First Wing

Extend a long, graceful curved line upward from the left lobe of the heart. At the tip, loop it back to form the first feather. Teacher's Tip: Think of this like drawing a gentle wave in the air.
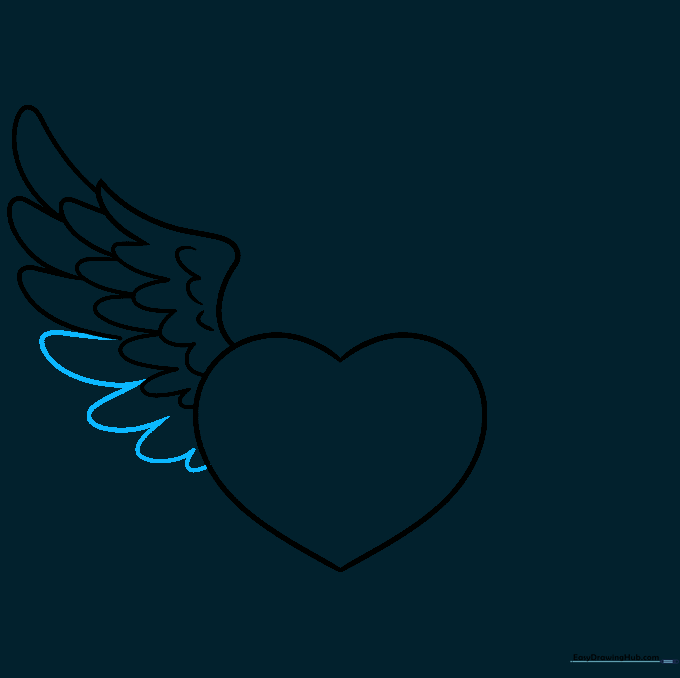
Step 3: Adding Inner Feathers
Add small 'U' shaped lines along the inner curve of the wing. Teacher's Tip: Keep these 'U' shapes consistent in size to make the wing look organized and soft.
Step 4: Extending the Wing
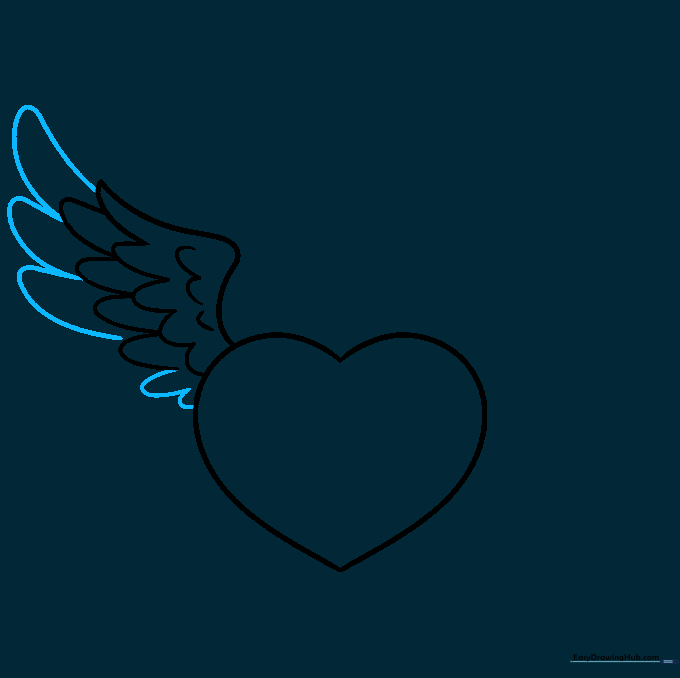
Continue adding 'U' shaped lines to create longer feathers along the outer edge. Teacher's Tip: Imagine the feathers are overlapping like shingles on a roof.
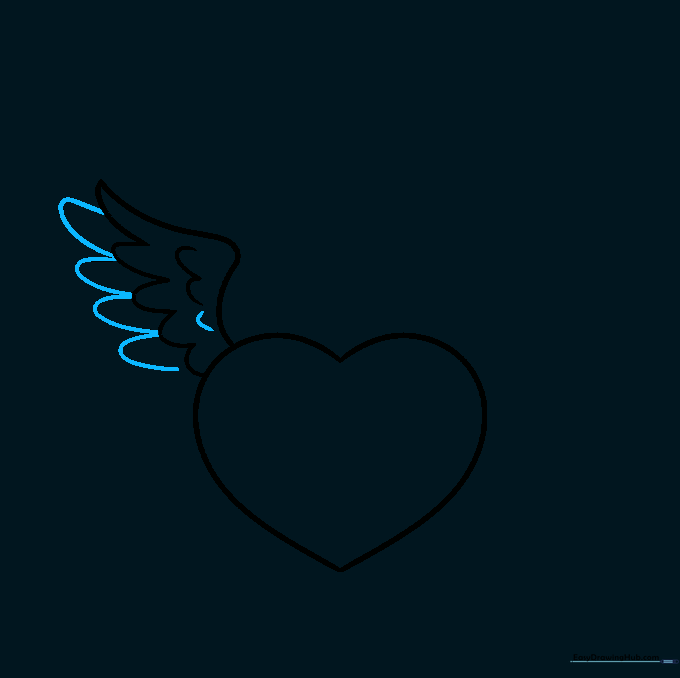
Step 5: Completing the First Wing
Draw larger 'U' shapes until the wing connects back to the side of the heart. Teacher's Tip: Make sure the bottom feathers curve slightly inward toward the heart.
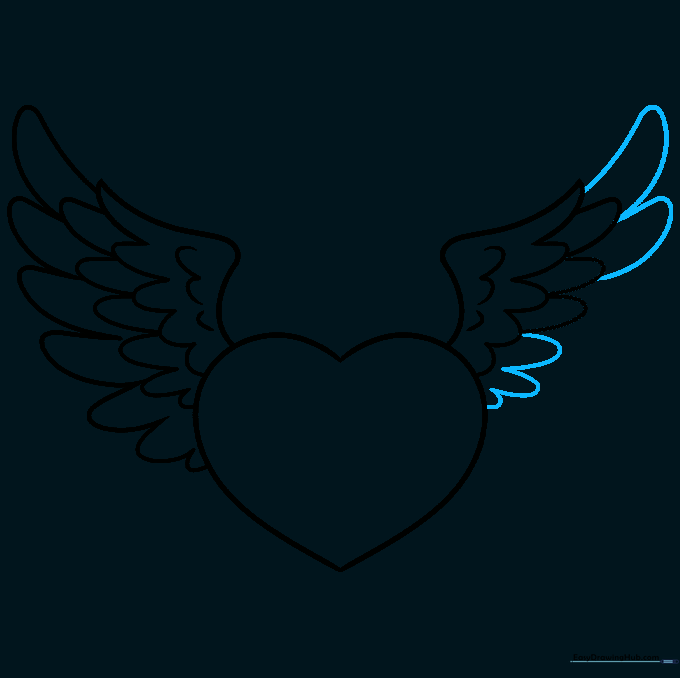
Step 6: Mirroring the Second Wing

Repeat the process on the right side. Teacher's Tip: Try to match the angle and length of the first wing to keep your drawing symmetrical.
Step 7: Adding Texture to the Second Wing

Fill in the second wing with 'U' shaped lines, just like you did for the first. Teacher's Tip: Don't worry if they aren't perfect; feathers vary in nature!
Step 8: Refining the Edges
Add a few more 'U' shapes along the outer edge of the second wing. Teacher's Tip: This adds depth and makes the wings look fuller.
Step 9: Finalizing the Outline

Complete the wing by drawing the last few feathers until they meet the heart. Teacher's Tip: Now is the time to darken your favorite lines with a pen or marker.
Step 10: Bringing it to Life with Color

Add color to your drawing! We used a classic red for the heart to symbolize love and left the wings white for a clean, angelic look. Teacher's Tip: Try using colored pencils to add soft shading near the center of the heart for a 3D effect.
More Tutorials


