How to Draw a Heart Locket: Easy 10-Step Guide
This heart locket tutorial is perfect for young artists ages 6+ looking to practice symmetry and decorative detail. You will only need a pencil, an eraser, and your favorite coloring markers or pencils. Follow along to create a charming, vintage-style locket that looks like it holds a special secret.
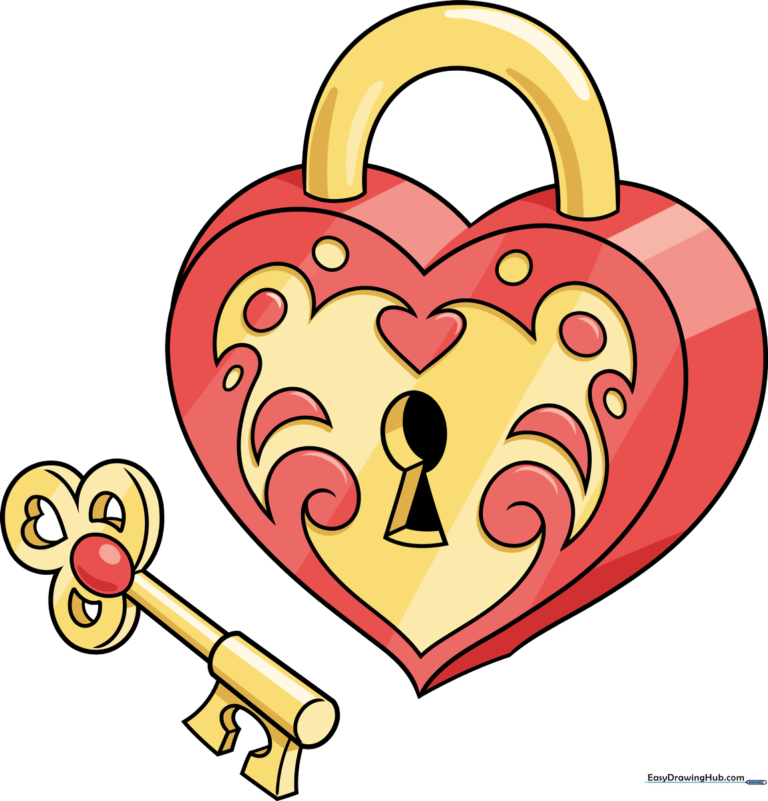
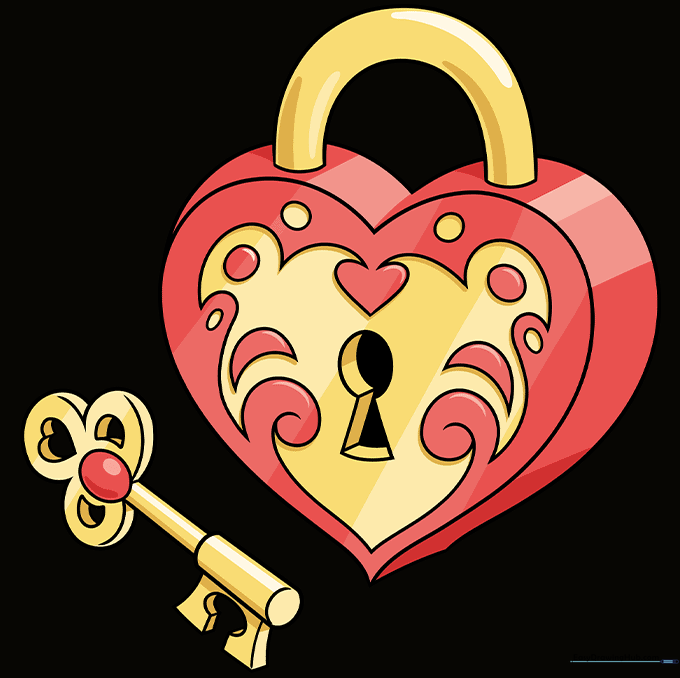
🎯 Final Result
Step-by-Step Instructions
Step 1: Sketching the Heart Base

Begin by drawing two hearts, one slightly smaller inside the other, sharing the same side. Teacher's Tip: Keep your pencil lines very light here; this is your foundation, and you'll want to erase the inner lines later to make it look like a solid piece of jewelry.
Step 2: Adding the Lock Mechanism

Add a rainbow-shaped loop on top to represent the hinge, and sketch a keyhole in the center using a small circle and a triangle. Teacher's Tip: Use a steady hand for the keyhole—if it's a bit wobbly, don't worry, real antique lockets often have unique, handmade character!
Step 3: Designing the Filigree
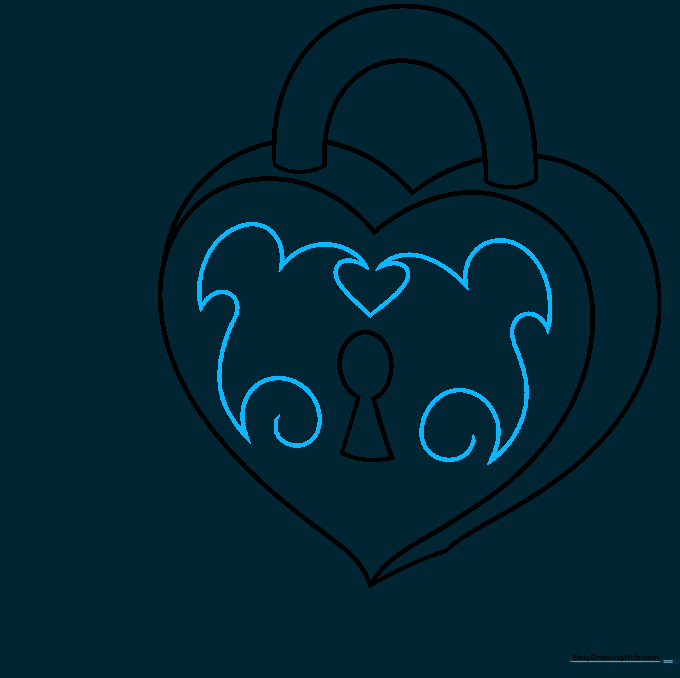
Draw swirling, lacy patterns around the keyhole. Teacher's Tip: Think of these as vines or ribbons. Keep your curves smooth and let them meet at sharp points to give your locket an elegant, professional look.
Step 4: Adding Decorative Accents
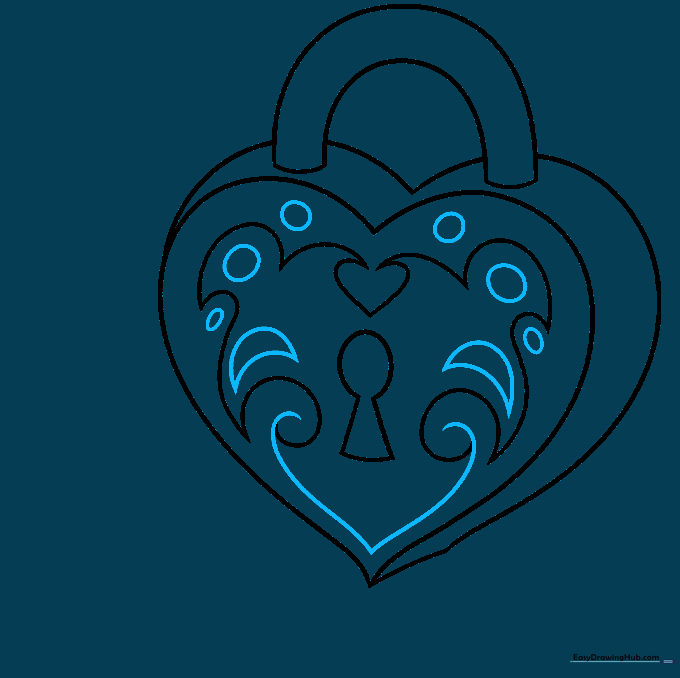
Fill the remaining space on the heart face with small circles, ovals, and crescent shapes. Teacher's Tip: Varying the sizes of these shapes creates visual interest and makes the locket look like it's encrusted with tiny jewels.
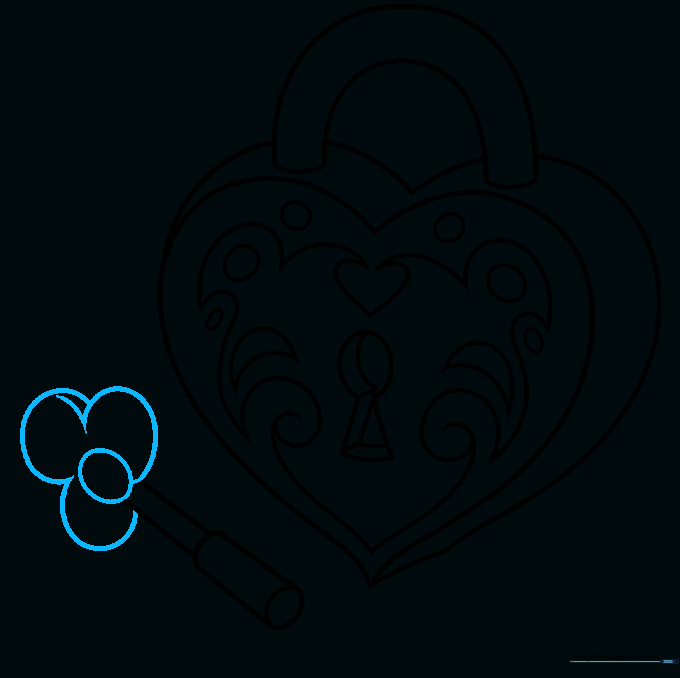
Step 5: Creating the Key
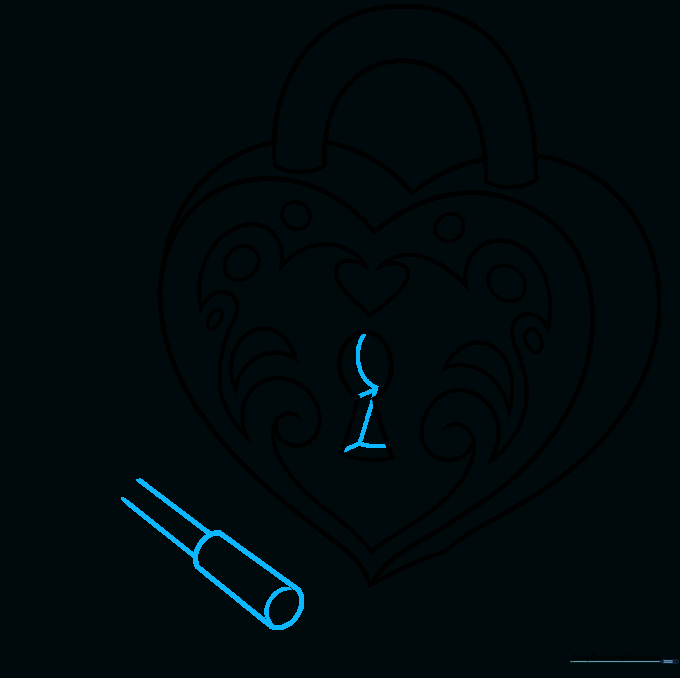
Give the keyhole depth with small parallel lines, then sketch a long cylinder shape nearby to start the key. Teacher's Tip: Use a ruler if you struggle with straight lines, but try freehand first to build your muscle memory!
Step 6: Shaping the Key Head
Use 'U' shaped lines to create a decorative spade or flower shape at the top of your key. Teacher's Tip: Overlapping your lines slightly helps create a 3D effect, making the key look solid rather than flat.
Step 7: Refining the Key
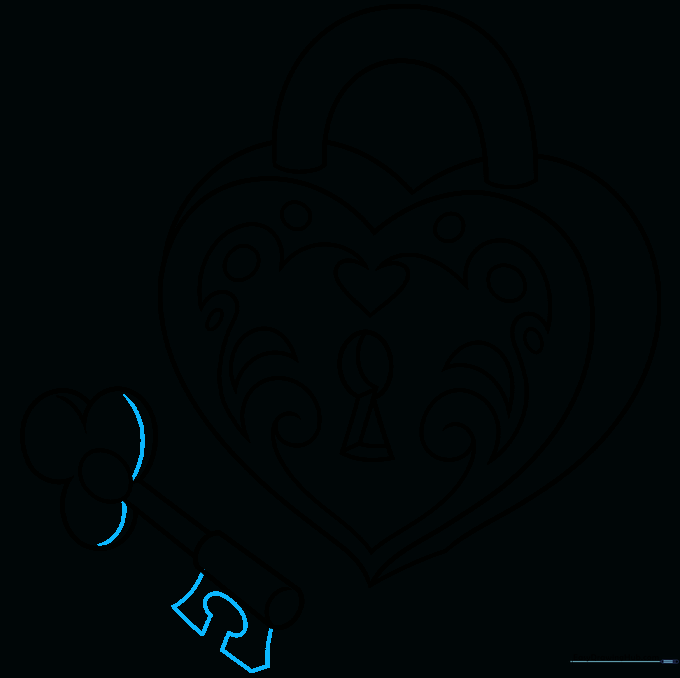
Add a 'C' shaped locking mechanism to the key. Teacher's Tip: Focus on the curves here; smooth, rounded lines make the metal look polished and shiny.
Step 8: Adding Detail to the Key
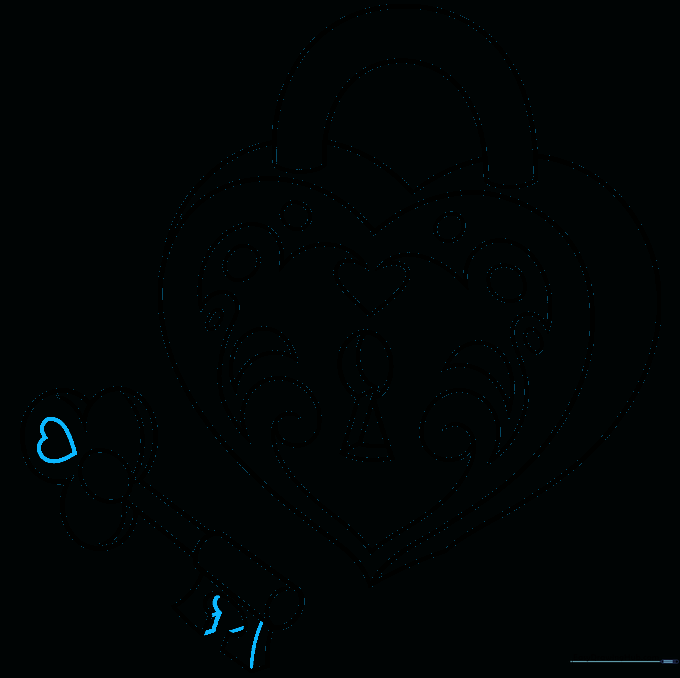
Draw a small heart on the key head and add more curved lines for dimension. Teacher's Tip: Consistency is key! If you added details to the locket, make sure the key matches that same style.
Step 9: Final Touches
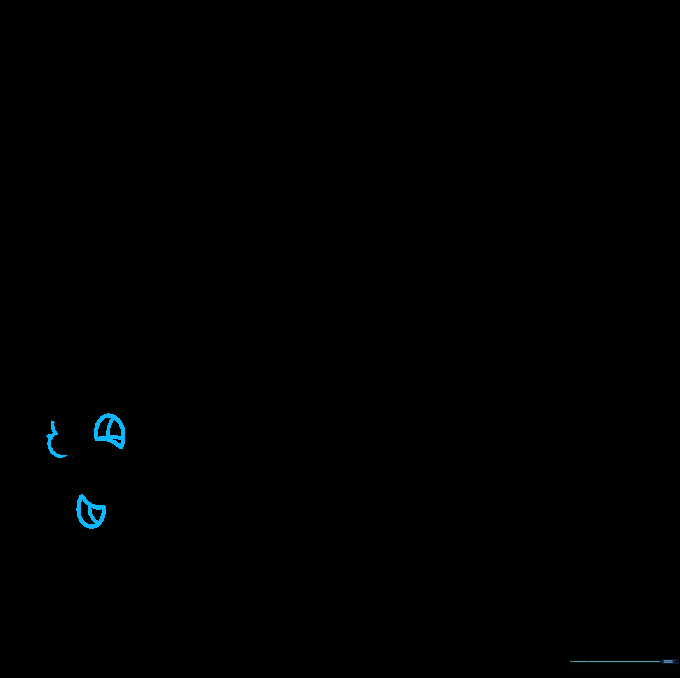
Add final crescent moon shapes and shading lines to the key to complete the look. Teacher's Tip: Darken your final outlines with a firmer pencil stroke to make the drawing pop before you start coloring.
Step 10: Bring It to Life with Color
Color your locket with rich, bold shades. Teacher's Tip: Use lighter colors in the center of the shapes and darker colors near the edges to create a realistic metallic shine!
More Tutorials


