How to Draw a Heart Line Drawing: Easy Step-by-Step Guide
Looking for a creative way to practice fluid line work? This heart line drawing tutorial is perfect for artists of all ages, requiring only a pencil and paper. Follow along to build confidence in your stroke control while creating a beautiful, continuous-style heart design.
🎯 Final Result

Step-by-Step Instructions
Step 1: Starting the First Curve

Begin by drawing a long, graceful curved line that ends in a soft spiral. Teacher's Tip: Keep your wrist loose and move your whole arm to get a smoother, more natural curve.
Step 2: Crossing the Line

Extend the line from the top, crossing it over itself to form a second loop. This creates the foundation for your first heart shape. Tip: Don't worry if the crossing isn't perfect; the overlapping style is meant to look organic.
Step 3: Defining the First Heart

Continue the line to create the two lobes of the heart. Leave a small gap at the bottom point to keep the design looking light and airy. Tip: Aim for symmetry by checking the height of both lobes as you draw.
Step 4: Adding a Second Heart

Extend your line upward from the previous heart to start a new, overlapping heart shape. This adds depth to your drawing. Tip: Try to vary the size of this heart slightly so the composition looks more dynamic.
Step 5: Creating the Curling Effect

Instead of closing the second heart, double the line back on itself to create a decorative curl. Tip: This is a great way to practice 'line weight'—press slightly harder on the curves to make them stand out.
Step 6: Extending the Flow
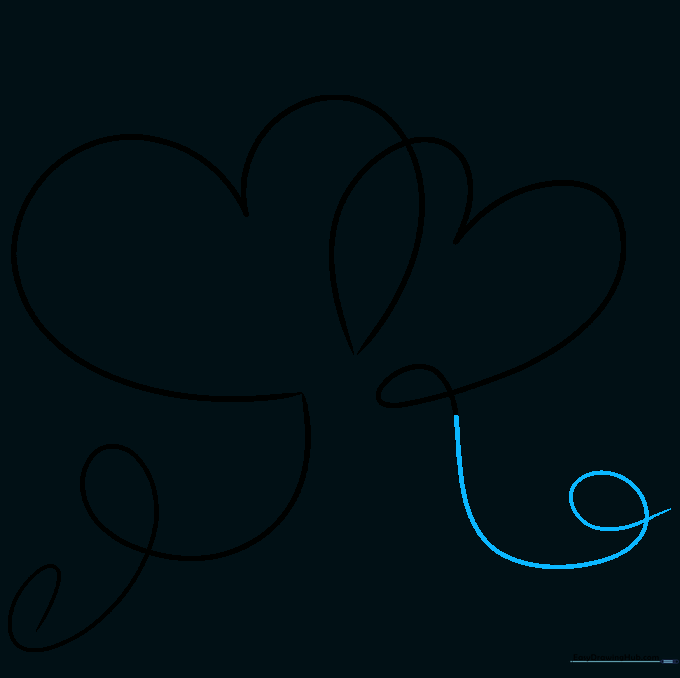
Continue the line outward, adding another elegant curl at the end. This helps balance the composition. Tip: Imagine the line is like a piece of ribbon flowing across the page.
Step 7: Adding Small Accents

Draw a small, simple heart overlapping the edge of your existing design. Tip: Smaller hearts act as 'visual anchors' that make the whole drawing feel complete.
Step 8: Filling the Space

Add another small heart below the main group. Tip: Look for empty spaces in your drawing and place these smaller hearts there to create a balanced look.
Step 9: Final Touches
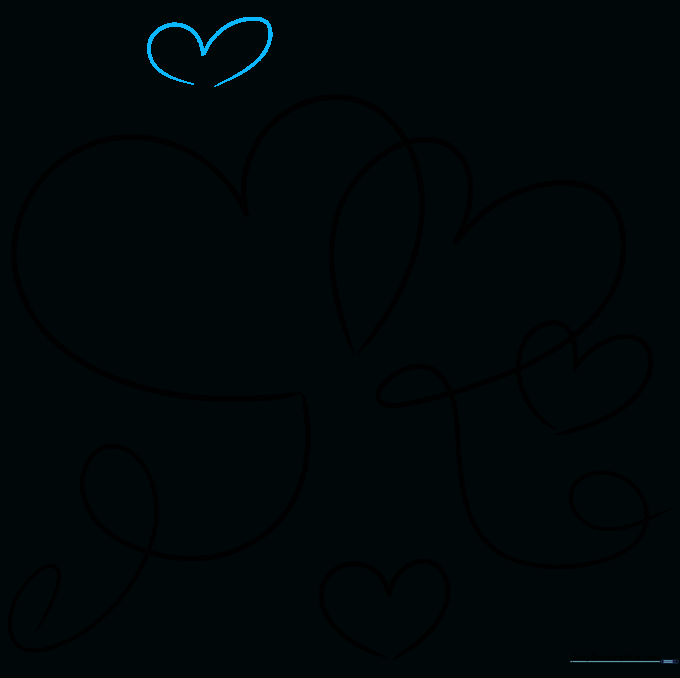
Draw one final small heart near the top to complete your design. Tip: Step back and look at your drawing from a distance to ensure the hearts are spaced evenly.
Step 10: Color and Refine

Your outline is complete! You can leave it as a clean line drawing or add color. Tip: Use a red or pink marker to fill in the hearts for a classic look, or use a fine-liner pen to trace over your pencil lines for a professional finish.
More Tutorials


