How to Draw a Heart: Simple 9-Step Guide for Kids
Perfect for ages 5 and up, this heart drawing guide turns simple shapes into a beautiful illustration. All you need is a pencil, an eraser, and a piece of paper to get started. Follow these steps to build confidence and master basic symmetry in your artwork.
🎯 Final Result

Step-by-Step Instructions
Step 1: Establishing the Vertical Axis
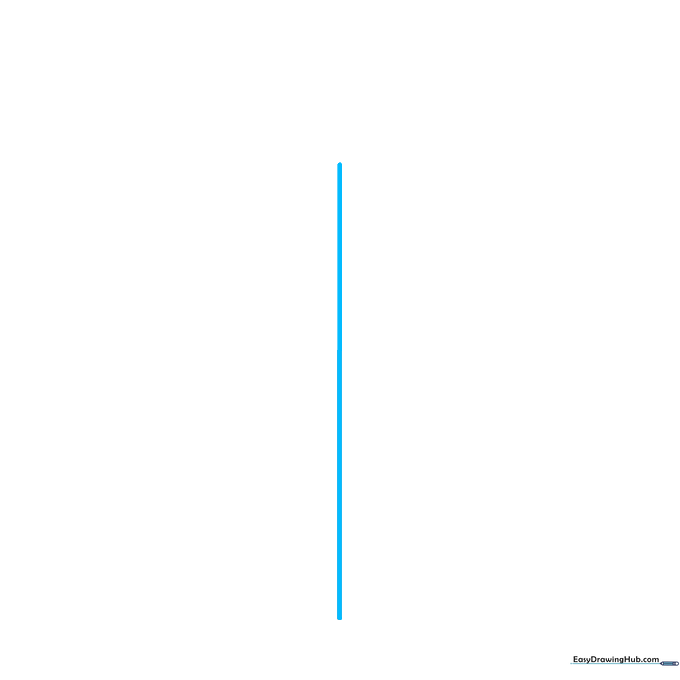
Draw a light, straight vertical line down the center of your paper. Teacher's Tip: Use a ruler if you're worried about it being crooked, but keep it faint so it's easy to erase later!
Step 2: Creating the Horizontal Guide
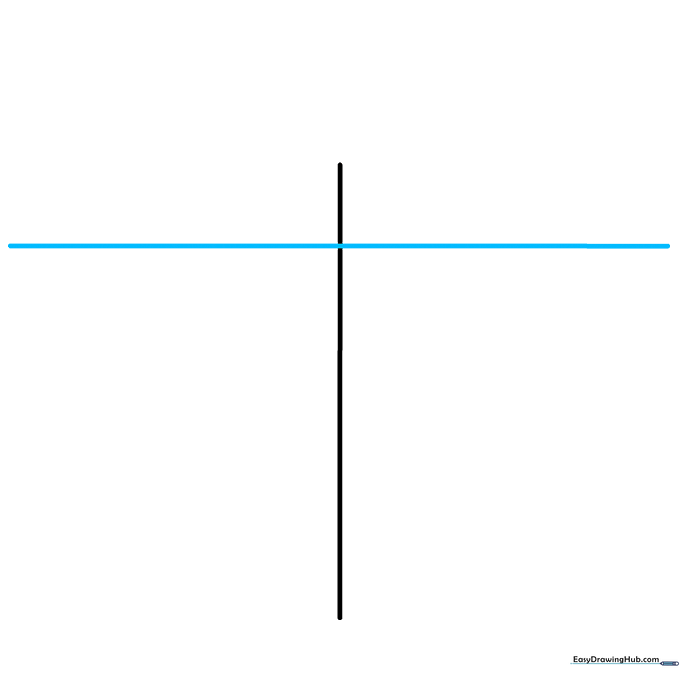
Draw a horizontal line crossing the top of your vertical line to form a 'T' shape. Teacher's Tip: This cross-section helps keep the top curves of your heart even.
Step 3: Sketching the First Top Curve
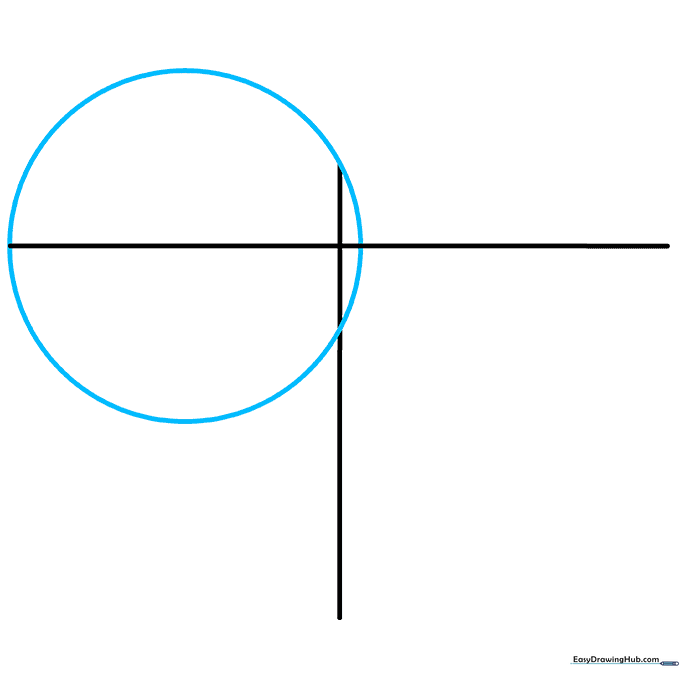
Draw a circle that touches the ends of your guide lines on one side. Teacher's Tip: Don't worry if it isn't a perfect circle; it's just a placeholder for the heart's rounded top.
Step 4: Sketching the Second Top Curve
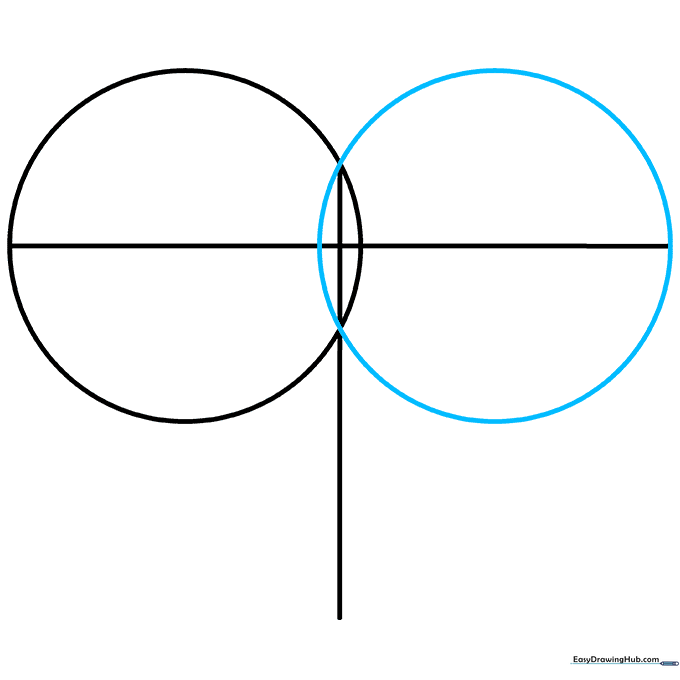
Repeat the process by drawing a matching circle on the other side of your vertical line. Teacher's Tip: Try to make both circles roughly the same size for a balanced look.
Step 5: Shaping the First Side
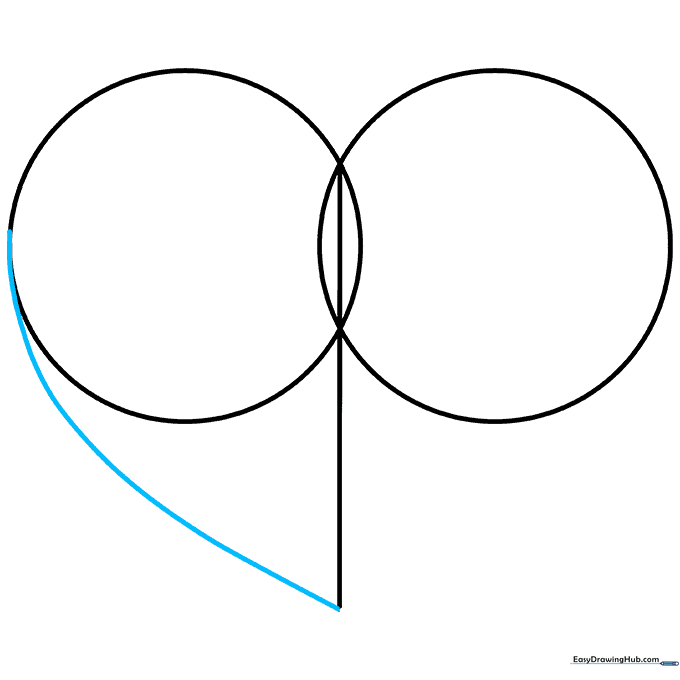
Erase your horizontal guide line. Now, draw a smooth, curved line from the bottom point of your vertical line up to the edge of the first circle. Teacher's Tip: Use a fluid, sweeping motion with your wrist for a smoother curve.
Step 6: Shaping the Second Side
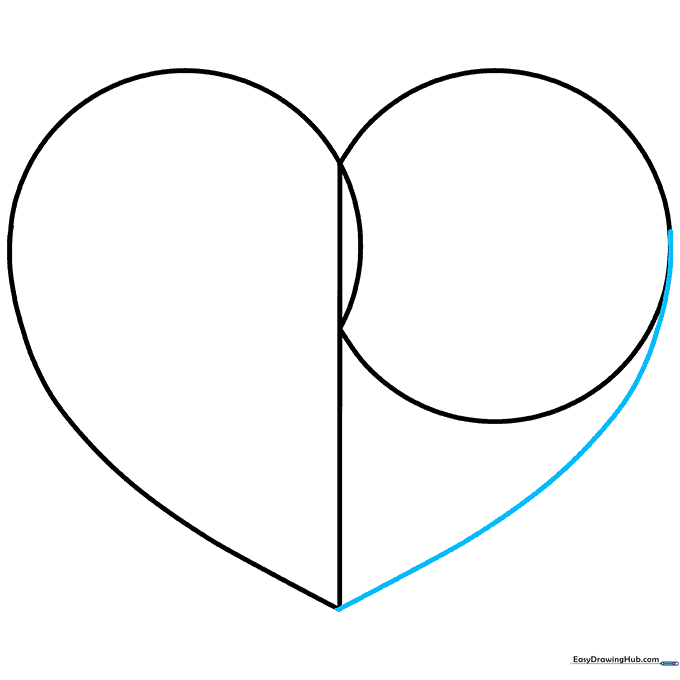
Repeat the curve on the opposite side, connecting the bottom point to the second circle. Teacher's Tip: Check that both sides mirror each other before moving on.
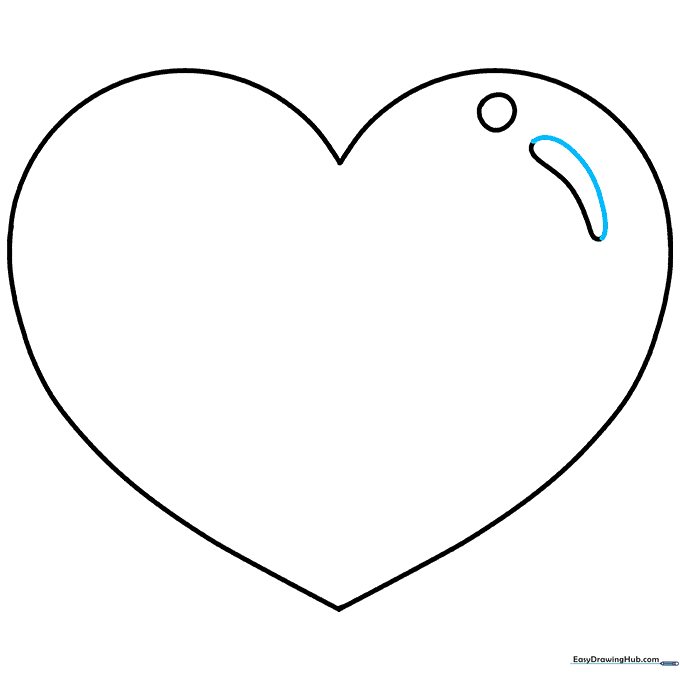
Step 7: Adding a Highlight
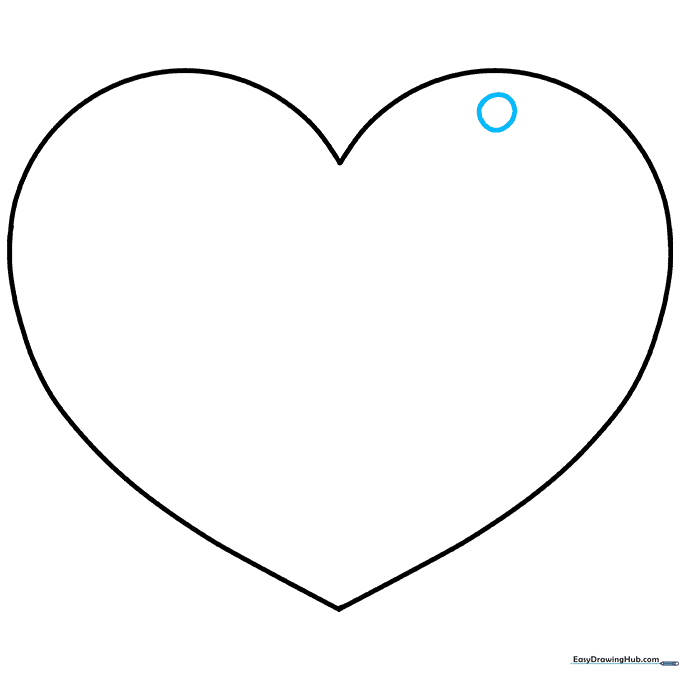
Erase all remaining guide lines. Draw a small circle near the top of one heart lobe. Teacher's Tip: This 'shine' mark makes your drawing look 3D and professional!
Step 8: Refining the Shine
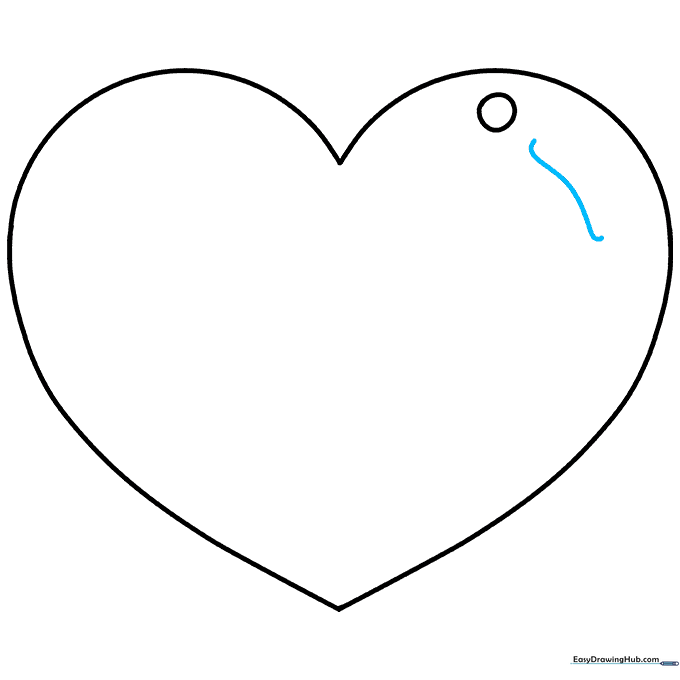
Add a second, longer curved line below your first shine mark. Teacher's Tip: Varying the size of your highlights adds depth to the drawing.
Step 9: Finalizing the Shape
Use a final curved line to complete the elongated highlight shape. Teacher's Tip: Keep your lines clean and confident for the final outline.
Step 10: Adding Color

Fill in your heart with your favorite colors! Teacher's Tip: Try using different shades of pink or red to create a gradient effect.
More Tutorials


