How to Draw a Happy Birthday Card: Easy 10-Step Guide
Looking for a thoughtful, screen-free activity? This tutorial helps children ages 5+ design a festive birthday card from scratch. All you need is a pencil, an eraser, and your favorite markers to bring this celebration to life.
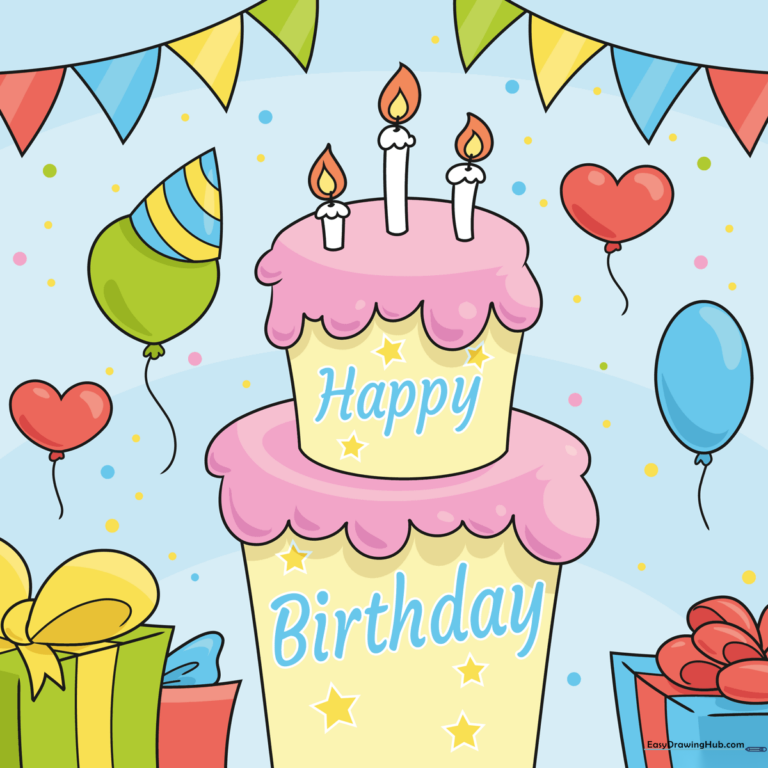
🎯 Final Result
Step-by-Step Instructions
Step 1: Sketching the Cake Base
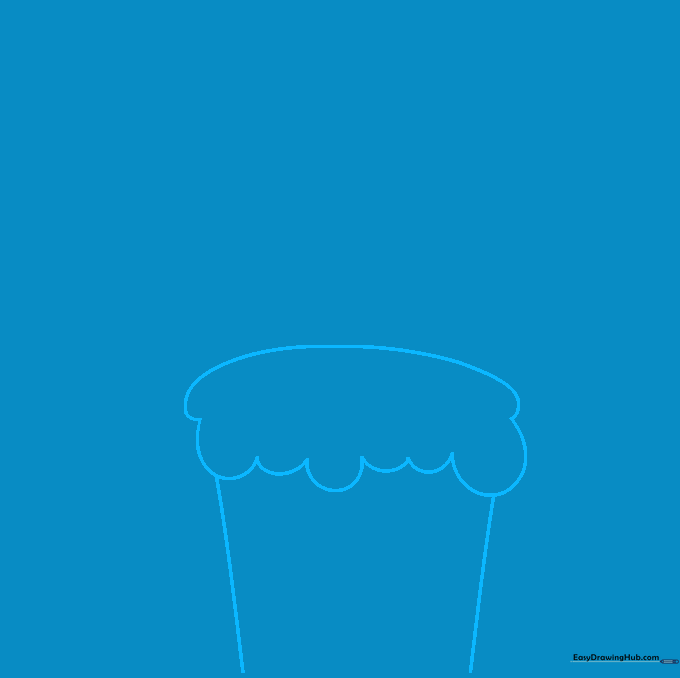
Start by drawing two vertical lines for the sides of your cake. Connect them at the top with a series of connected 'U' shapes to create the look of dripping icing. Teacher's Tip: Keep your pencil pressure light so you can easily adjust the shape if the icing looks a bit lopsided.
Step 2: Defining the Cake Layers
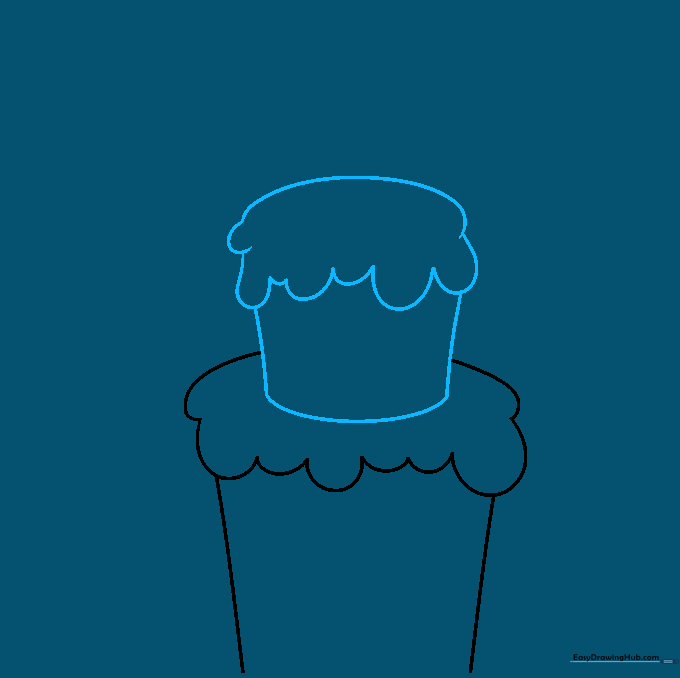
Draw a long, smooth curved line across the top of your icing to define the cake's surface. Add a second layer beneath the first to give your cake some height. Teacher's Tip: Use a steady hand to make the curves look rounded and delicious.
Step 3: Adding Birthday Candles
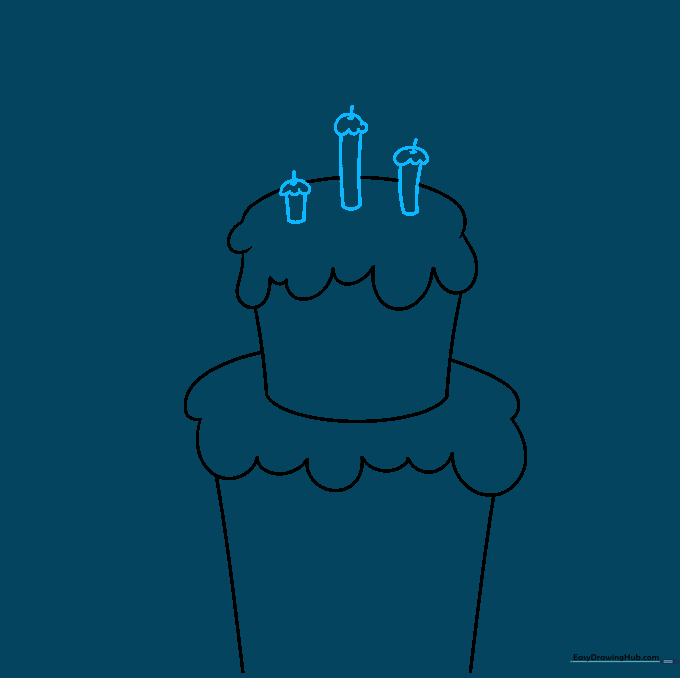
Draw two parallel curved lines for each candle on top of the cake. Connect them at the top with an irregular shape to represent melting wax, and add a small vertical line for the wick. Teacher's Tip: Don't worry about making the candles perfectly straight; slightly tilted candles look more playful!
Step 4: Flames and Gift Boxes
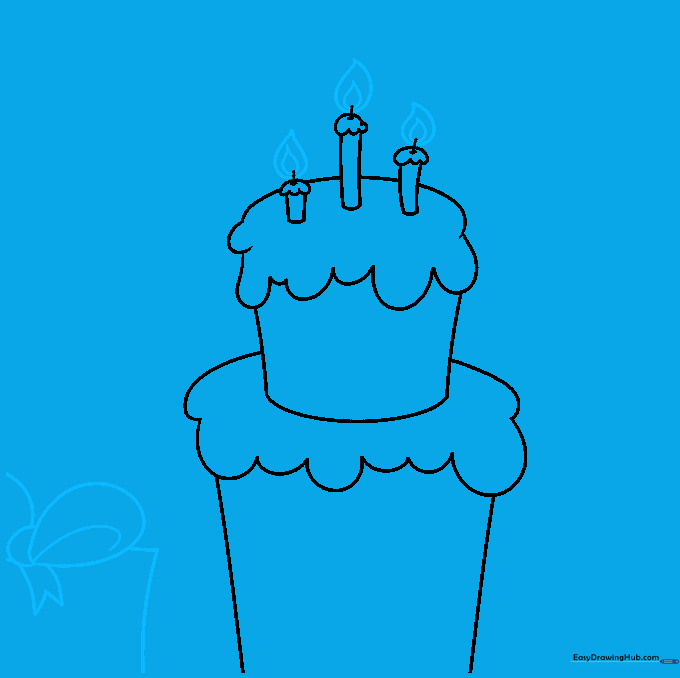
Draw a small teardrop shape inside a larger one for the candle flames. Next to the cake, start sketching a gift box using curved lines for the sides and a bow on top. Teacher's Tip: When drawing the bow, think of it as two loops—keep them rounded to make the gift look soft and wrapped.
Step 5: Detailing the Gifts
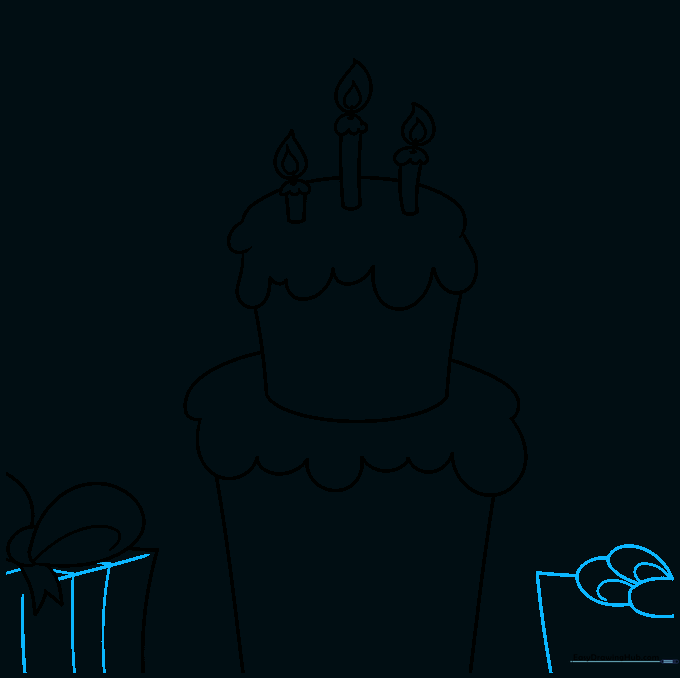
Use straight lines to finish the sides of your first gift box and add the ribbon details. Start sketching a second gift box nearby with its own bow. Teacher's Tip: Varying the sizes of your gift boxes makes the drawing look more dynamic and professional.
Step 6: Adding Balloons

Finish your second and third gift boxes. Then, draw a simple oval floating in the air next to the cake—this will be your first balloon! Teacher's Tip: Balloons are great for practicing smooth, continuous ovals.
Step 7: Creating a Balloon Bunch
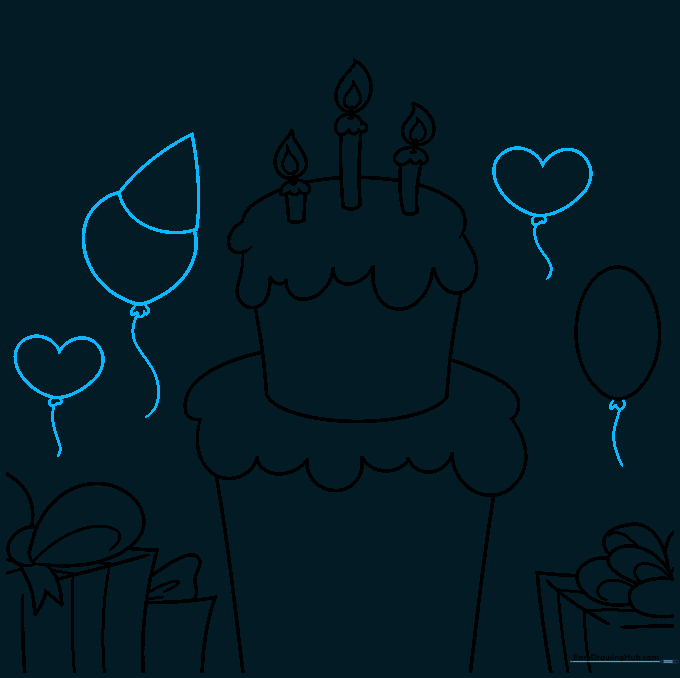
Complete your balloon by adding a small knot at the bottom and a string. Add more balloons in different shapes, like hearts, and give one a fun party hat. Teacher's Tip: Drawing different shapes helps children understand how to compose a balanced scene.
Step 8: Festive Decorations
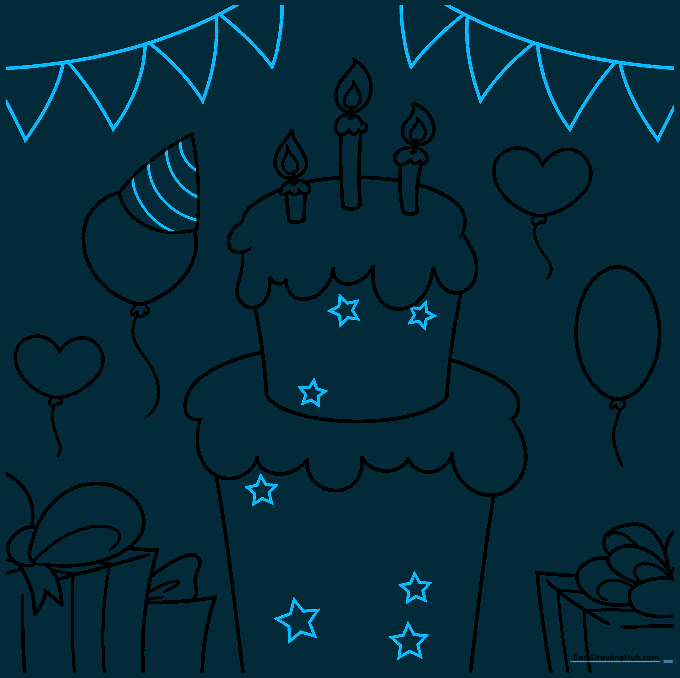
Add stripes to the party hat and draw pennant banners hanging in the background using upside-down triangles. Decorate the cake with small stars. Teacher's Tip: Use a ruler if you want the pennant strings to be perfectly straight, or keep them wavy for a more casual look.
Step 9: Final Touches
Write 'Happy Birthday' on the cake and add small circles in the background for confetti. Teacher's Tip: If you're nervous about the lettering, practice on a scrap piece of paper first to get the spacing right.
Step 10: Coloring Your Masterpiece
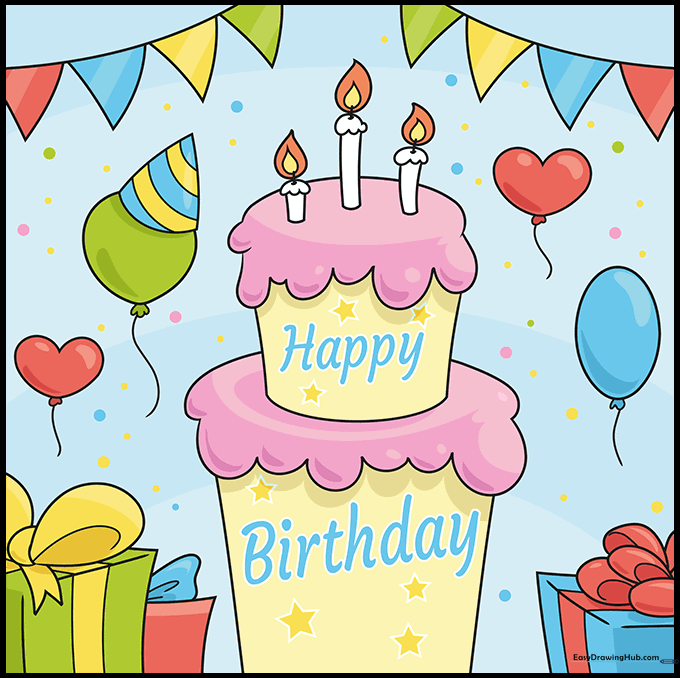
Bring your card to life with bright, cheerful colors! Use markers or colored pencils to fill in the cake, gifts, and balloons. Teacher's Tip: Use contrasting colors for the ribbons and balloons to make them pop off the page.
More Tutorials


