How to Draw a Hand with a Ring: Easy 9-Step Guide
Perfect for young artists ages 7+, this tutorial breaks down the complex anatomy of a hand into simple, manageable shapes. You only need a pencil, an eraser, and a piece of paper to get started. Follow along to master hand proportions and add a touch of sparkle with a detailed ring design.
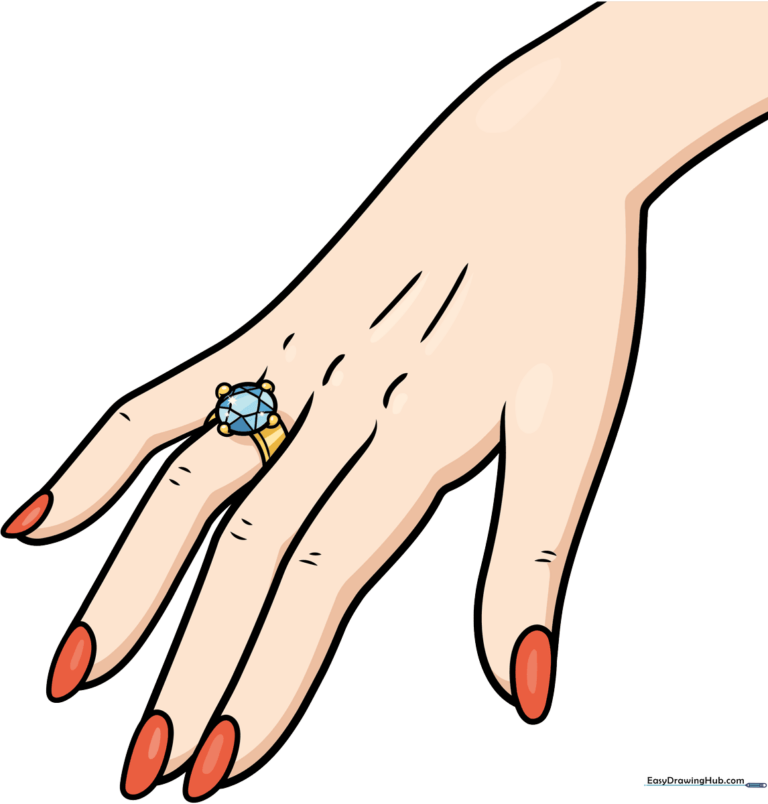
🎯 Final Result
Step-by-Step Instructions
Step 1: Establishing the Wrist
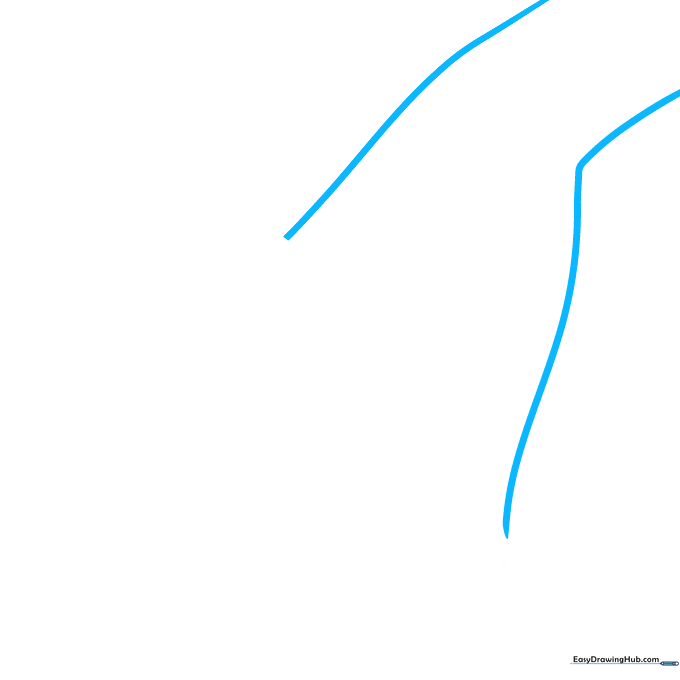
Draw two long, slightly curved lines to form the base of the wrist. Tip: Keep your pencil pressure light here; these are just guidelines that we will build upon, so you'll want them easy to erase later.
Step 2: Shaping the Thumb
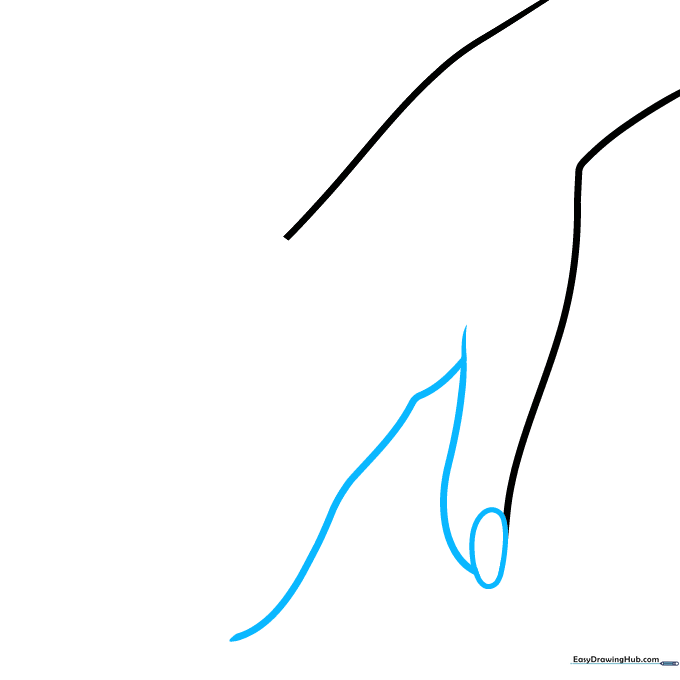
Add a small oval at the end of one line to represent the thumb's nail, then connect it with a curved line to the wrist. Tip: Thumbs are shorter and thicker than fingers, so keep this shape stout.
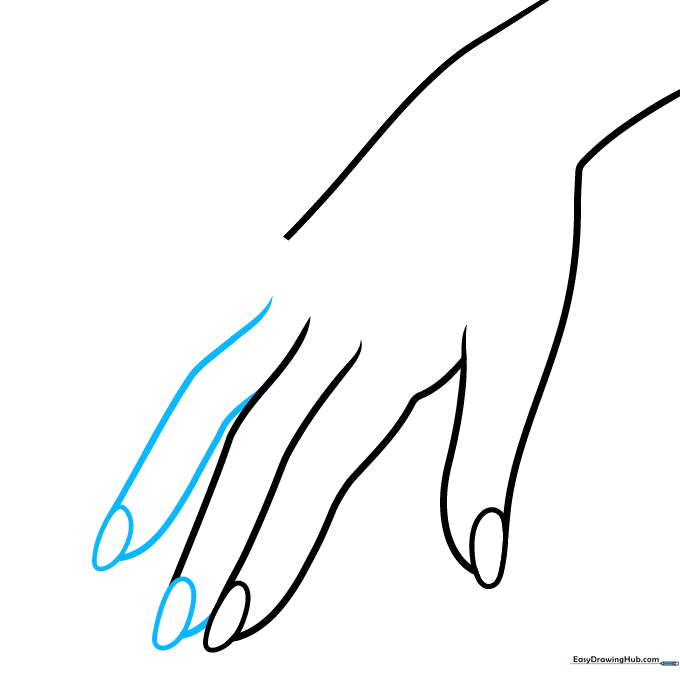
Step 3: Sketching the Index Finger
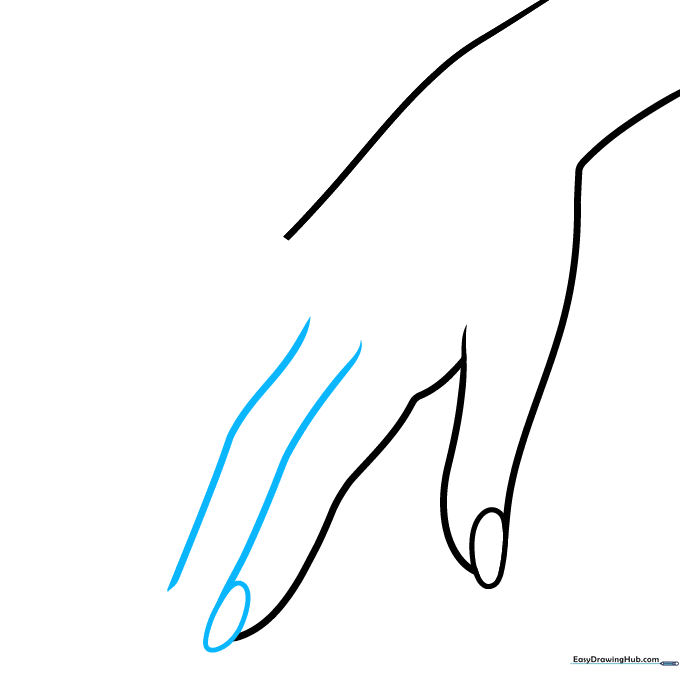
Draw a second oval for the index fingernail and extend a long curved line downward. Tip: Leave a tiny gap between the thumb and the index finger to make the hand look more natural.
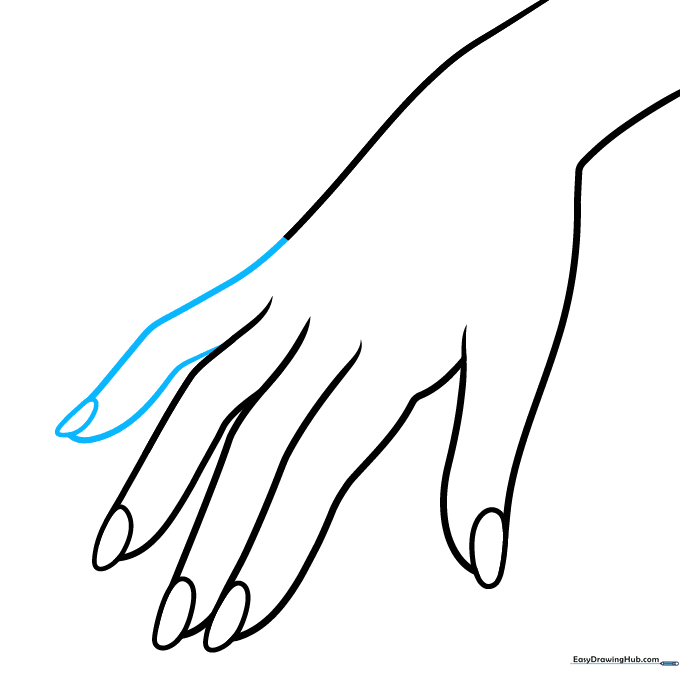
Step 4: Adding the Middle and Ring Fingers
Draw the middle finger with its oval nail, then move to the ring finger. Tip: The ring finger is where we will place our jewelry, so ensure you leave enough space around it for the ring band.
Step 5: Finishing the Pinky
Draw the smallest finger, the pinky, using a half-oval for the nail. Tip: The pinky should be significantly shorter than the other fingers to keep the hand looking realistic.
Step 6: Adding Knuckle Details
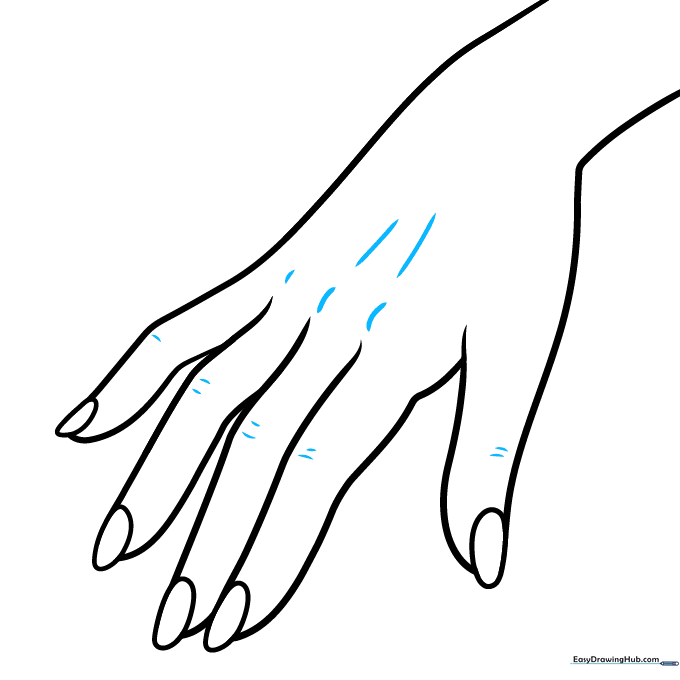
Use soft, curved lines to indicate the knuckles and tendons on the back of the hand. Tip: Don't overdo these lines; a few subtle curves are enough to suggest movement without making the hand look bony.
Step 7: Designing the Ring Base
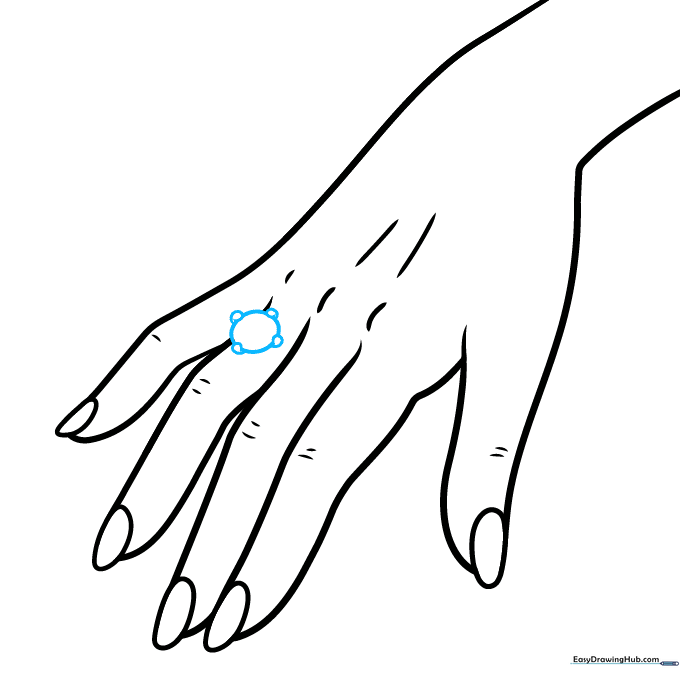
Draw a large circle at the base of the ring finger, adding four small circles around its edges to act as prongs. Tip: Use your eraser to remove any finger lines that pass through the ring to make it look like it's sitting on top of the skin.
Step 8: Adding Diamond Facets
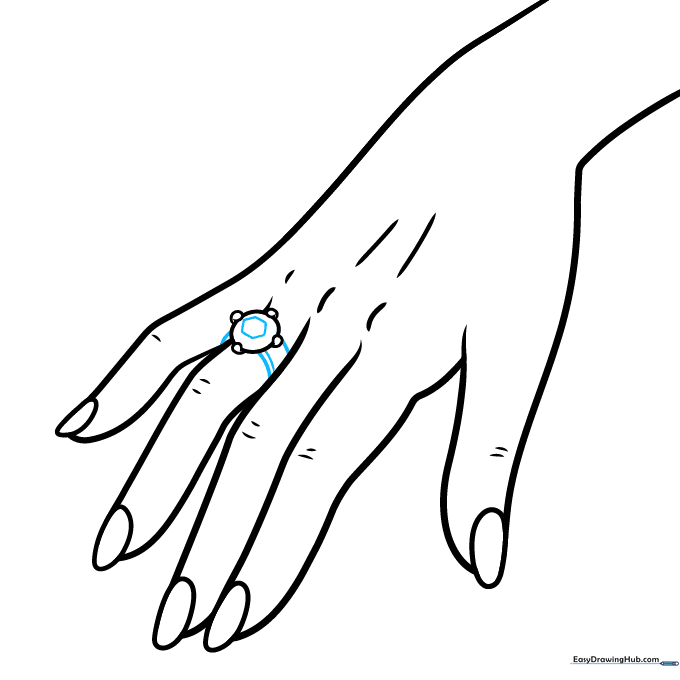
Draw a hexagon inside the circle to represent the diamond's facets, then add parallel curved lines around the finger for the band. Tip: Keep the hexagon lines sharp to make the diamond look like it's catching the light.
Step 9: Final Touches
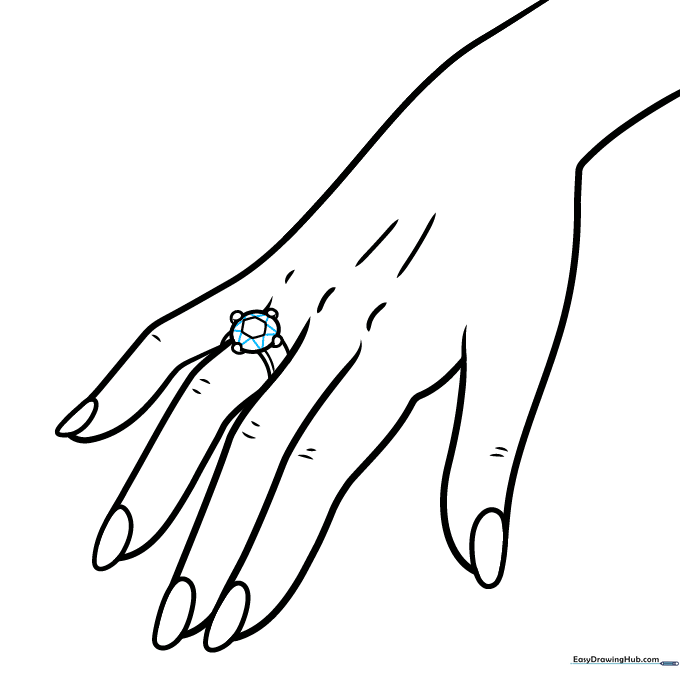
Add small triangles between the hexagon and the circle to create more depth and sparkle. Tip: Once you're happy with the lines, go over them with a darker pencil or pen to make your drawing pop!
Color Your Masterpiece
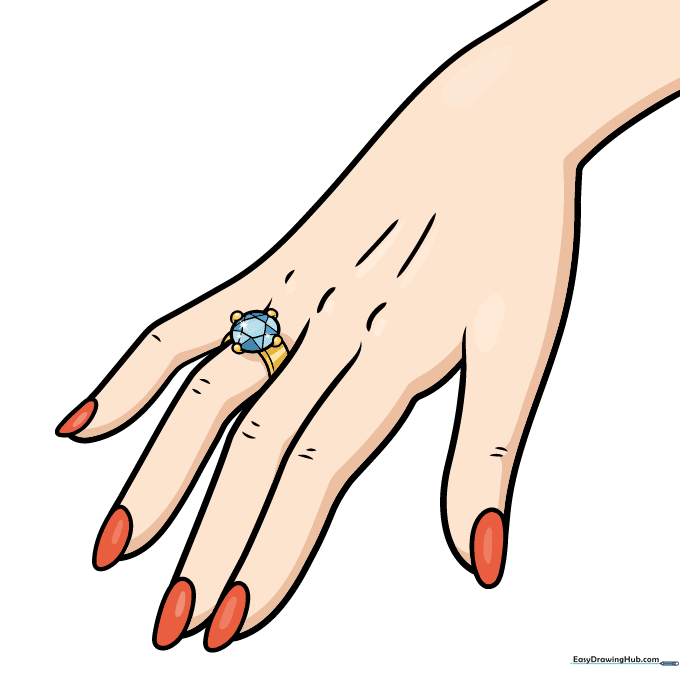
Bring your drawing to life with color! Choose a metallic shade for the band—like gold or silver—and pick a bright color for the diamond. Tip: Use lighter colors for the center of the diamond to create a 'glow' effect.
More Tutorials


