How to Draw a Hand: Simple 10-Step Guide for Beginners
Drawing hands is often considered the ultimate challenge for artists, but it doesn't have to be intimidating! This step-by-step guide is designed for ages 6 and up, using basic shapes to build confidence. Grab a pencil, an eraser, and a piece of paper to start developing your observational drawing skills.
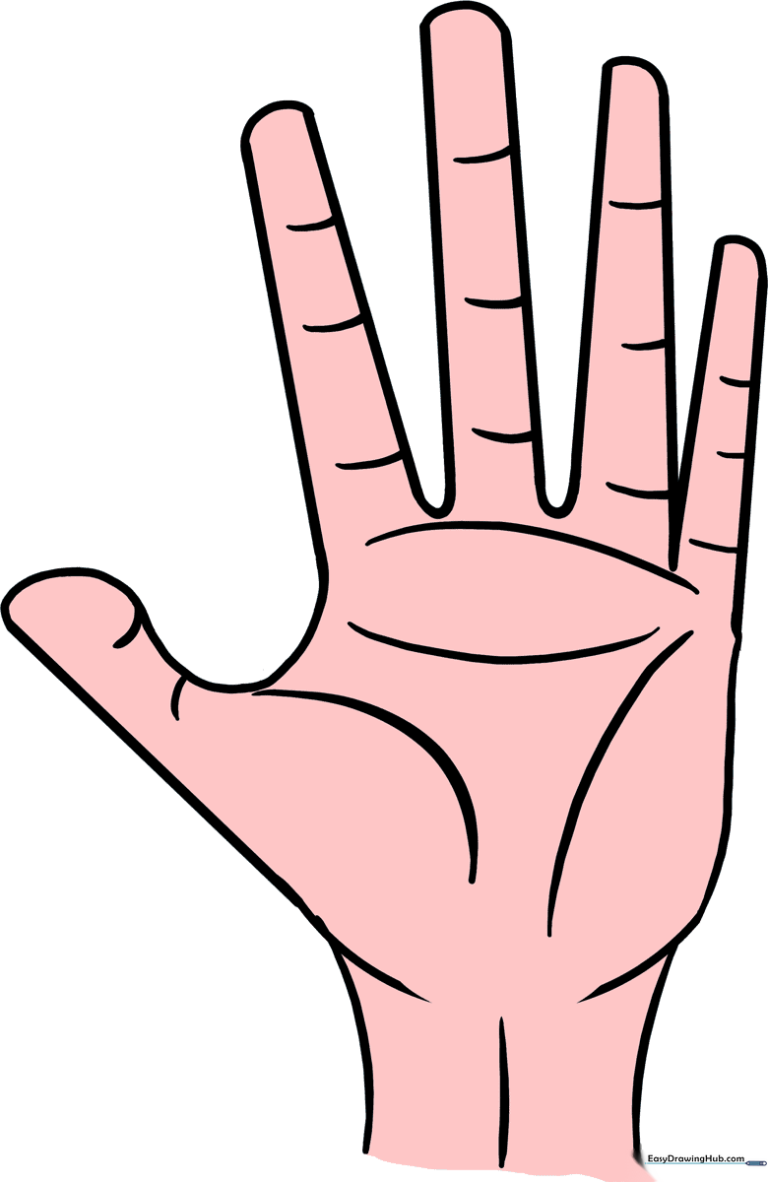
🎯 Final Result
Step-by-Step Instructions
Step 1: Sketching the Palm Base

Draw a light circle to represent the palm. Teacher's Tip: Keep this shape loose and light; it acts as your anchor for the rest of the hand.
Step 2: Mapping the Fingers
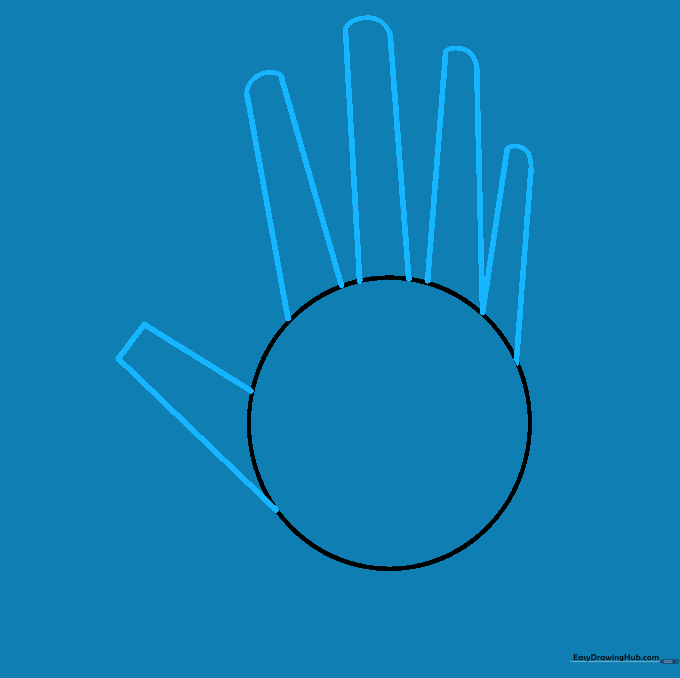
Draw pairs of straight lines for each finger, letting them taper slightly at the tips. Remember that the middle finger is the longest, while the thumb and pinkie are shorter. Teacher's Tip: Use your own hand as a reference to see how the lengths vary.
Step 3: Connecting the Fingers
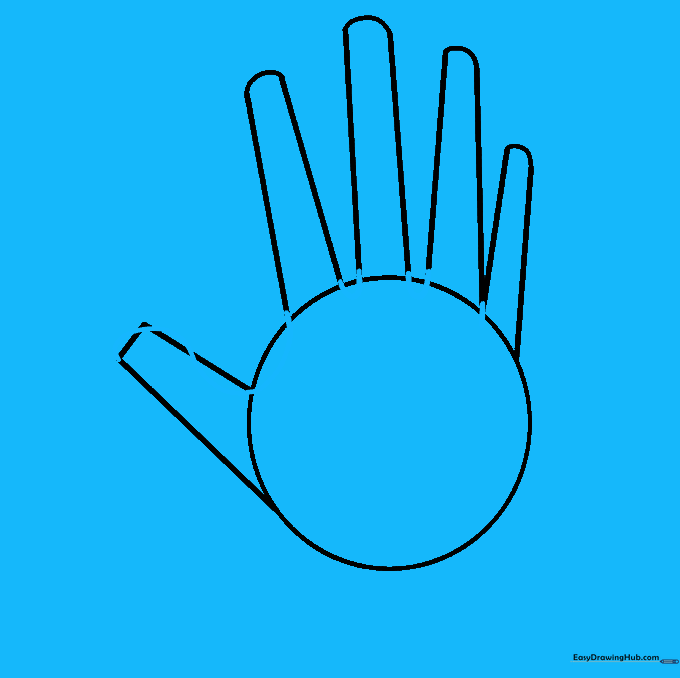
Draw curved lines between the fingers to create the webbing. Extend the line near the thumb to give it a natural, rounded shape. Teacher's Tip: Curves make the hand look organic rather than robotic.
Step 4: Cleaning the Guide Lines
Carefully erase the internal guide lines from the palm and fingers. Teacher's Tip: Use a soft eraser to avoid smudging your graphite.
Step 5: Defining the Palm
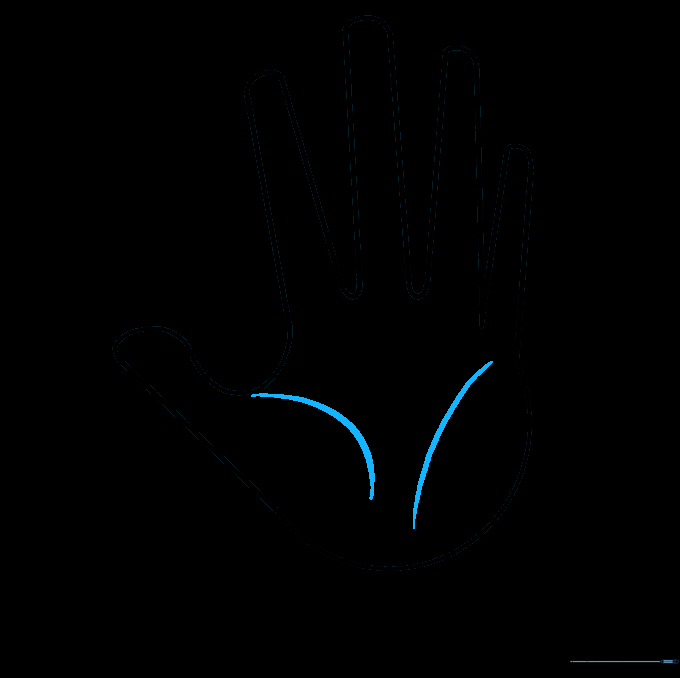
Add curved lines across the palm and near the thumb to suggest fleshy areas. Teacher's Tip: These subtle curves add volume and realism to your drawing.
Step 6: Drawing the Wrist
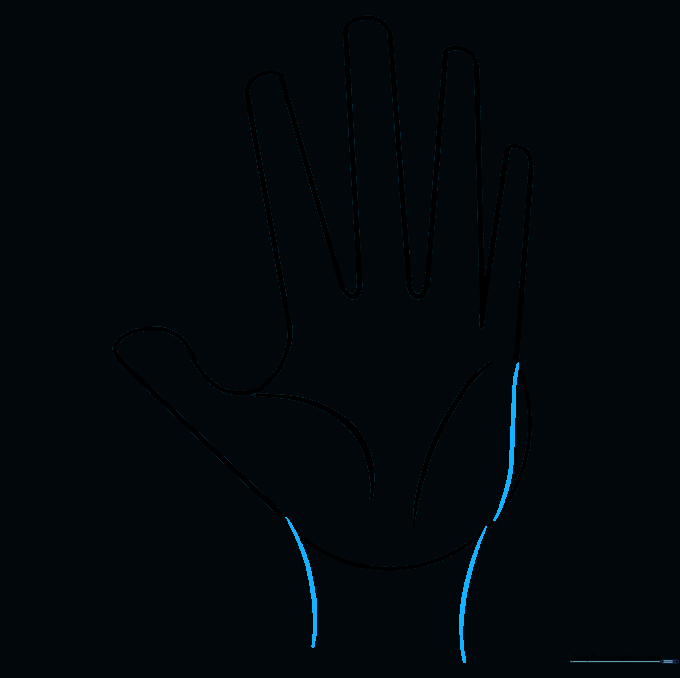
Refine the outline near the pinkie and add two curved lines at the base to form the wrist. Teacher's Tip: Think of the wrist as a smooth transition from the palm.
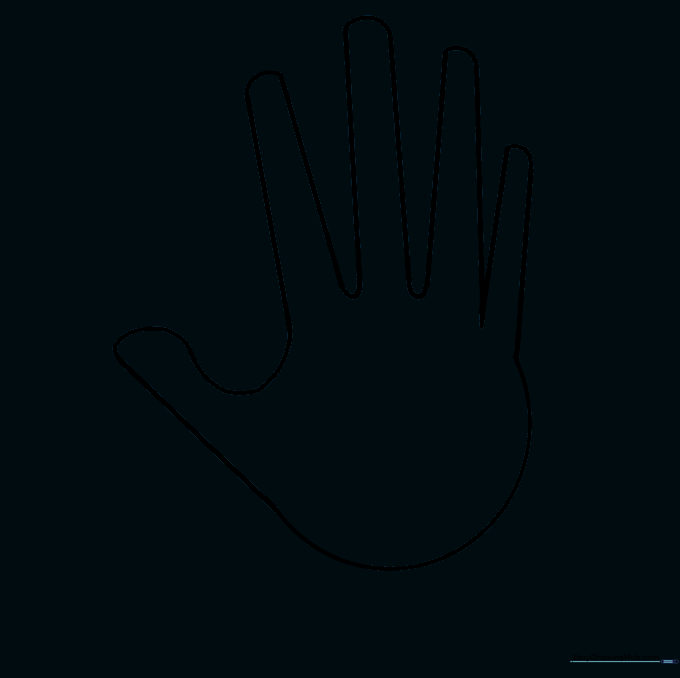
Step 7: Final Cleanup
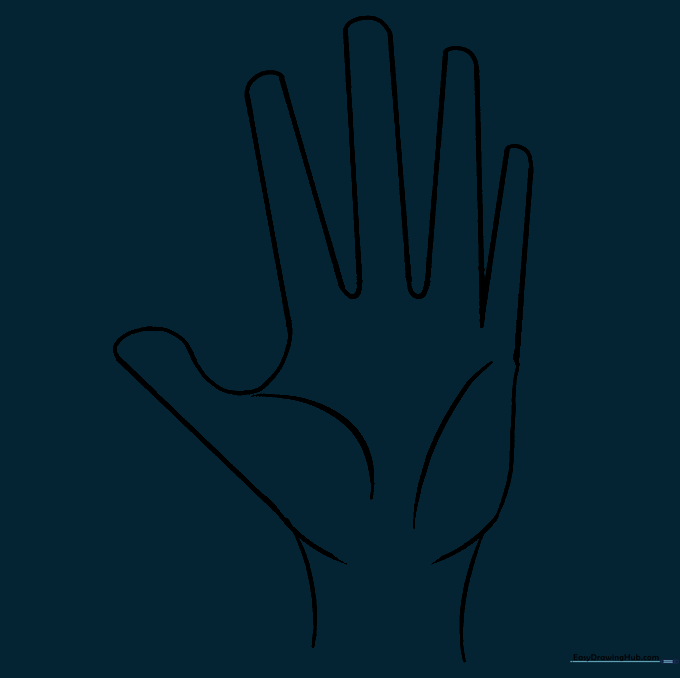
Erase any remaining stray guide lines to ensure the hand flows seamlessly into the wrist. Teacher's Tip: A clean drawing makes coloring much easier.
Step 8: Adding Joint Details
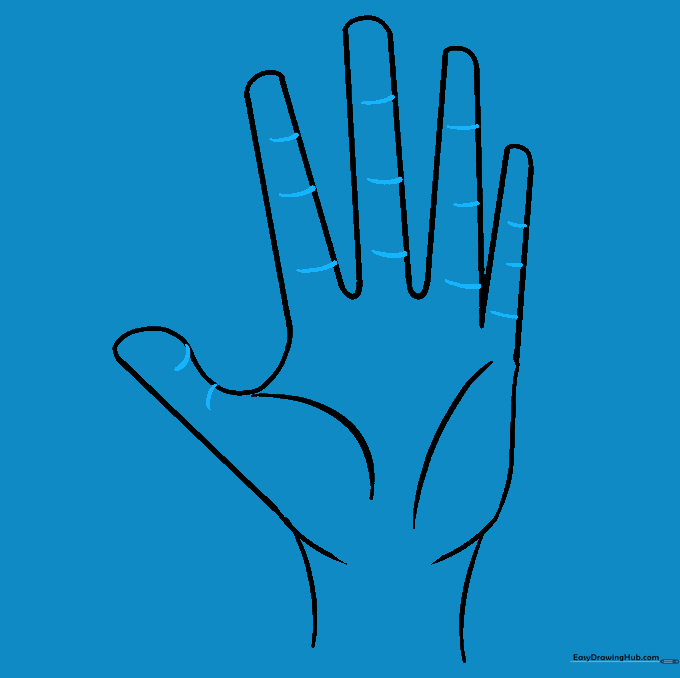
Draw small curved lines across the fingers to represent knuckles and joints. Teacher's Tip: Keep these lines light so they don't look like harsh cuts.
Step 9: Final Textures
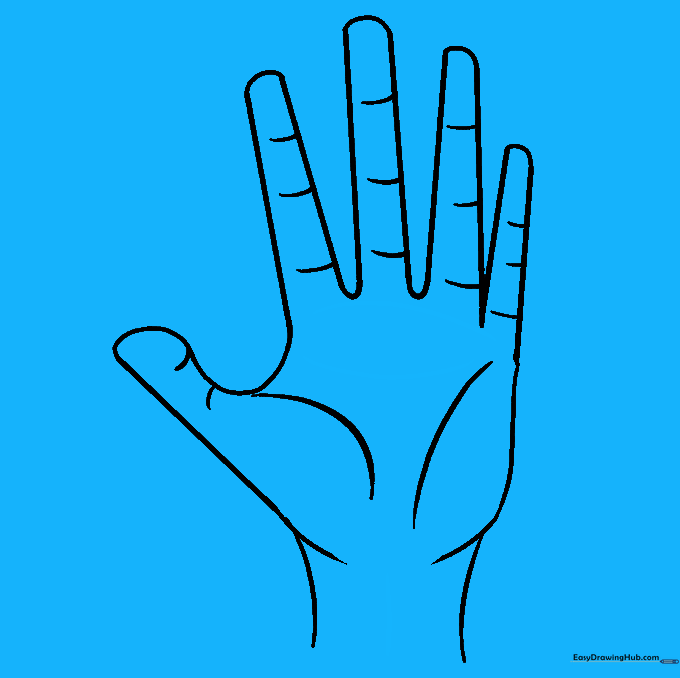
Add final details to the palm and a vertical line on the wrist to suggest a tendon. Teacher's Tip: Less is more—don't over-detail, or it may look cluttered.
Step 10: Bring It to Life with Color
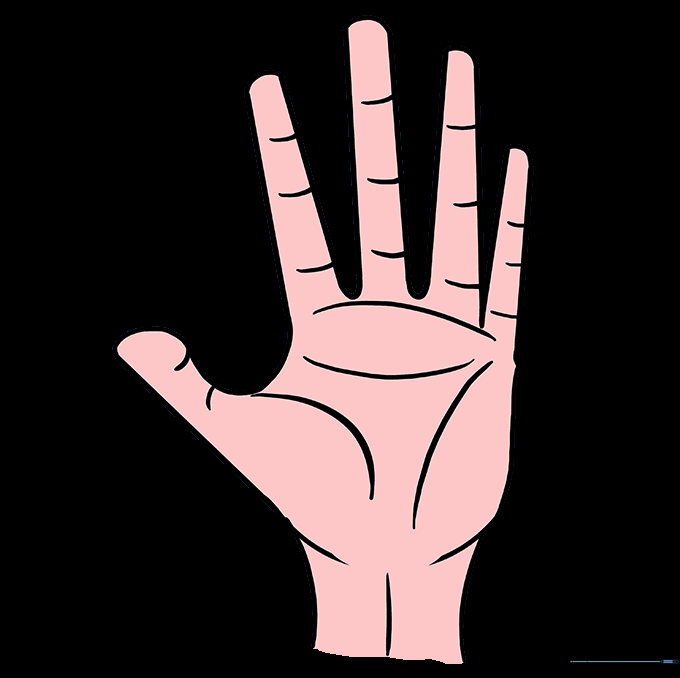
Add your favorite colors to your hand drawing. Teacher's Tip: Try using a lighter shade for the palm and a slightly darker tone for the sides to create a 3D effect.
More Tutorials


