How to Draw a Hamster: Easy 10-Step Guide for Kids
Bring a fuzzy friend to life with this beginner-friendly hamster drawing tutorial. Designed for ages 5 and up, this activity requires only a pencil, paper, and an eraser to build confidence in basic shapes. Follow along to create your own adorable character snacking on a treat!
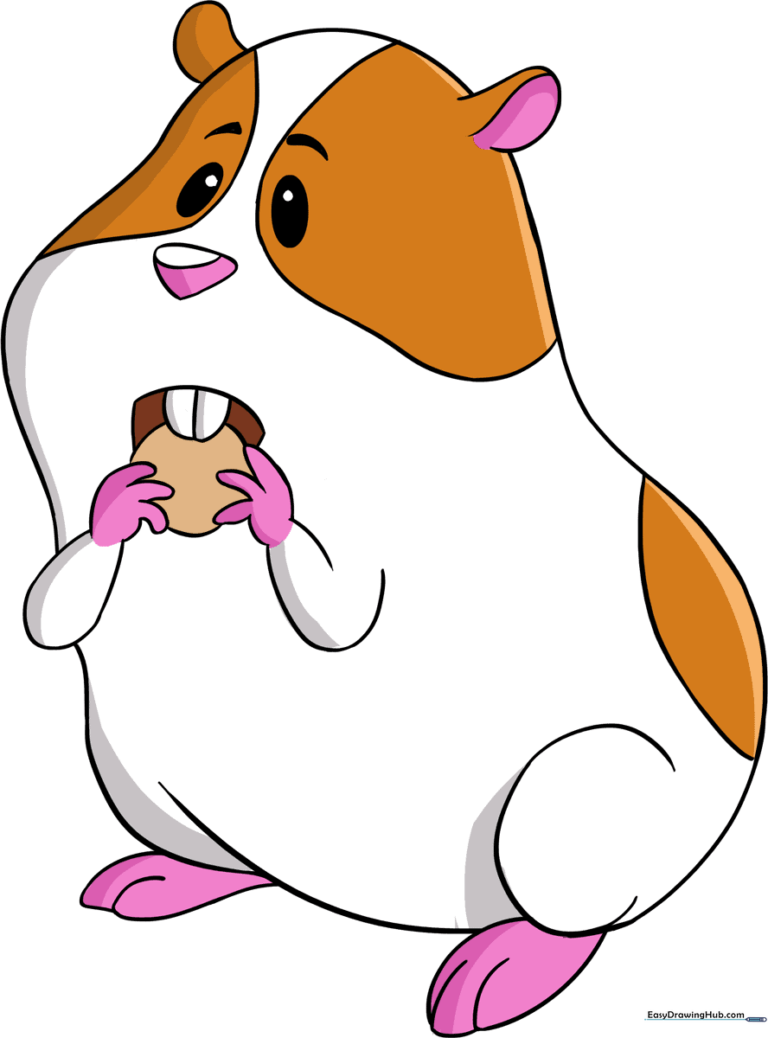
🎯 Final Result
Step-by-Step Instructions
Sketching the Head

Start by drawing a light circle to form the head. Teacher's Tip: Keep this circle roughly the size of a coin; drawing it lightly makes it much easier to refine the shape later.
Adding the Ears

Erase a small section of the top circle and add two curved, rounded ears. Tip: Make the ears look soft by using smooth, rounded lines rather than sharp points.
Defining the Face

Draw two ovals for eyes, leaving a tiny white dot inside for a 'sparkle' effect. Add a small inverted triangle for the nose. Tip: Adding that little sparkle in the eyes instantly makes your character look friendly and alive!
Drawing the Cheek and Paw

Erase the side of the head circle and draw a long, curved line to create a chubby cheek. Add a small arm and paw below it. Tip: Hamsters are known for their full cheeks—don't be afraid to make this line nice and round!
Adding the Second Paw

Draw the second arm and paw using simple, overlapping curved lines. Tip: Keep the paws small to maintain the hamster's cute, compact proportions.
Shaping the Body
Erase the remaining side of the head circle and draw a long, sweeping line for the back and haunches. Add a spiral line for the bent back leg. Tip: Use a fluid motion for the back line to make the hamster look soft and rounded.
Completing the Belly
Connect the lines to form the belly and the remaining leg. Tip: Ensure the belly line is slightly curved to give the hamster a plump, healthy appearance.
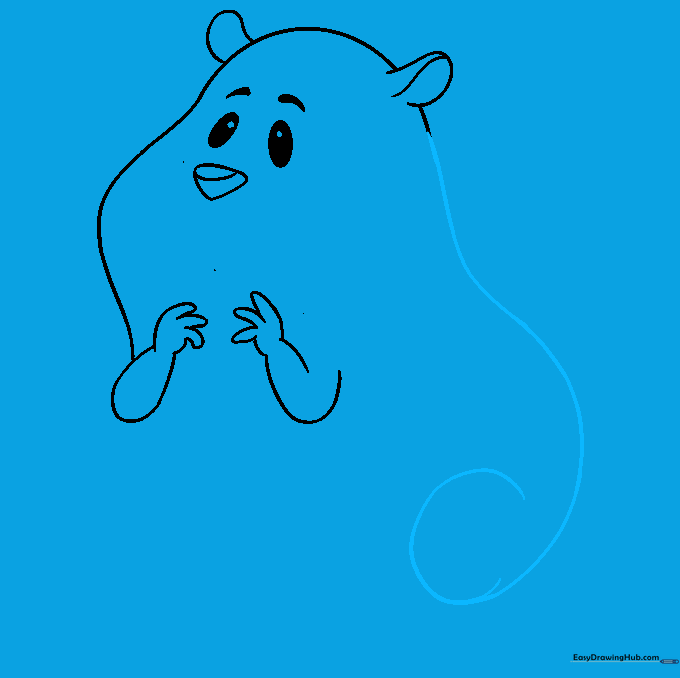
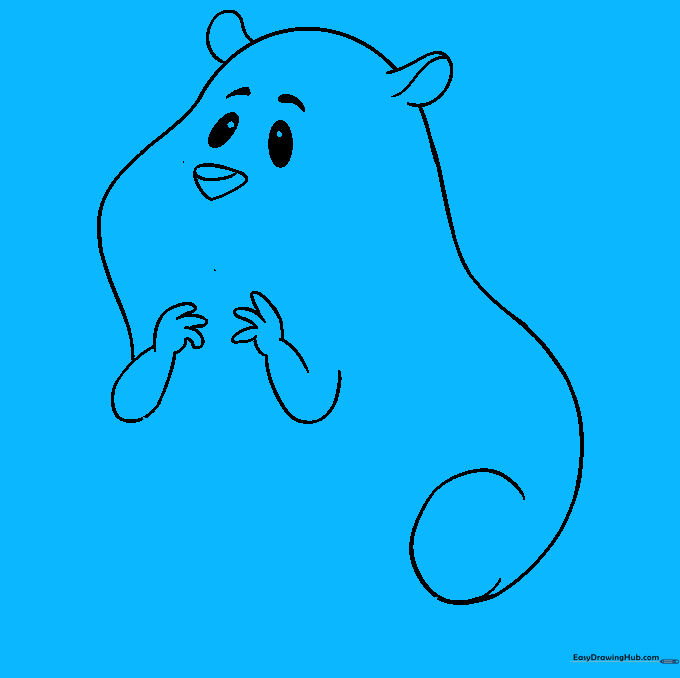
Drawing the Feet
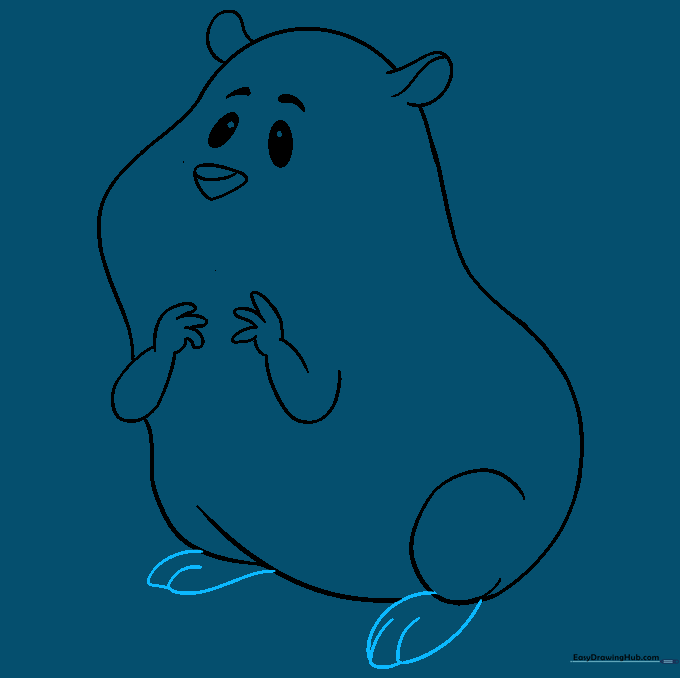
Add the feet at the bottom of the legs, using small lines to indicate toes. Tip: Keep the toes very light; they are just tiny details that add realism to your cartoon.
Adding Final Details
Draw the open mouth, teeth, and a small snack held in the paws. Tip: The snack adds a fun narrative element—is your hamster eating a sunflower seed or a piece of fruit?
Adding Color
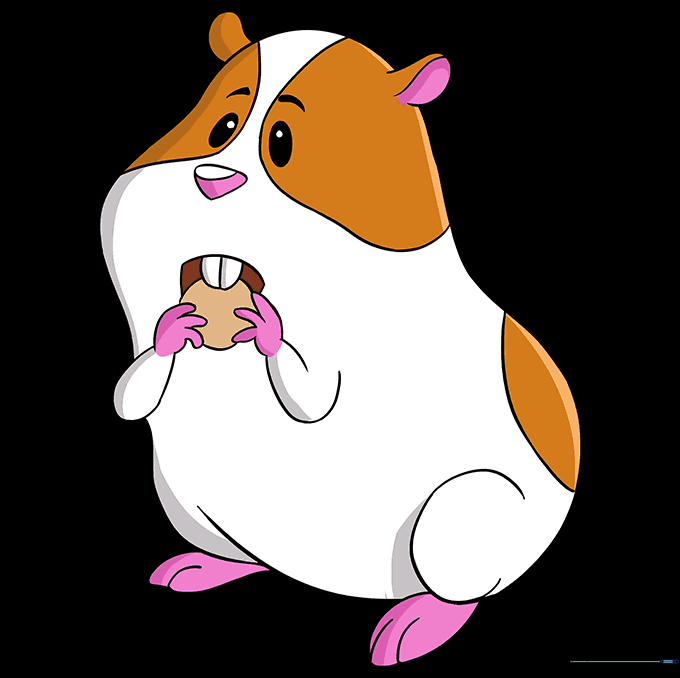
Bring your hamster to life with color! Use tan, brown, or grey for the fur. Tip: Try using a darker shade of your chosen color to add a little shadow under the chin for a 3D effect.
More Tutorials


