How to Draw a Hammock: Easy 10-Step Summer Art Guide
Bring the relaxation of summer to your sketchbook with this easy hammock drawing tutorial, perfect for artists ages 5 and up. You will need a pencil, eraser, and your favorite coloring supplies to create this tropical scene. Follow along to practice your curved lines and landscape composition skills.
🎯 Final Result

Step-by-Step Instructions
Step 1: Sketching the First Palm Tree
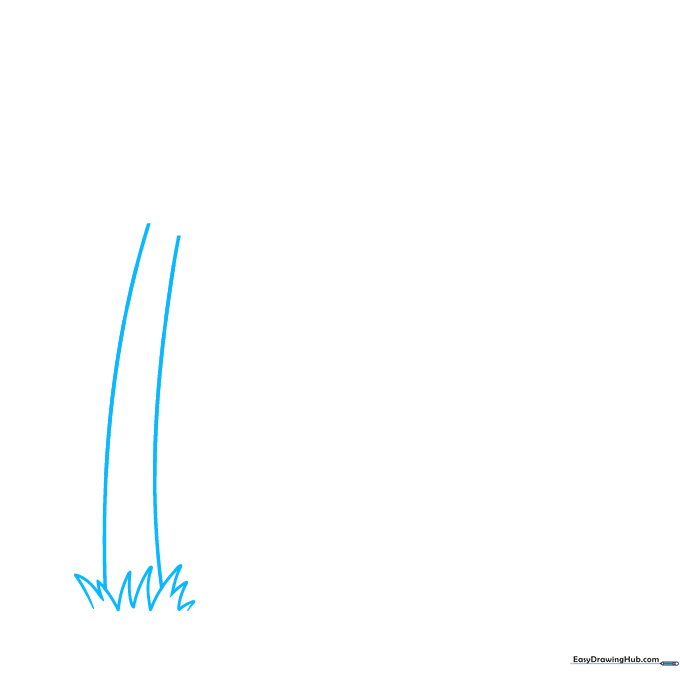
Start by drawing the base of your palm tree using small, jagged 'V' shapes for grass. Extend two long, slightly curved lines upward to form the trunk. Teacher's Tip: Keep the trunk lines slightly wider at the bottom to make the tree look sturdy.
Step 2: Adding Palm Fronds
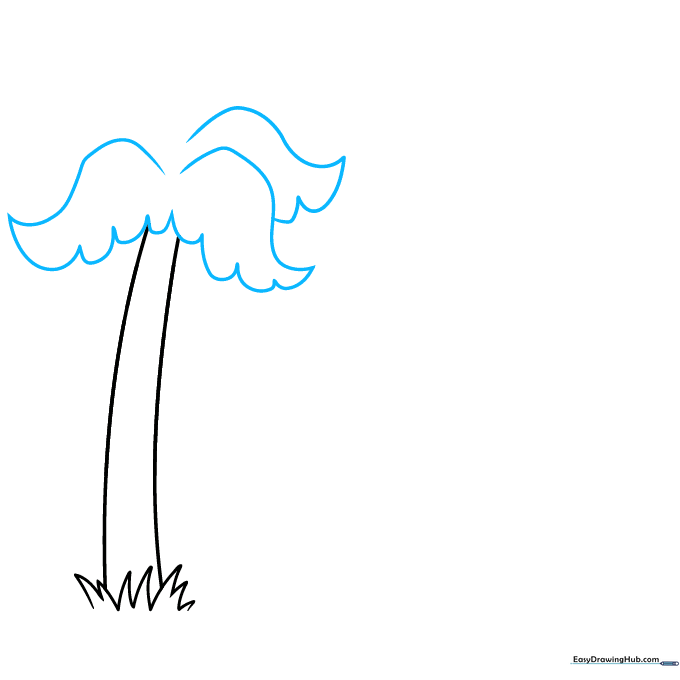
Draw the large palm leaves at the top of the trunk. Use long, sweeping curved lines for the top edges and shorter, jagged strokes for the bottom of the leaves. Tip: Don't worry about perfection; palm leaves are naturally messy and organic!
Step 3: Building the Second Tree
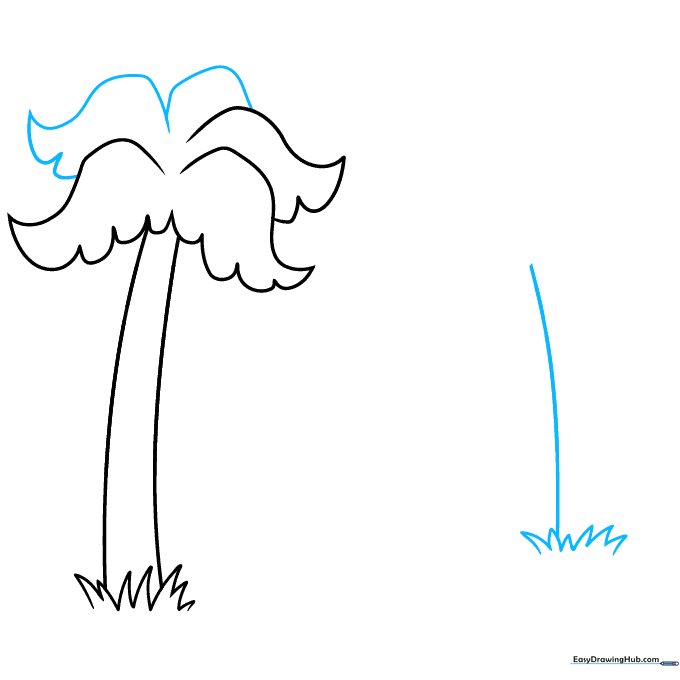
Add depth by drawing a second palm tree slightly behind the first. Repeat the grass tufts and trunk lines. Tip: By drawing this tree slightly lower on the page, you create a sense of distance.
Step 4: Completing the Second Tree
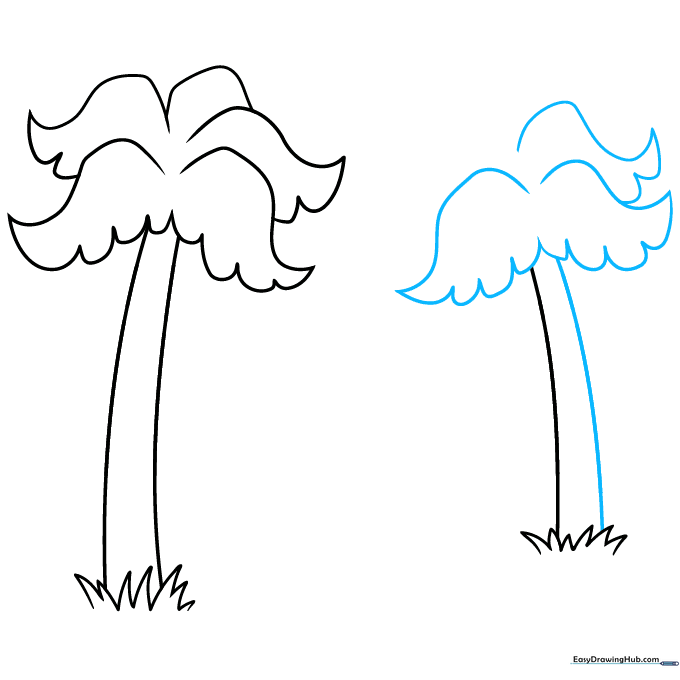
Finish the second trunk with a parallel line and add its palm leaves. Ensure the leaves overlap slightly to make the trees look like they are part of the same grove.
Step 5: Sketching the Hammock Frame
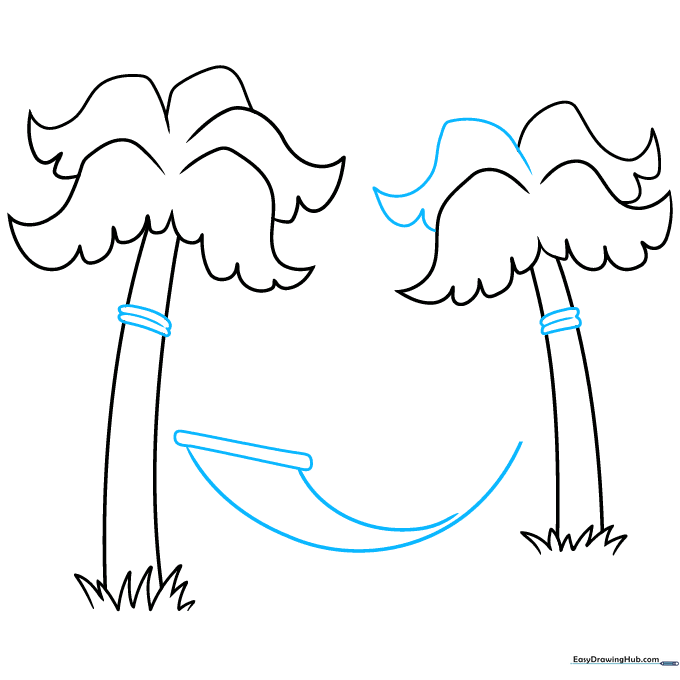
Draw two small rectangles on the trunks to serve as the anchor points. Connect them with a curved, sagging line to represent the hammock's shape. Tip: Use a light touch here so you can erase the lines inside the hammock later.
Step 6: Adding Support Ropes
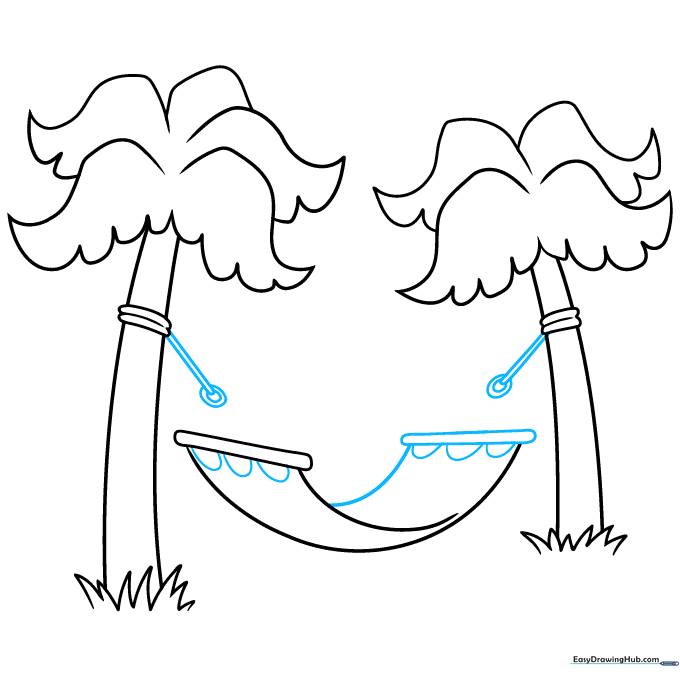
Draw rings at the ends of the hammock and add 'U' shaped lines under the support bars to give the hammock a realistic, fabric-like drape.
Step 7: Detailing the Hammock and Shore

Draw straight lines from the bars to the rings to show the ropes. Add stripes to the hammock fabric and a long, curved line behind the trees to define the shoreline.
Step 8: Adding Texture
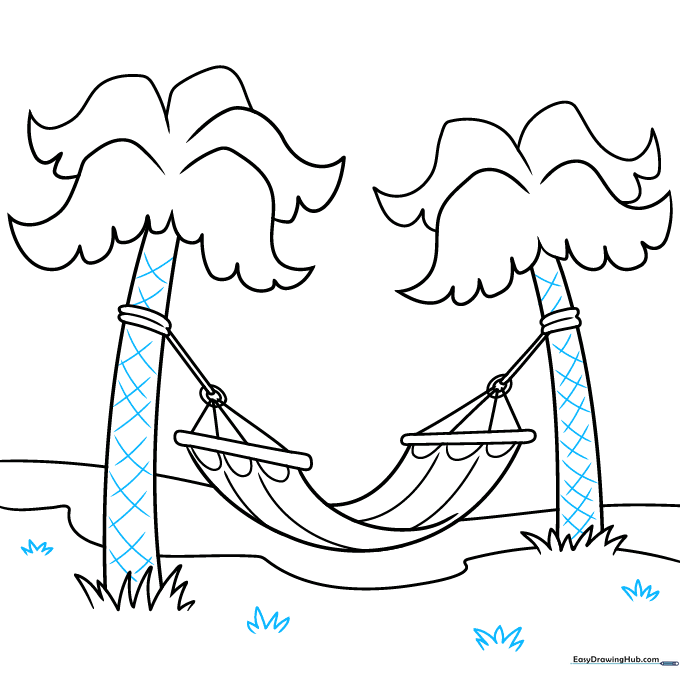
Use cross-hatching (small 'X' marks) on the tree trunks to create the texture of bark. Add more grass tufts around the base of the trees. Tip: Vary the size of your 'X' marks to make the bark look natural.
Step 9: Drawing the Horizon and Clouds
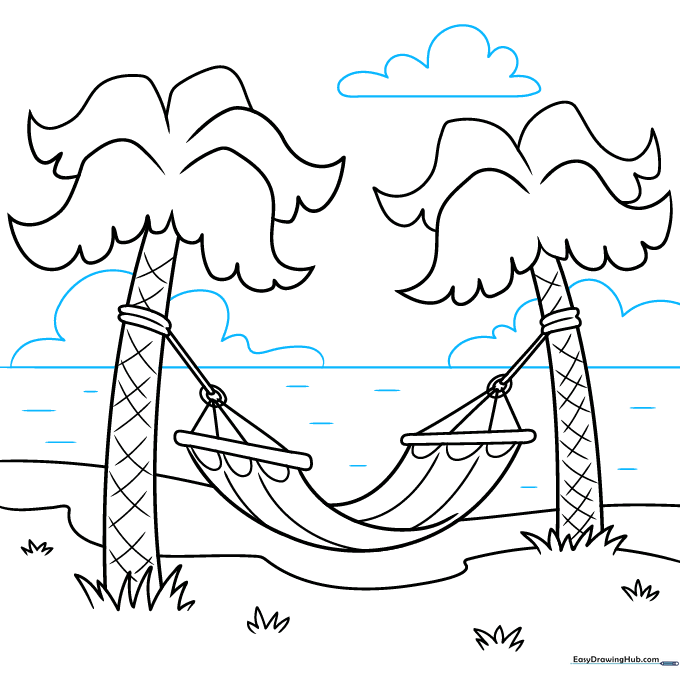
Draw a straight horizontal line for the ocean. Add fluffy, rounded clouds in the sky and small dashes on the water to represent gentle waves.
Step 10: Bringing Your Drawing to Life with Color

Time to color! Use bright blues for the sky and ocean, vibrant greens for the palm leaves, and your favorite colors for the hammock stripes. Tip: Use light pressure with your colored pencils to blend colors smoothly.
More Tutorials


