How to Draw a Hammerhead Shark: Easy 10-Step Guide
Bring the ocean to life with this fun, screen-free drawing activity perfect for young artists ages 5 and up. You will only need a pencil, an eraser, and a piece of paper to master this unique shark's iconic shape. Follow along to develop your fine motor skills and confidence in character design.
🎯 Final Result

Step-by-Step Instructions
Step 1: Sketching the Hammerhead

Start by drawing the wide, flat head of the shark. Tip: Think of it like a wide 'T' shape with rounded corners; keep your pencil pressure light so you can refine the shape later.
Step 2: Defining the Back
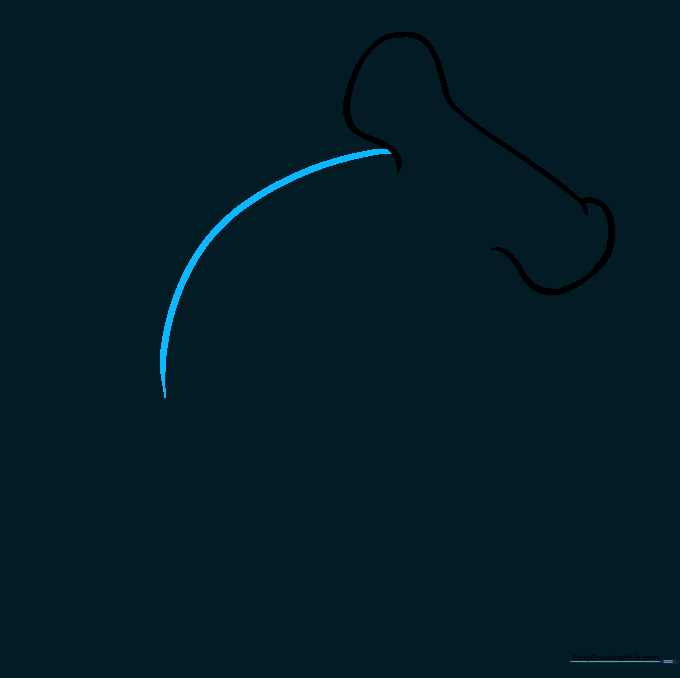
Draw a long, smooth, curved line extending from the top of the head. Tip: Imagine the shark is gliding through the water; a gentle curve makes the movement look more realistic.
Step 3: Sketching the Belly
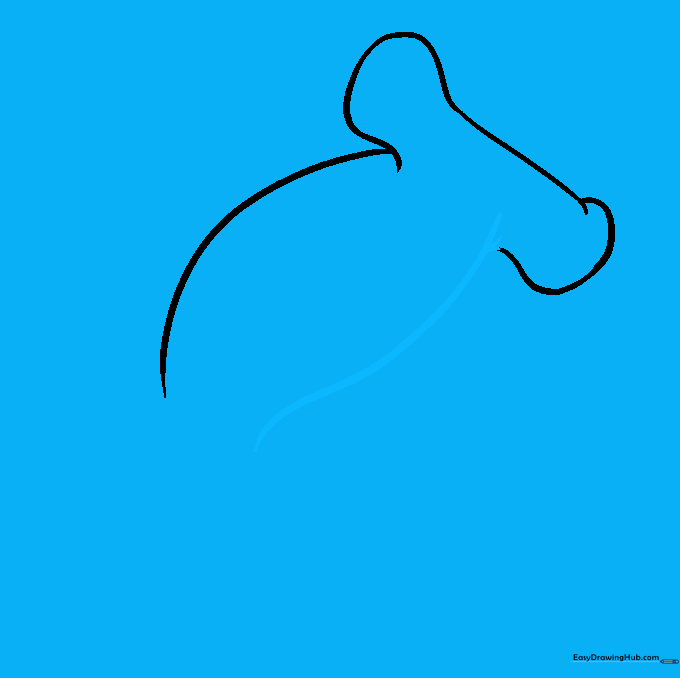
Draw a matching curved line from the bottom of the head to form the belly. Tip: Try to keep the distance between the back and belly lines consistent to maintain the shark's sleek shape.
Step 4: Shaping the Tail

Flare the back and belly lines outward to create the tail base. Tip: Use quick, confident strokes to make the tail look sharp and powerful.
Step 5: Detailing the Tail
Connect the tail lines and add a small 'V' notch. Tip: That little notch adds character—it tells a story about the shark's life in the wild!
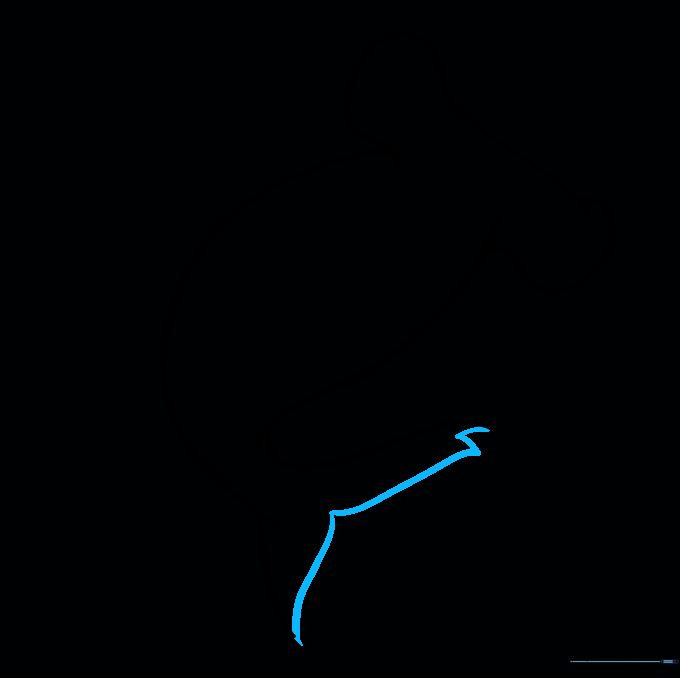
Step 6: Adding the First Pectoral Fin

Draw a triangular fin on the side of the body. Tip: Make sure the fin points toward the tail to show the shark is swimming forward.
Step 7: Adding the Second Pectoral Fin

Draw the second fin on the opposite side. Tip: Keep it slightly smaller than the first to create a sense of depth and perspective.
Step 8: Drawing the Mouth
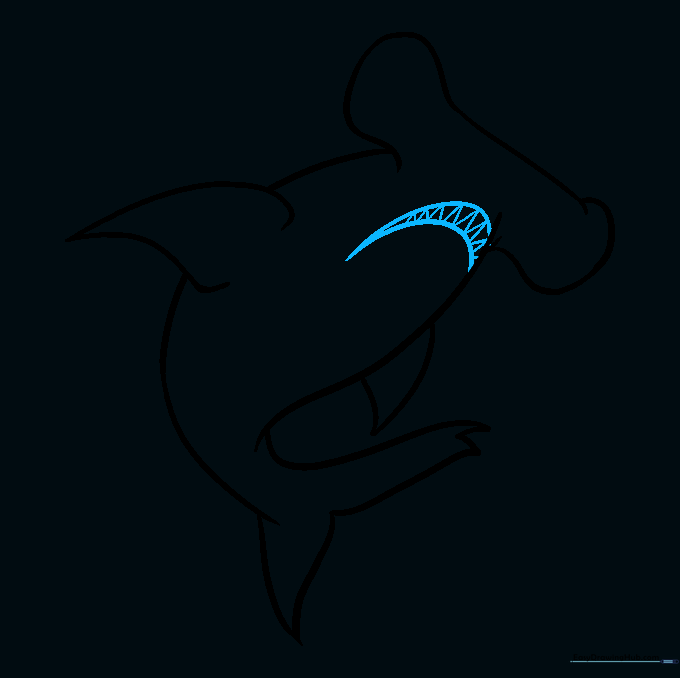
Draw a curved mouth with small 'V' shapes for teeth. Tip: Don't make the teeth too big; keep them small and sharp to maintain the shark's realistic look.
Step 9: Adding Eyes and Gills

Draw the eyes on the ends of the 'hammer' and add gill slits. Tip: The eyes should look alert; use a small circle inside a larger one to create a pupil.
Step 10: Bringing Your Shark to Life

Time to color! Use shades of grey or brown for a natural look. Tip: Use a darker shade for the top of the shark and a lighter shade for the belly to create a 3D effect.
More Tutorials


