How to Draw a Half Face: Easy 9-Step Portrait Guide
Ready to explore portraiture? This half-face drawing tutorial is designed for young artists and beginners to practice facial symmetry and features. You will only need a pencil, eraser, and paper to start building your character's unique look.
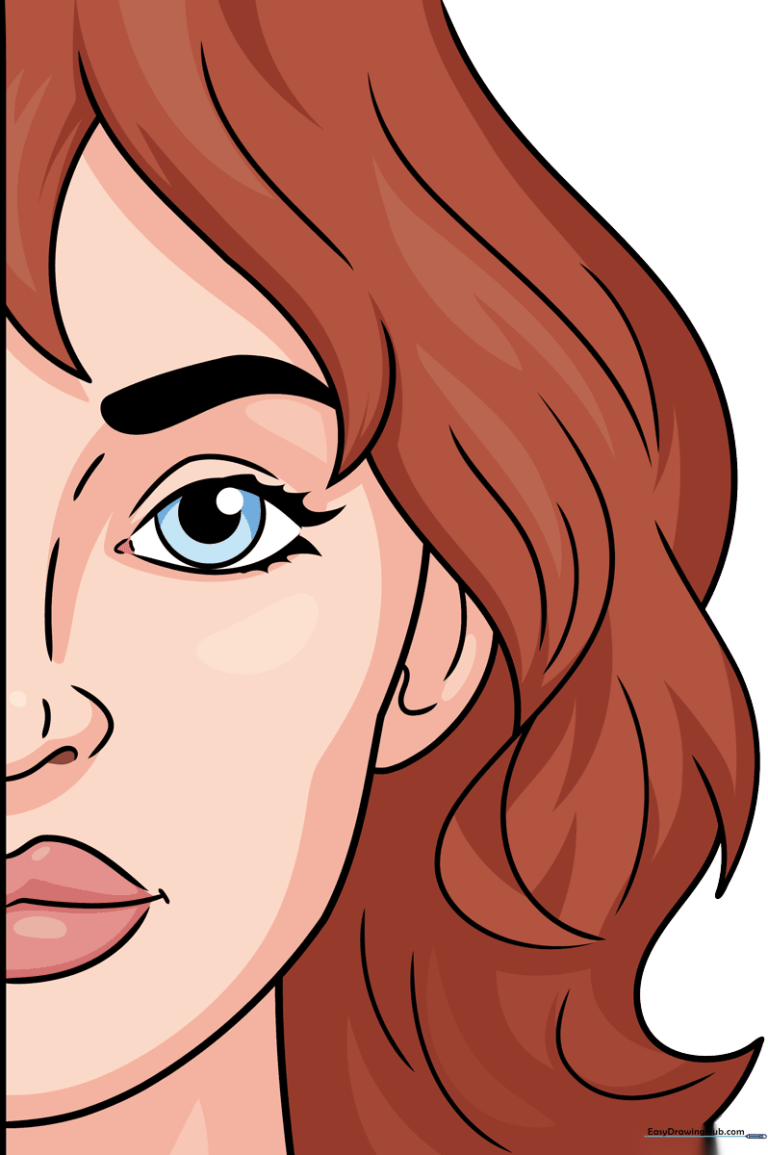
🎯 Final Result
Step-by-Step Instructions
Step 1: Establishing the Vertical Axis
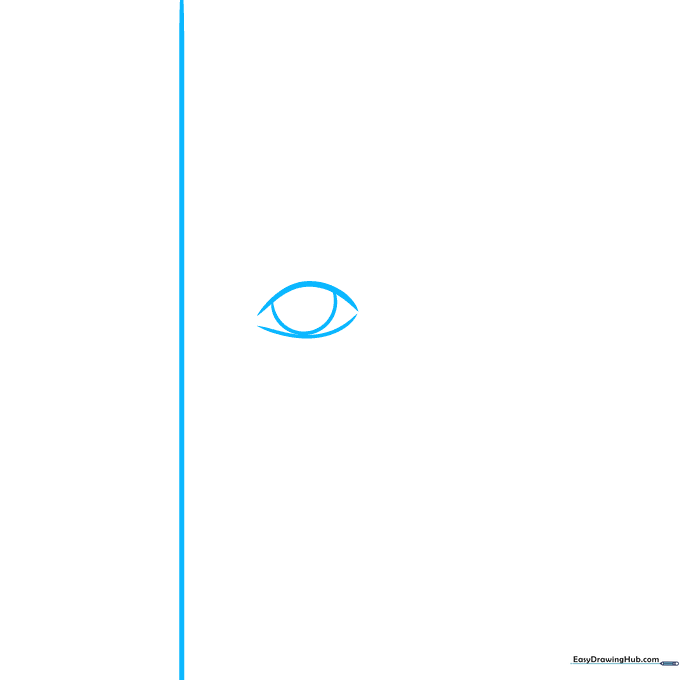
Draw a straight vertical line on the left side of your paper to act as the center of the face. Next, sketch a soft lemon shape for the eye socket and place a circle inside for the iris. Teacher's Tip: Keep this line light; it's your guide for perfect alignment.
Step 2: Defining the Eye
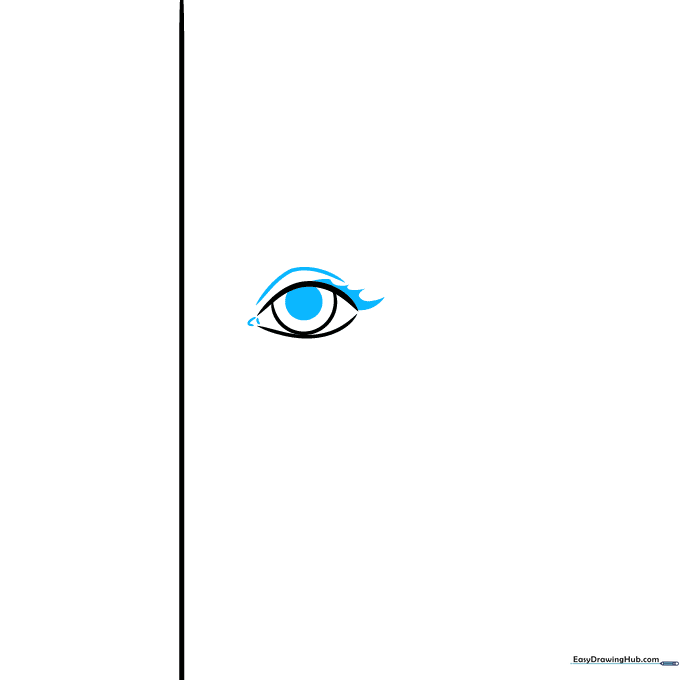
Add a smaller circle inside the iris for the pupil, and a tiny triangle in the inner corner of the eye. Outline the lashes using small, flicking triangles. Draw a gentle curve above the eye for the eyelid. Teacher's Tip: Use short, quick strokes for lashes to make them look natural.
Step 3: Adding the Eyebrow
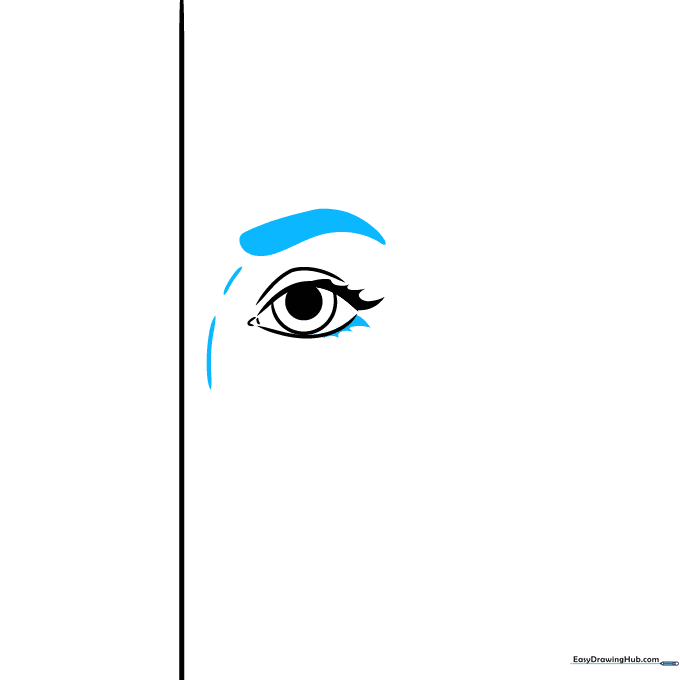
Draw three small triangles on the lower eyelid to suggest depth. Sketch two curves to the left, then complete the eyebrow with a thick, arched curve that tapers to a point. Teacher's Tip: Eyebrows frame the face—make this curve expressive!
Step 4: Sketching the Nose and Mouth
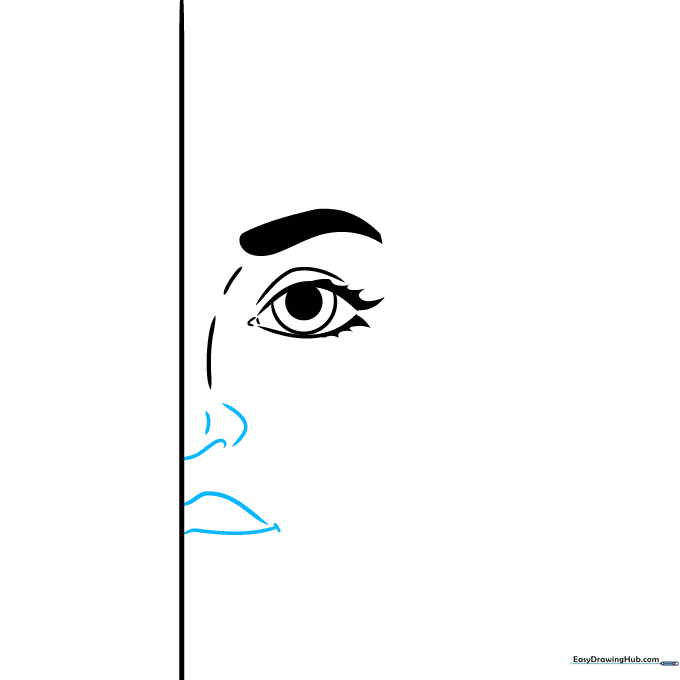
For the nose, draw a wavy line that touches your center guide. Sketch a vertical curve to the right with a small dash above. Below, draw a curvy line for the mouth with a dash at the corner and a soft hill shape above it. Teacher's Tip: Keep the nose subtle; it shouldn't overpower the eyes.
Step 5: Shaping the Lips and Hairline
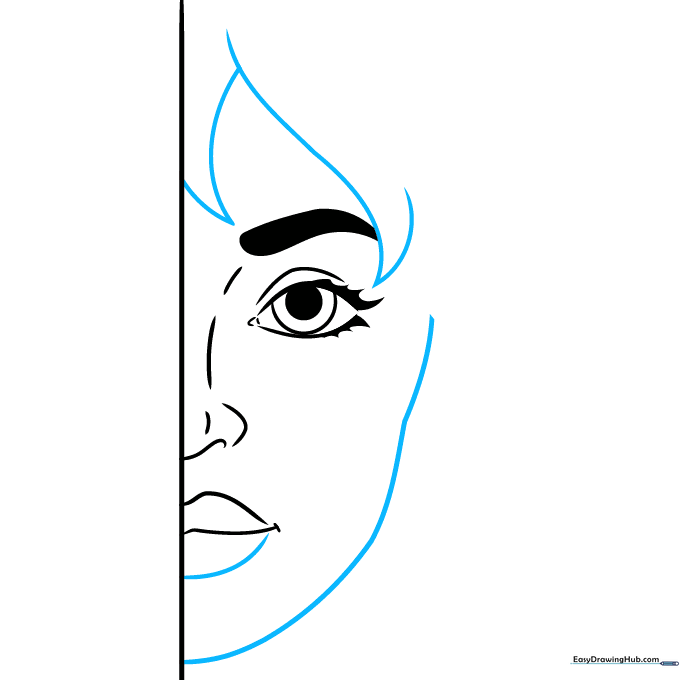
Outline the lower lip with a gentle curve. Add hair volume using two long, curvy triangles, and draw a curved line to define the side of the face. Teacher's Tip: Use long, flowing strokes for hair to make it look soft and realistic.
Step 6: Adding Hair Volume
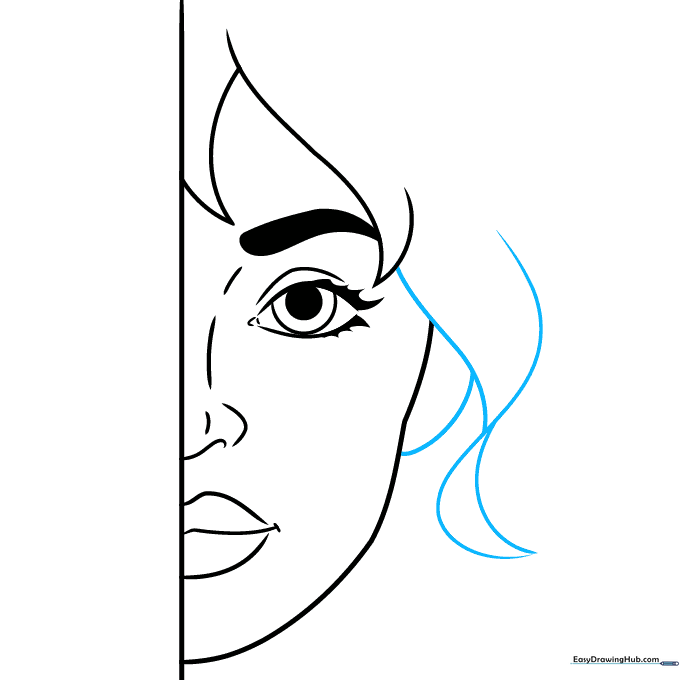
Continue the hair with another triangle and a large crescent moon shape. Draw a curve connecting the hair to the face. Teacher's Tip: Vary the size of your triangles to create a more natural, layered hair look.
Step 7: The Ear and Neck
Place two simple curves inside the ear area. Outline the neck with a diagonal line, and add another wavy line for the hair. Teacher's Tip: The ear usually aligns with the top and bottom of the eye.
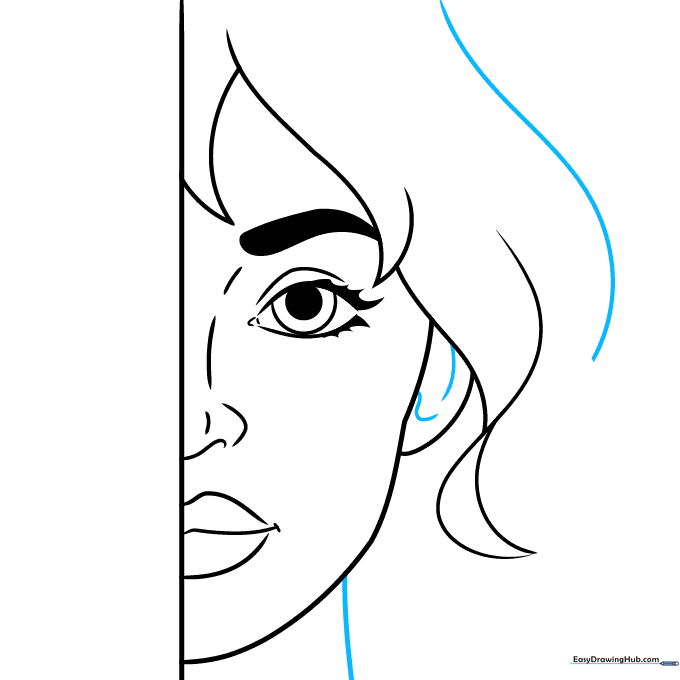
Step 8: Refining the Hair

Sketch more lines, curves, and loose triangles throughout the hair to give it a long, flowing appearance. Teacher's Tip: Don't worry about perfect lines—hair is naturally messy and organic!
Step 9: Final Outlines and Details
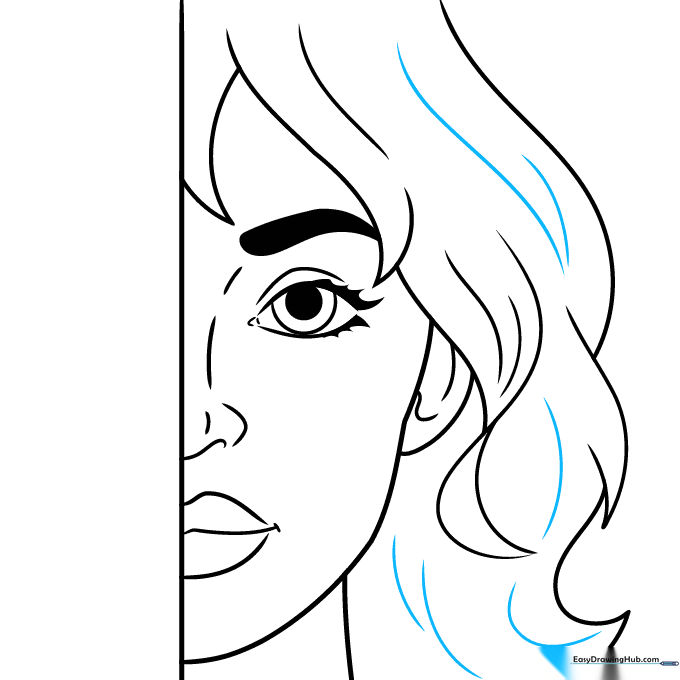
Add texture lines inside the hair. Outline the entire drawing with black ink. Fill in the eyebrow, lashes, and pupil, leaving a small white circle in the pupil for a 'glare' effect. Teacher's Tip: Leaving that white spot makes the eyes look alive and bright.
Step 10: Adding Color
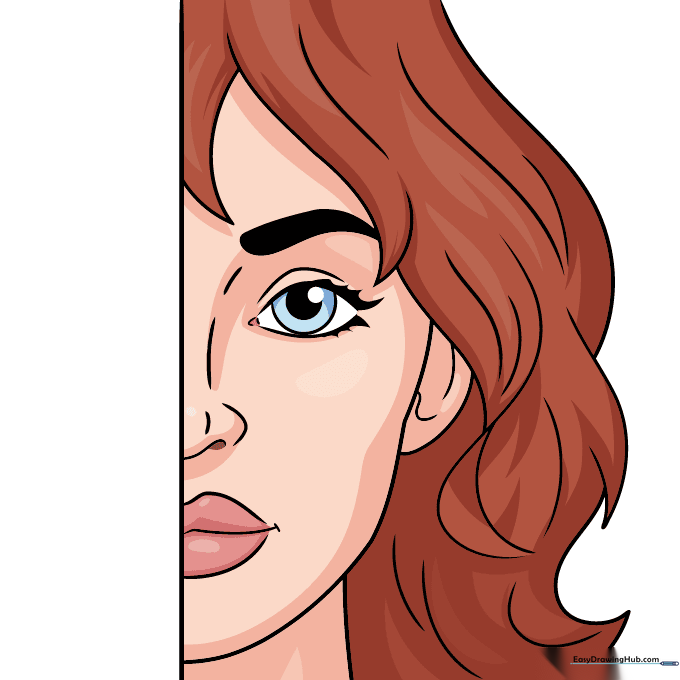
Bring your portrait to life with color! We suggest a warm tan for the skin, a vibrant blue for the iris, and a deep red for the hair. Teacher's Tip: Use light pressure with your colored pencils to build up skin tones gradually.
More Tutorials


