How to Draw a Guinea Pig: Easy 10-Step Guide for Kids
Bring a fuzzy friend to life with this easy, step-by-step drawing lesson designed for young artists ages 5 and up. All you need is a pencil, an eraser, and some paper to start building your character. Follow along to master basic shapes and create your own adorable guinea pig masterpiece.
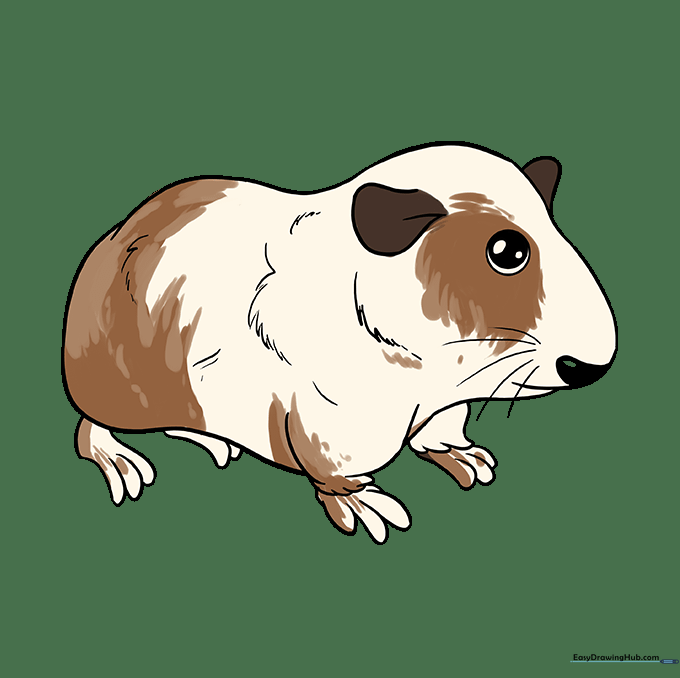
🎯 Final Result
Step-by-Step Instructions
Step 1: Sketching the Head

Draw a light circle to serve as the base for the head. Teacher's Tip: Keep this about the size of a coin and use a very light touch so you can easily erase it later.
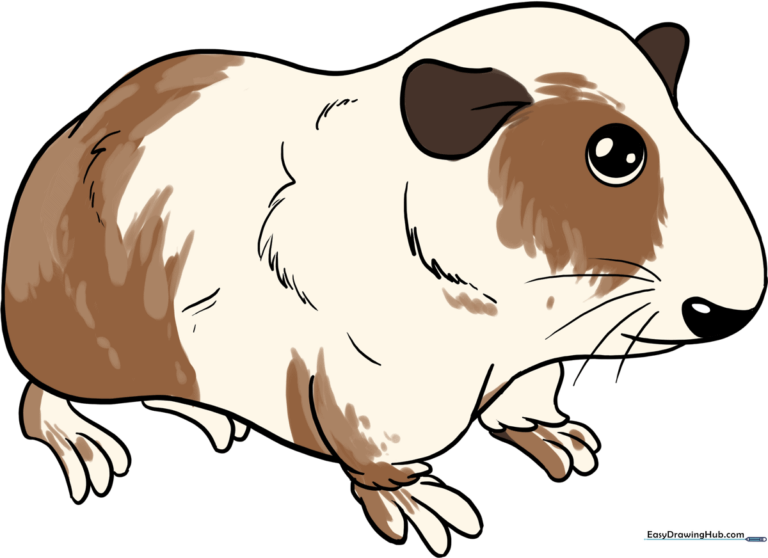
Step 2: Shaping the Body
Use a long, curved line to outline the body attached to the head. Notice the two small bulges at the bottom; these will become the legs. Teacher's Tip: Think of this shape like a soft, rounded bean.
Step 3: Defining the Snout

Refine the head shape by adding a detailed snout. Use two overlapping curved lines to create the nose and mouth area. Teacher's Tip: Keep these lines smooth to give your guinea pig a friendly expression.
Step 4: Cleaning the Outline

Carefully erase your initial guide lines inside the body and head. You should now have a clean, globular outline of your guinea pig. Teacher's Tip: Use a soft eraser to avoid smudging your work.
Step 5: Drawing the Front Leg

Sketch the foreleg using two curved lines for the shoulder. Connect them with small 'U' shapes for the toes. Teacher's Tip: Make the toes small and rounded to look like little paws.
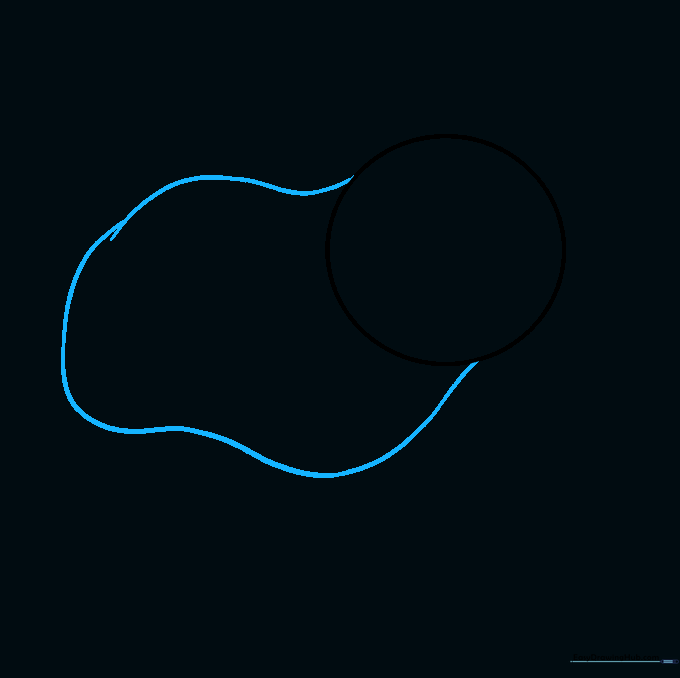
Step 6: Adding the Far Leg
Draw the second foreleg peeking out from behind the neck. Use the same 'U' shape technique for the toes. Teacher's Tip: Overlapping lines create a sense of depth, making your drawing look 3D.
Step 7: Sketching Rear Feet

Outline the rear feet using two curved lines. Add the toes with 'U' shapes. Teacher's Tip: Keep the back feet slightly hidden behind the body to maintain the correct proportions.
Step 8: Facial Features

Draw a large, expressive eye with a pupil and a rounded nose. Shade the nose lightly. Teacher's Tip: Leave a tiny white dot in the eye to create a 'sparkle' effect, making the animal look alive.
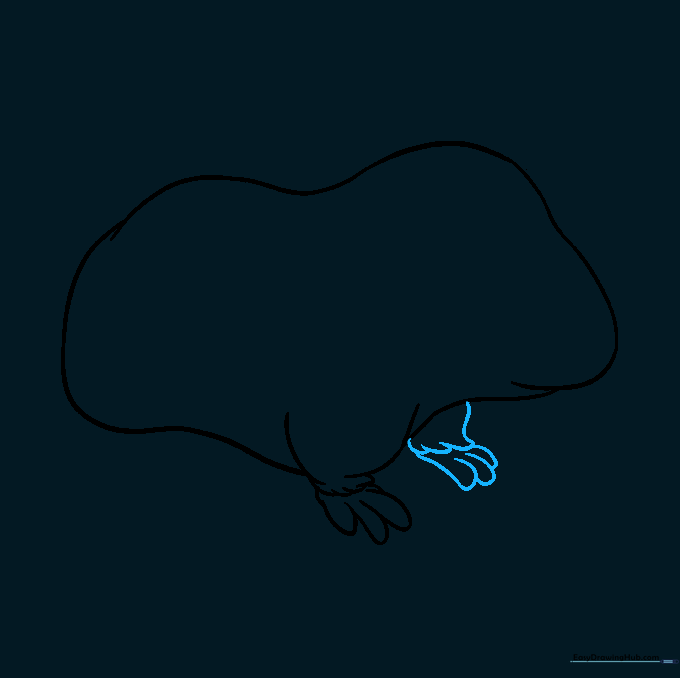
Step 9: Adding Fur and Whiskers
Add texture by drawing short, jagged lines along the body. Finish with long, curved lines for whiskers. Teacher's Tip: Don't make the fur lines too uniform; variety makes it look more natural.
Step 10: Adding Color
Bring your guinea pig to life with color! Use browns, creams, or greys. Teacher's Tip: Try coloring in patches to mimic the unique patterns found on real guinea pigs.
More Tutorials


