How to Draw a Guava Tree: Easy 10-Step Guide for Kids
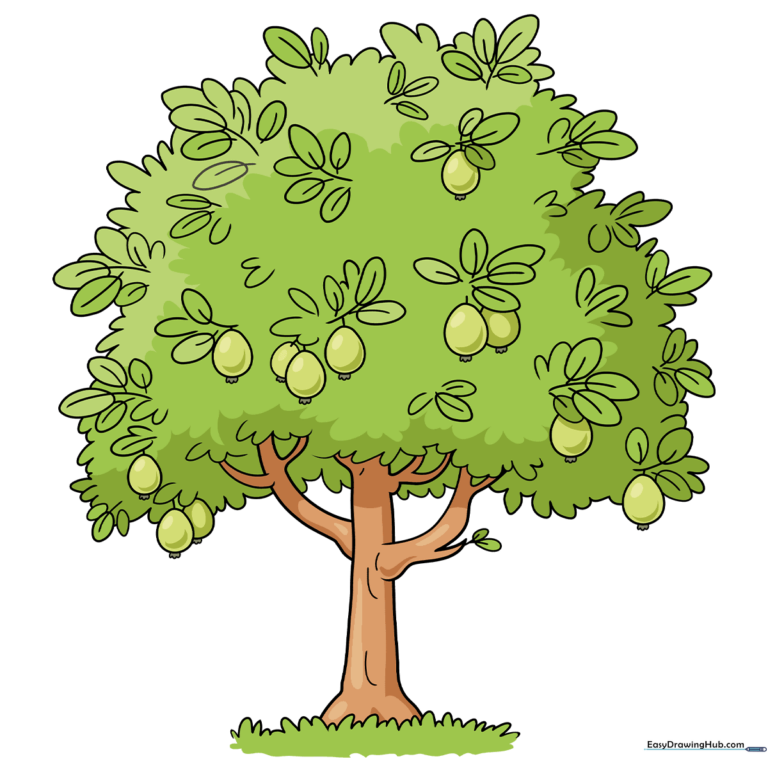
Bring a tropical orchard to your sketchbook with this fun, guided drawing activity. Designed for artists ages 5 and up, this project uses basic shapes to build a lush, fruit-bearing tree. You will need a pencil, an eraser, and your favorite coloring markers to complete this scene.
🎯 Final Result
Step-by-Step Instructions
Step 1: Establishing the Ground and Trunk
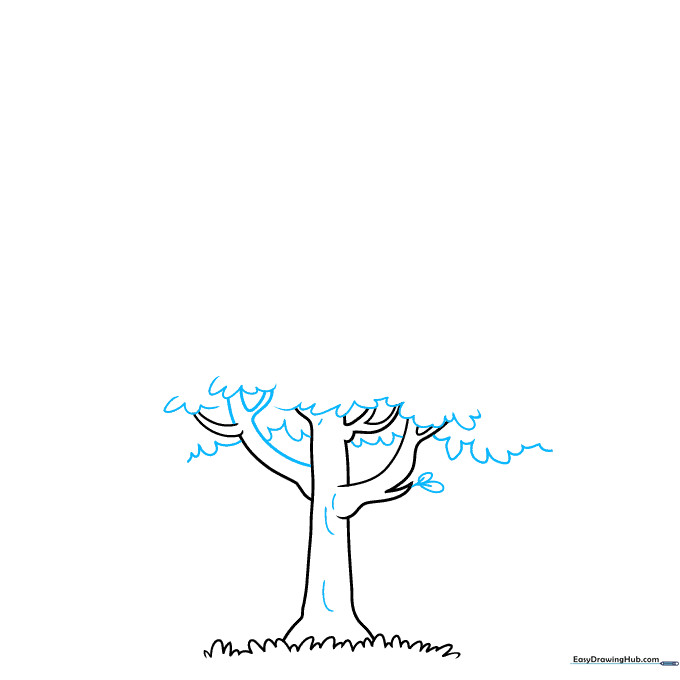
Start by drawing a series of connected 'U' shapes along the bottom to create grassy ground. From the center, draw two vertical lines curving slightly outward to form the base of your trunk. Teacher's Tip: Keep the trunk lines parallel to give the tree a sturdy, grounded look.
Step 2: Adding Branches and Initial Foliage
Extend branches from the top of the trunk using V-shaped forks. Add small, oval-shaped leaves near the trunk base. Teacher's Tip: Don't worry about making the branches perfectly straight; real trees have organic, slightly wobbly limbs!
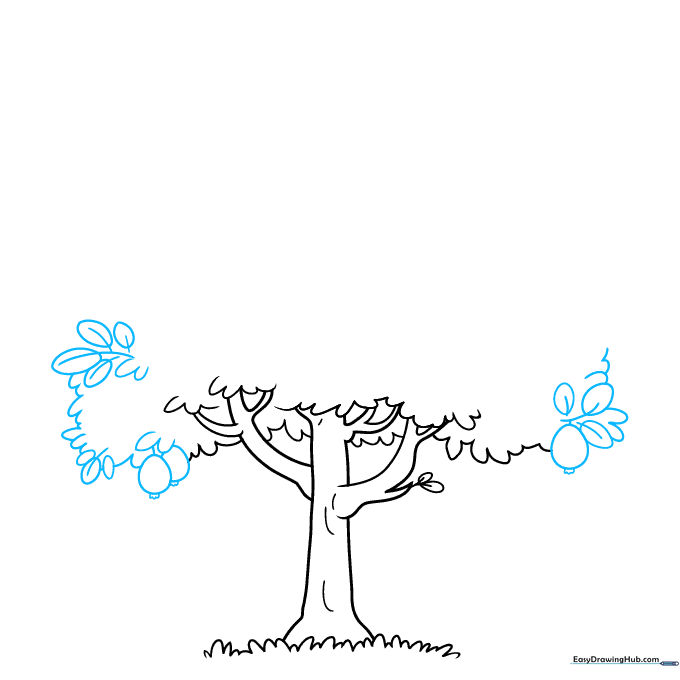
Step 3: Shaping the Canopy and First Guava

Use soft, scalloped 'U' lines to outline the top canopy. Draw your first guava as an egg shape hanging from a branch, adding a tiny wavy line at the bottom. Teacher's Tip: The wavy line represents the remains of the flower, which adds a nice touch of botanical accuracy.
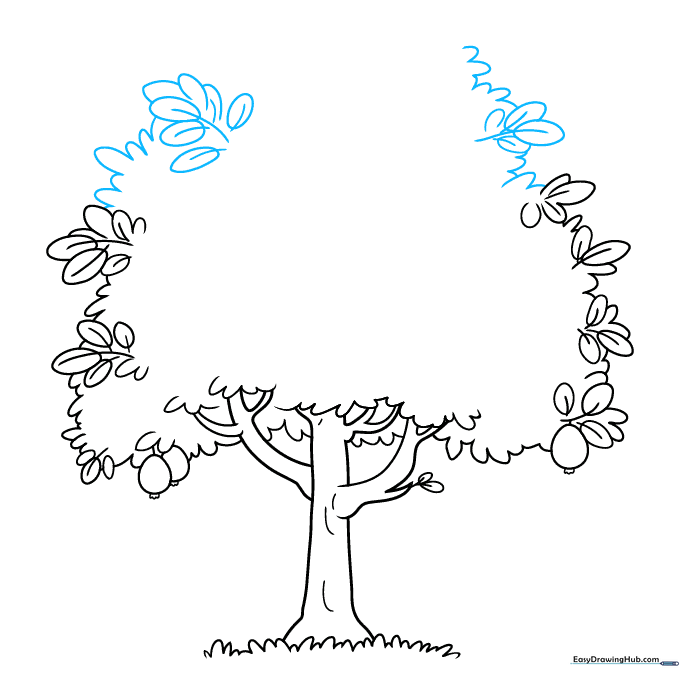
Step 4: Expanding the Canopy
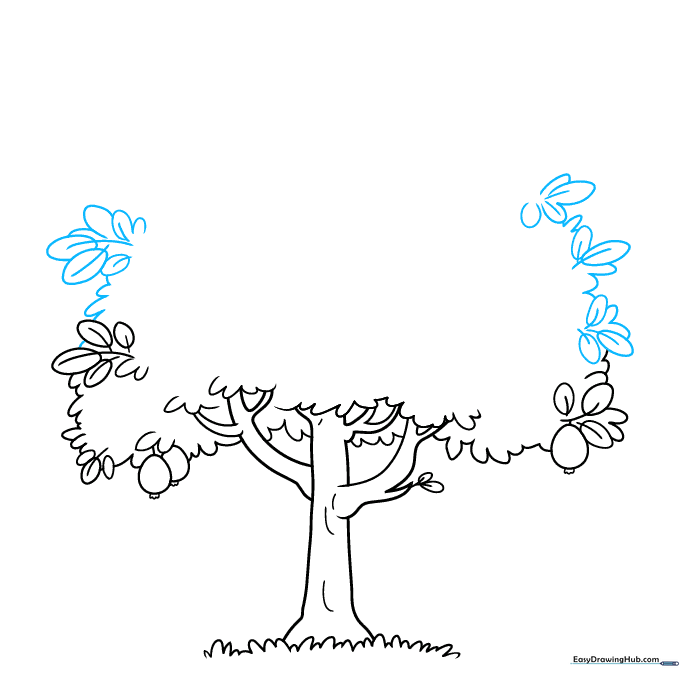
Continue building the canopy outward using overlapping 'U' shapes. Intersperse these with small clusters of leaves. Teacher's Tip: Vary the size of your 'U' shapes to make the tree look full and natural.
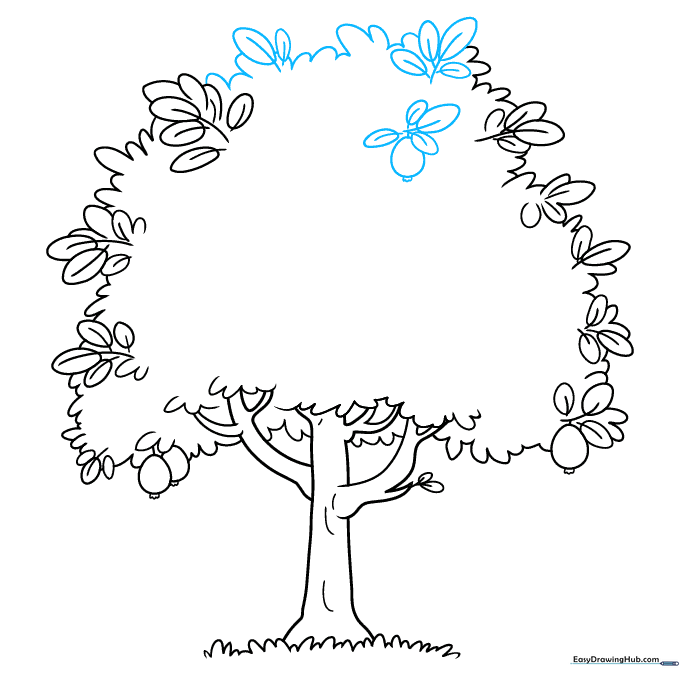
Step 5: Adding More Foliage
Fill in the gaps of your canopy with more leaf clusters. Ensure every leaf is connected to a small stem. Teacher's Tip: If you make a mistake, just turn it into a leaf! Nature is never perfectly symmetrical.
Step 6: Adding More Fruit
Draw another guava fruit tucked inside the canopy. Remember to add that scalloped line at the bottom to show where the fruit connects to the branch. Teacher's Tip: Place the fruit near the edges of the canopy so they stand out.
Step 7: Detailing the Leaves
Draw veins on your leaves using simple lines. This adds depth and makes your drawing look more professional. Teacher's Tip: Use a light touch with your pencil for the veins so they don't overpower the outline.
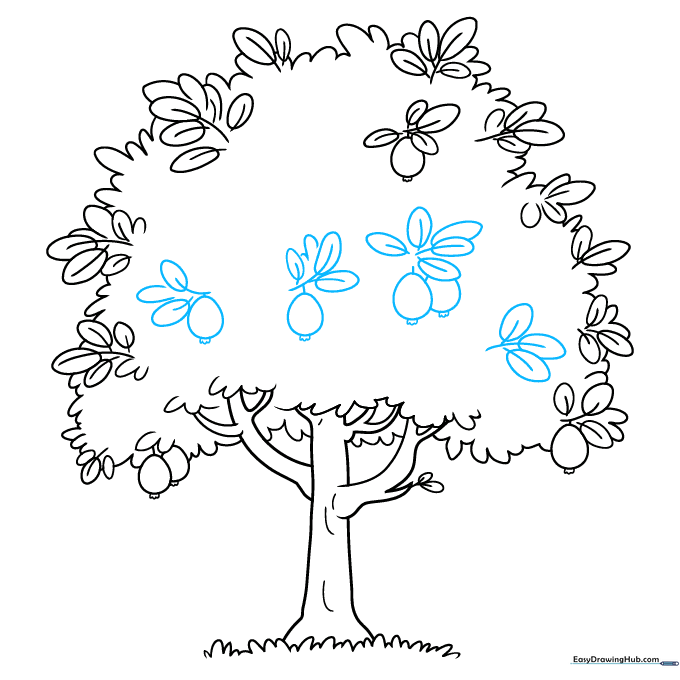
Step 8: Adding More Guavas
Add two or three more guavas hanging from different branches. Vary their sizes slightly to show perspective. Teacher's Tip: Grouping fruits in pairs makes the tree look more bountiful.
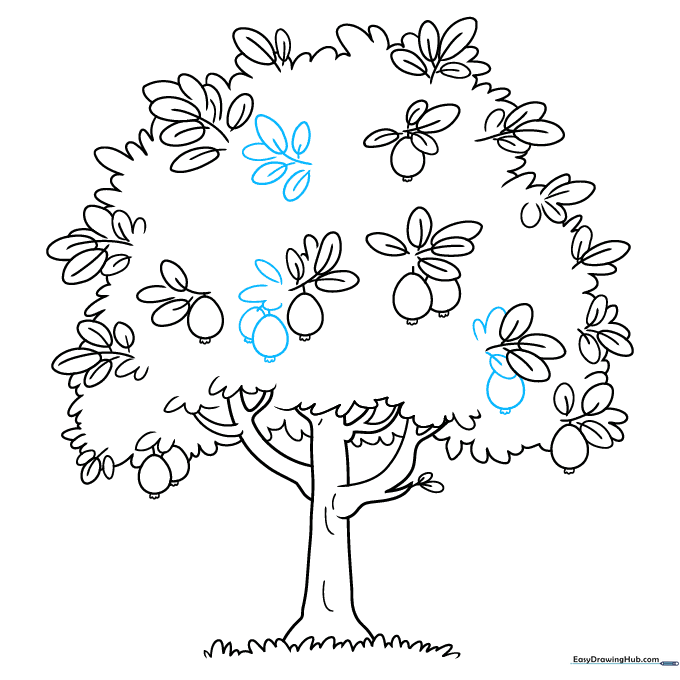
Step 9: Final Touches
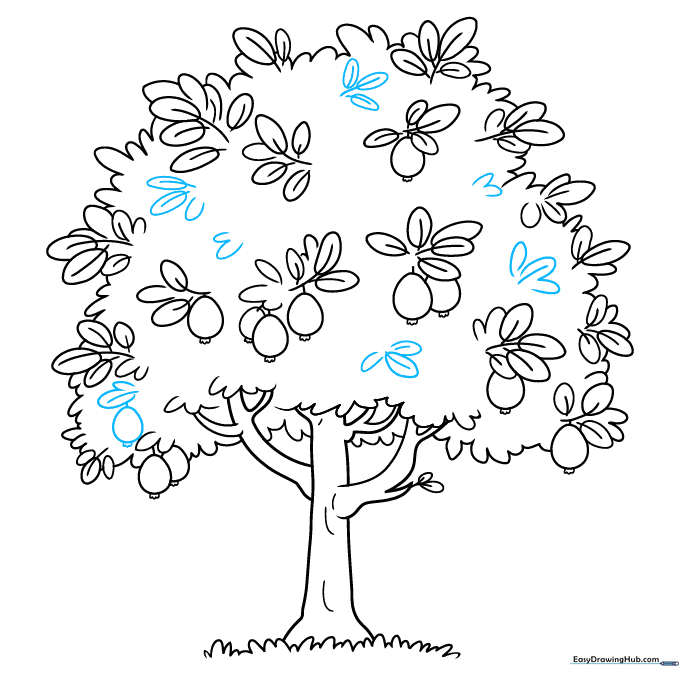
Review your drawing and add any final leaves or small branches to fill empty spaces. Ensure all your lines are clean. Teacher's Tip: Now is the time to erase any stray pencil marks from your initial sketch.
Step 10: Bring It to Life with Color
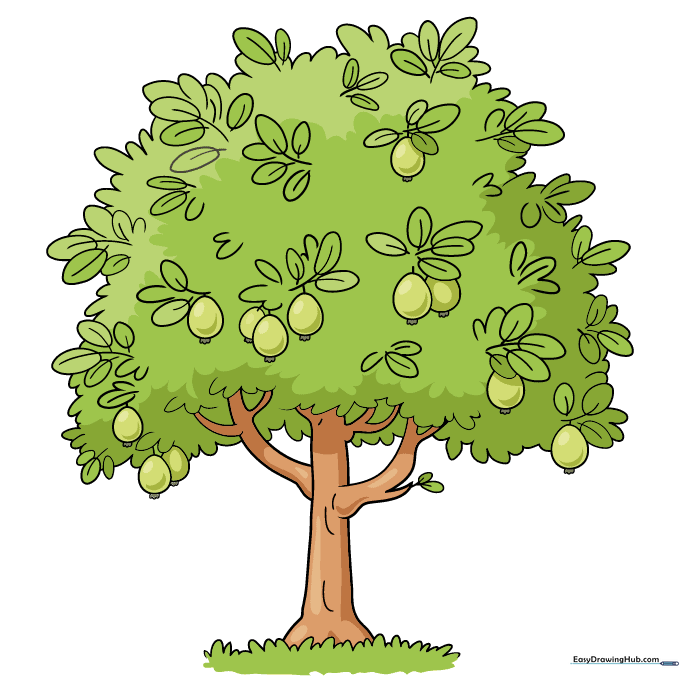
Use bright greens for the leaves and a soft yellow or light green for the guava skin. If you want to show the inside, use a vibrant pink or red. Teacher's Tip: Use a darker green for the shadows under the leaves to give your tree a 3D effect.
More Tutorials


