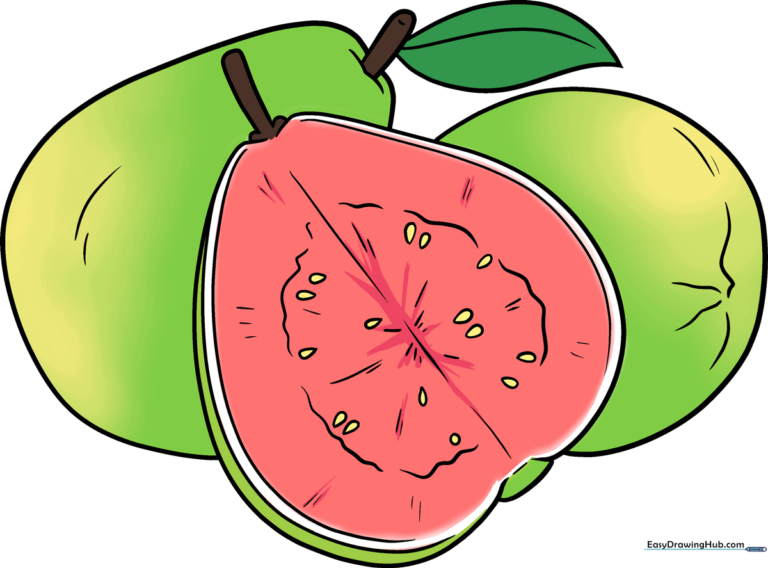
How to Draw a Guava: Easy 9-Step Art Guide for Kids
Ready to bring some tropical flair to your sketchbook? This guide is perfect for young artists ages 5+ to practice basic shapes and organic textures. Grab a pencil, an eraser, and your favorite markers to start creating your own delicious guava masterpiece.
🎯 Final Result
Step-by-Step Instructions
Step 1: Sketching the Base Shape
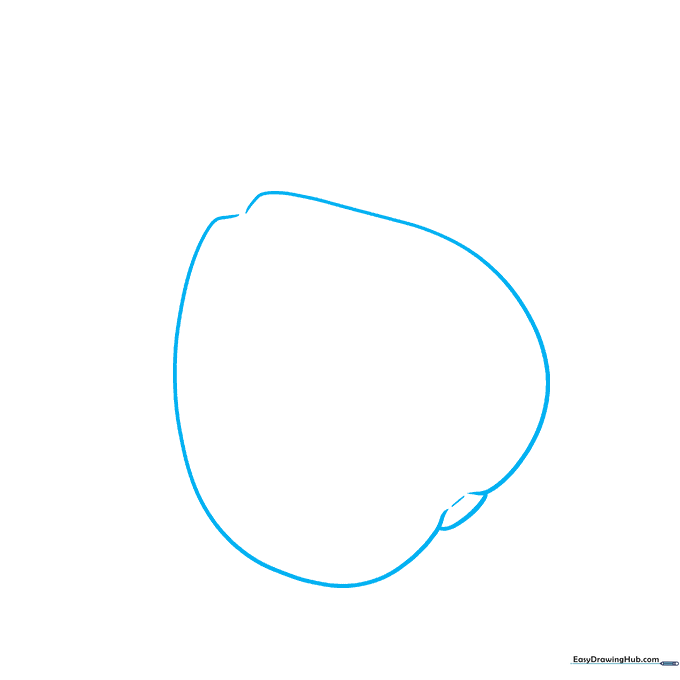
Draw two long, soft curved lines that meet at the top and bottom, creating an upside-down heart or pear shape. Tip: Keep your pencil pressure light so you can easily adjust the curves later.
Step 2: Adding the Stem and Cut Edge

Draw a small stem at the top using a double-curved line. Then, draw a parallel curved line inside the fruit to represent the edge of the skin where it has been sliced open.
Step 3: Creating Interior Texture
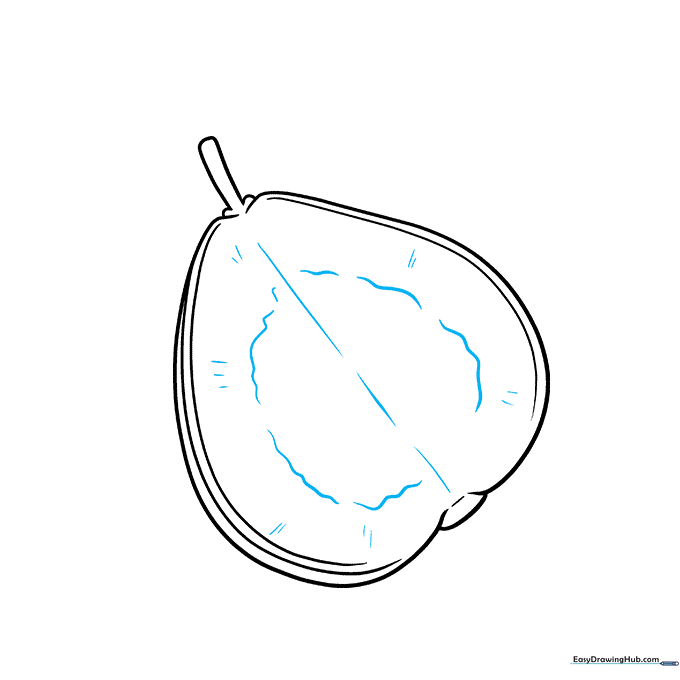
Draw a central line and a series of wavy circles around it to define the seedy center. Tip: Use short, quick strokes to mimic the natural, slightly bumpy texture of the fruit's flesh.
Step 4: Drawing the Seeds

Add small, teardrop-shaped seeds around the center. Keep them scattered rather than in a perfect row to make the fruit look more realistic.
Step 5: Balancing the Details
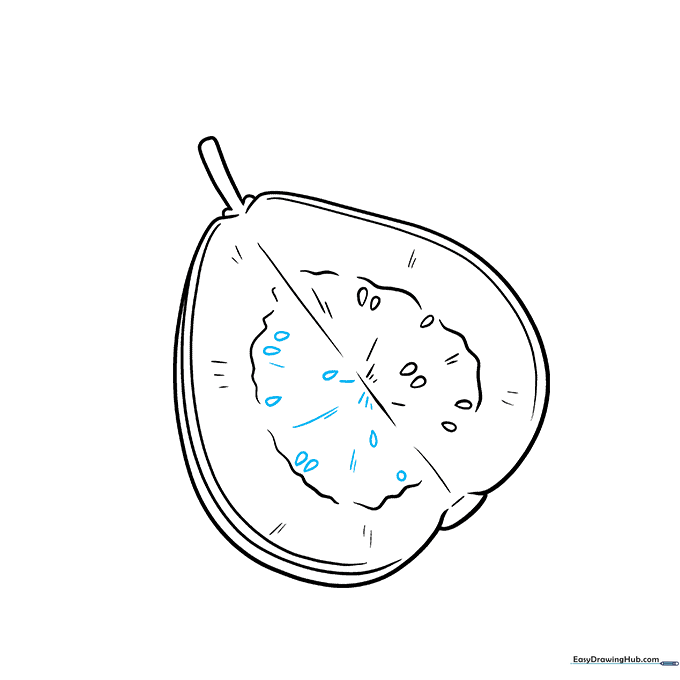
Repeat the seed pattern on the opposite side of your guava. Add a few more short, straight lines near the edges to show the texture of the fruit's flesh.
Step 6: Adding a Second Guava
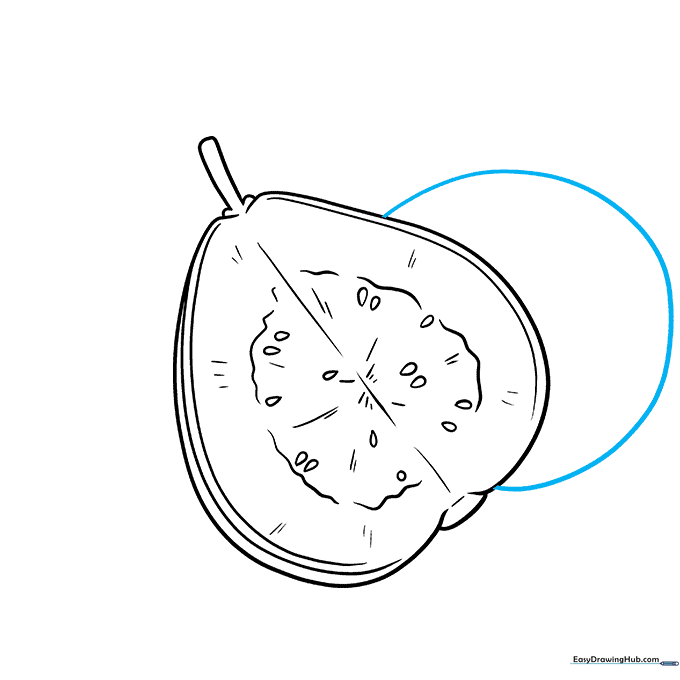
Draw a rounded outline behind your first guava to create a second, partially hidden fruit. This adds depth to your composition.
Step 7: Defining the Second Fruit
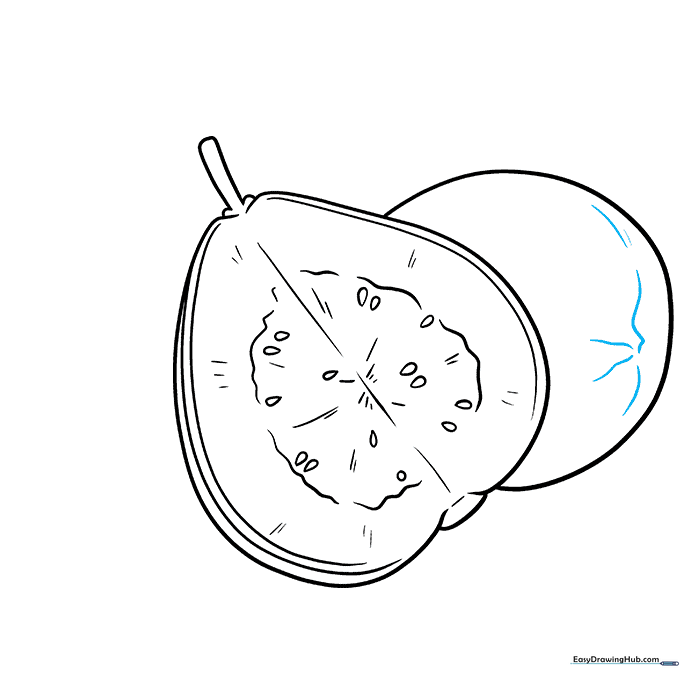
Add wavy lines to the bottom of the second guava to give it a natural, organic shape. Tip: Imagine where the light hits the fruit and keep your lines smooth.
Step 8: Adding a Third Guava

Draw a third, irregular round outline to complete your fruit cluster. Overlapping shapes is a great way to make your drawing look professional.
Step 9: Final Touches and Leaves
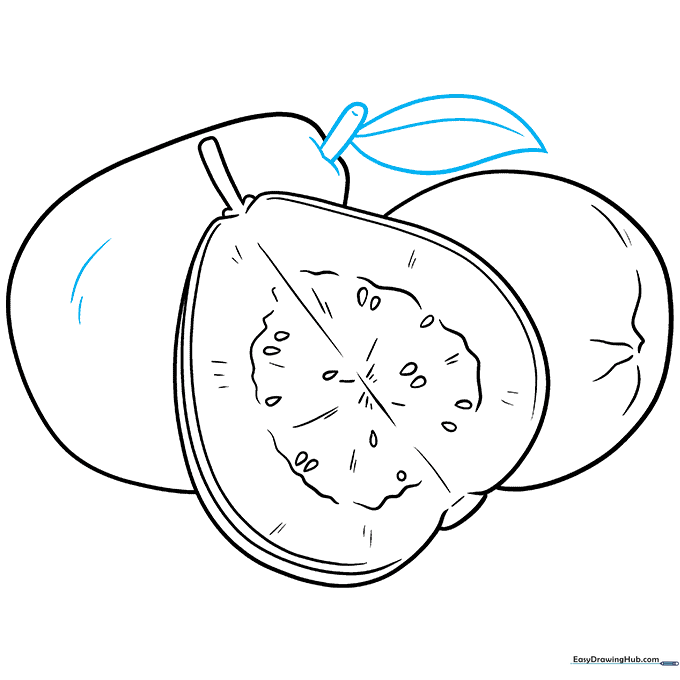
Draw a stem and a leaf on the third guava. Add a few curved lines on the surface of the fruits to show their roundness. Erase any overlapping guide lines to clean up your sketch.
Step 10: Bring Your Guava to Life with Color
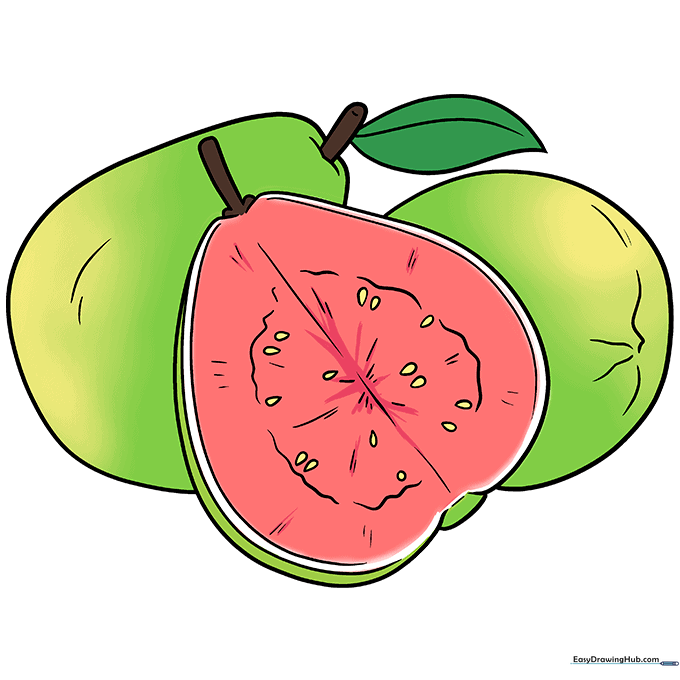
Time to color! Use light green or yellow for the skin and a vibrant pink for the inside flesh. Tip: Use a darker pink for the seeds to make them pop against the lighter flesh.
More Tutorials


