How to Draw a Grasshopper: Easy 10-Step Guide for Kids
Ready to bring a backyard friend to life? This tutorial is perfect for young artists ages 5 and up. All you need is a pencil, an eraser, and some paper to start building your insect-drawing skills.
🎯 Final Result
Step-by-Step Instructions
Step 1: Sketching the Head

Draw a rounded, slightly irregular shape for the head. Teacher's Tip: Keep your pencil strokes light so you can easily adjust the shape if it looks a bit too round or flat.
Step 2: Defining the Thorax
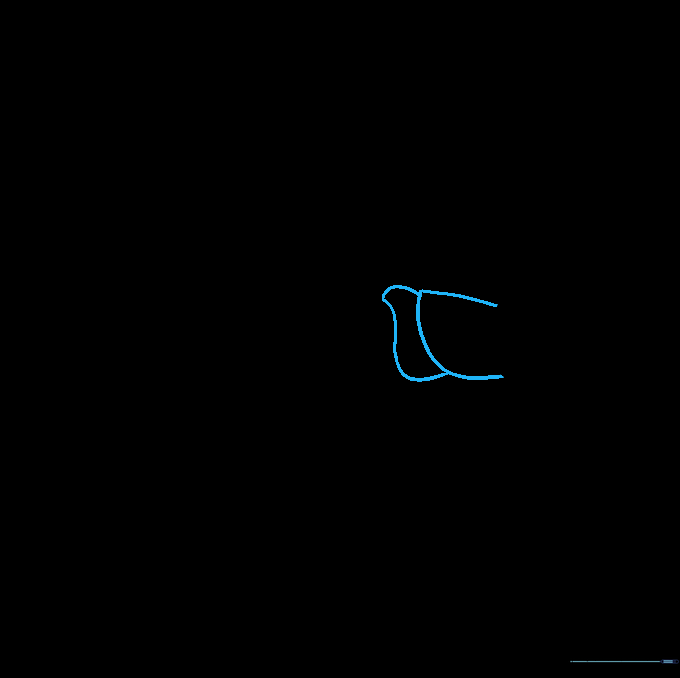
Extend two curved lines from the head to create the midsection, or thorax. Teacher's Tip: Use a wavy line to give the back a natural, segmented look.
Step 3: Adding the Abdomen
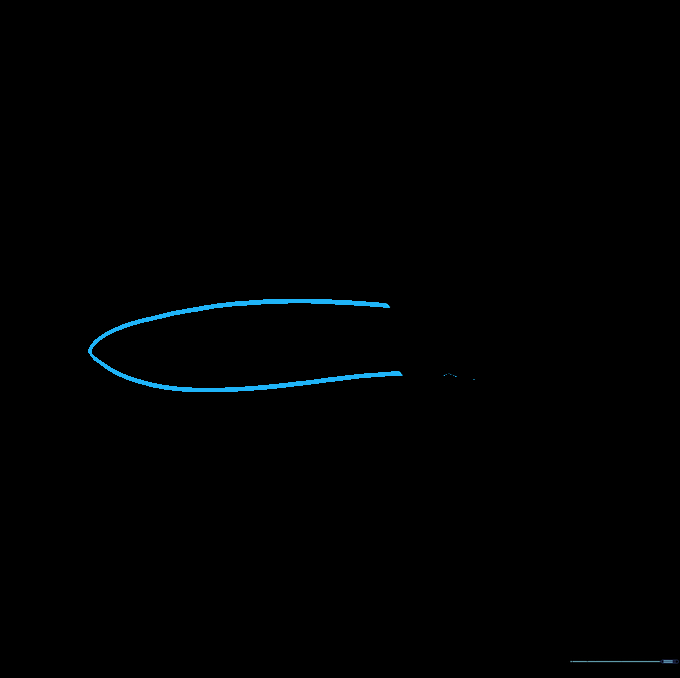
Draw two long, curved lines extending from the thorax that meet at a gentle point. This forms the abdomen. Teacher's Tip: Imagine you are drawing a long, tapered leaf shape.
Step 4: Creating the Wing Bases
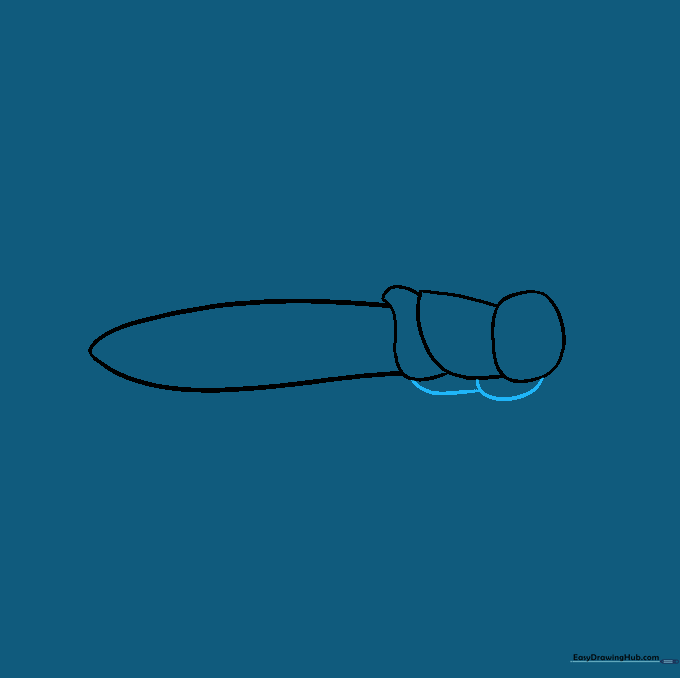
Enclose two rounded shapes beneath the head and thorax. Teacher's Tip: These will eventually become the wings, so keep them smooth and symmetrical.
Step 5: Drawing the Antennae
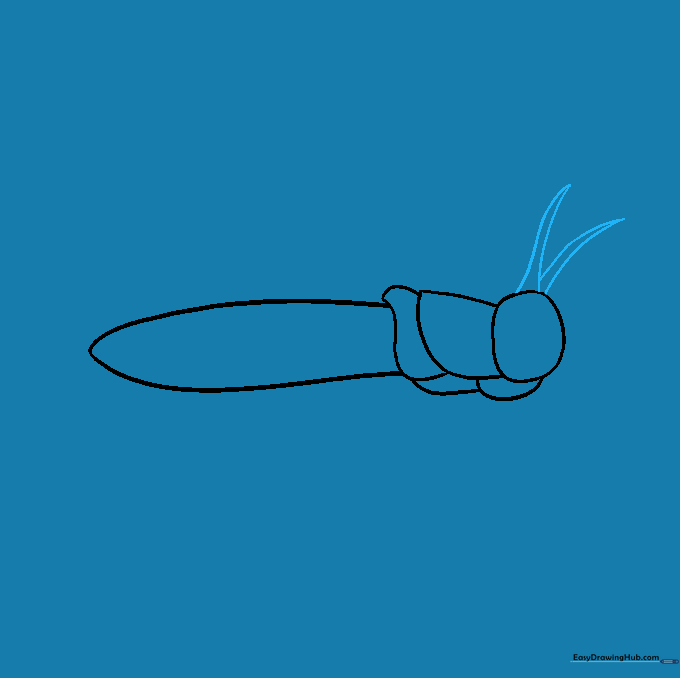
Extend two pairs of curved lines upward from the head, meeting in sharp points. Teacher's Tip: Grasshopper antennae are long and thin, so try to keep your lines delicate.
Step 6: Sketching the Legs
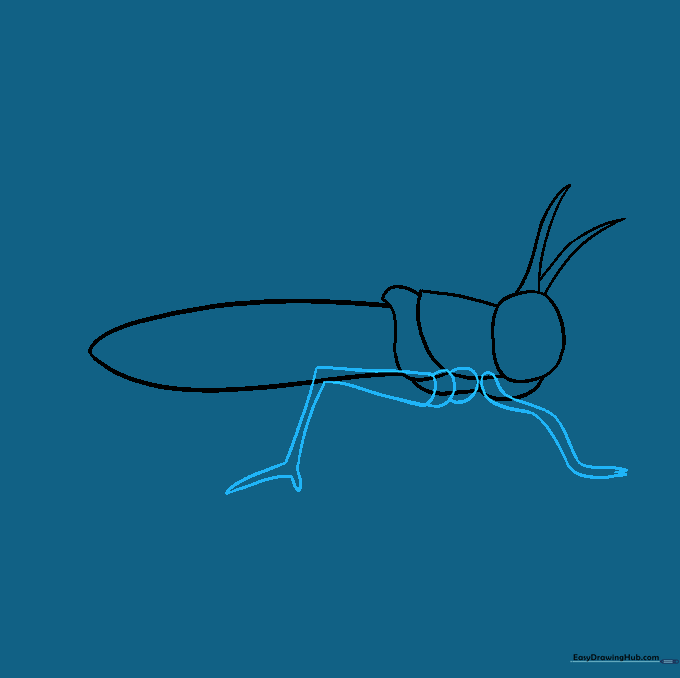
Draw the front and rear legs using curved, overlapping lines. Teacher's Tip: The rear leg is the largest; make it look strong by bending it at the knee joint.
Step 7: Cleaning Up

Carefully erase any overlapping guide lines within the legs. Teacher's Tip: Use a clean eraser and gentle pressure to avoid smudging your drawing.
Step 8: Adding Leg Detail
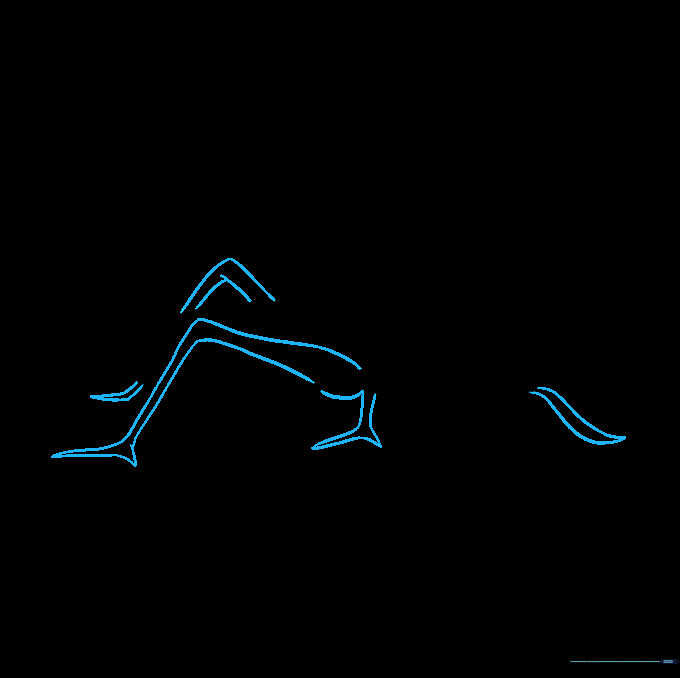
Add the remaining legs and refine the knee joints. Teacher's Tip: Notice how the far legs look smaller; this adds a sense of depth to your drawing.
Step 9: Final Details
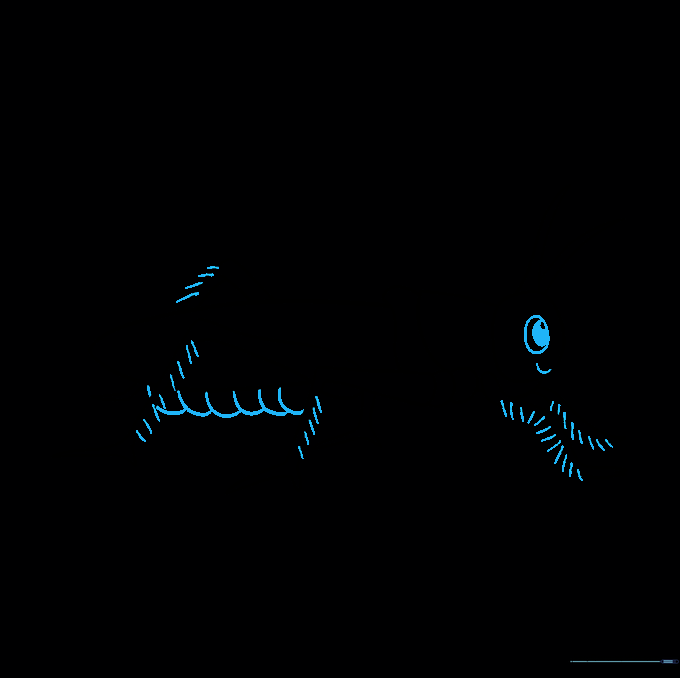
Add texture with small hairs on the legs, define the belly, and draw the eye with a pupil. Teacher's Tip: A simple dot for the pupil makes the grasshopper look much more lifelike.
Step 10: Bring It to Life with Color
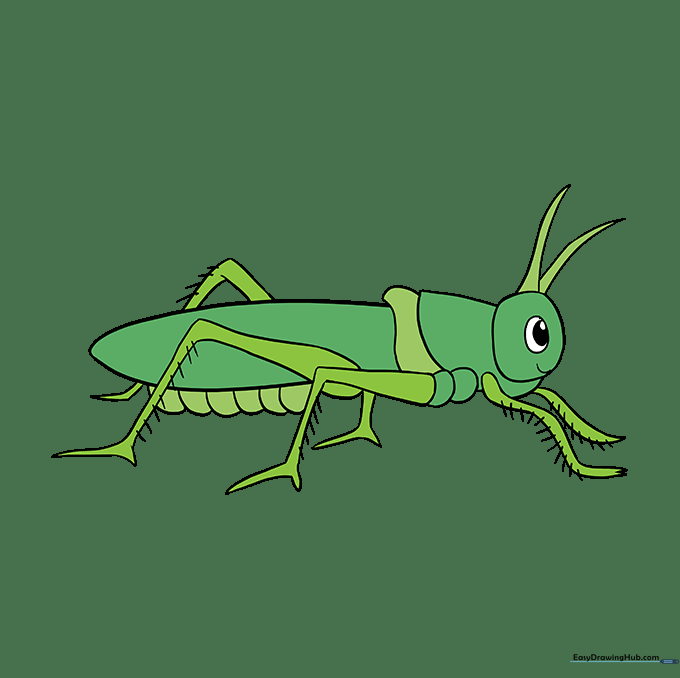
Color your grasshopper using shades of green, yellow, or brown. Teacher's Tip: Use a darker green for the shadows under the body to make it pop off the page!
More Tutorials


