How to Draw a Grandma Face: Easy 10-Step Guide
Capture the warmth of a grandmother's smile with this simple, guided drawing lesson. Designed for ages 5 and up, this activity requires only a pencil, eraser, and paper to build confidence in facial proportions and character design. Follow along to create a charming, expressive portrait.
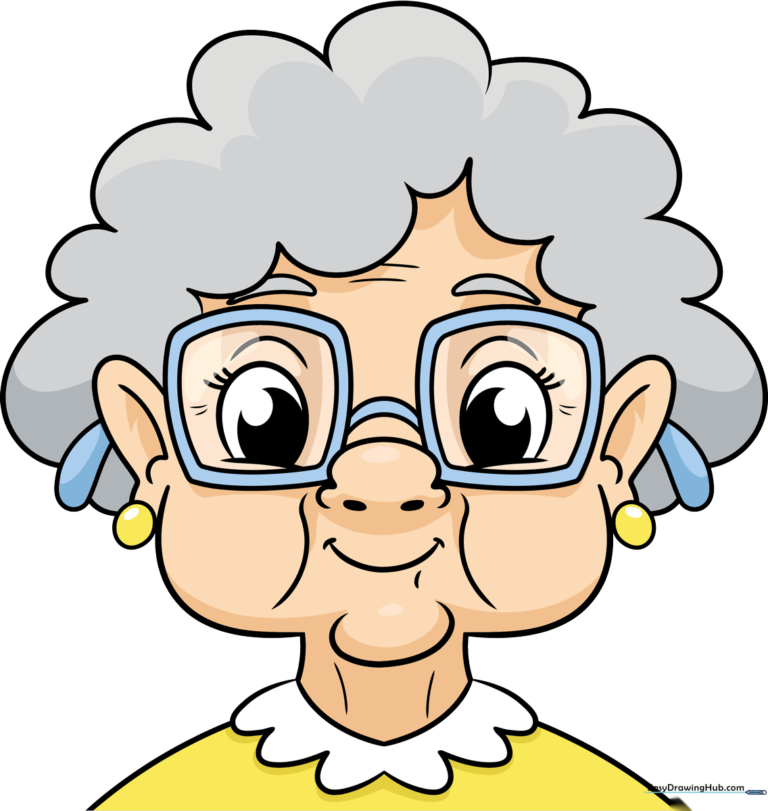
🎯 Final Result
Step-by-Step Instructions
Step 1: Sketching the Eyes and Cheeks

Start by drawing two soft, curved lines for the upper cheeks. Place an oval-shaped eye above each, then add a smaller oval inside for the pupil. Teacher's Tip: Keep the eyes level to ensure your character looks balanced and friendly.
Step 2: Adding Eyelids and Nose

Draw a small curve above each eye for the eyelid and tiny strokes on the sides for lashes. Between the eyes, sketch a small, rounded nose. Teacher's Tip: Use a light touch for the nose; it should be subtle, not bold.
Step 3: Creating a Warm Smile

Draw a wide, gentle curve for the mouth, adding small lines at the corners to show a happy expression. Teacher's Tip: A slight upward curve at the corners of the mouth makes the character look much kinder.
Step 4: Framing the Glasses and Face
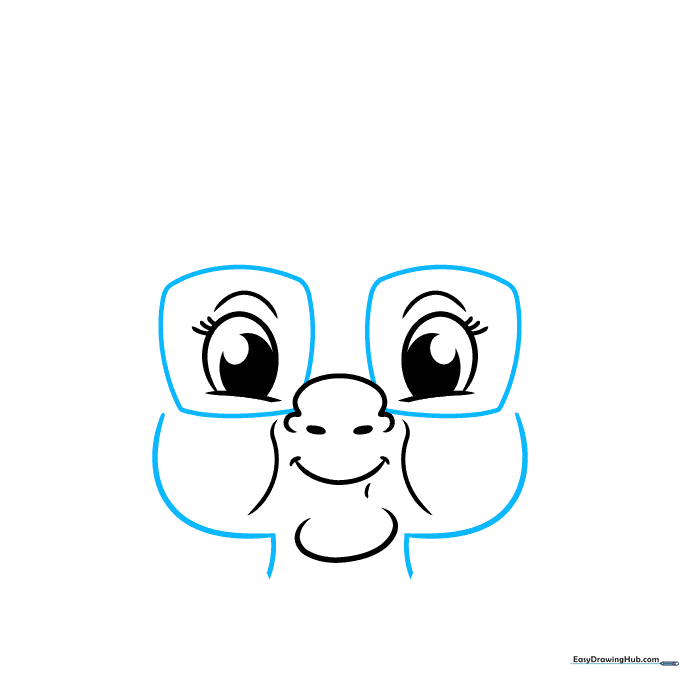
Draw a rounded rectangle around each eye to form the glasses. Then, sketch the outer curve of the face and the neck. Teacher's Tip: Keep the glasses frames consistent in size so they look like a matching pair.
Step 5: Adding Detail and Wrinkles

Draw a smaller rectangle inside the glasses and connect them with a bridge. Add tiny lines near the eyes to suggest wrinkles. Teacher's Tip: These small lines add character and warmth to your drawing.
Step 6: Eyebrows and Hairline
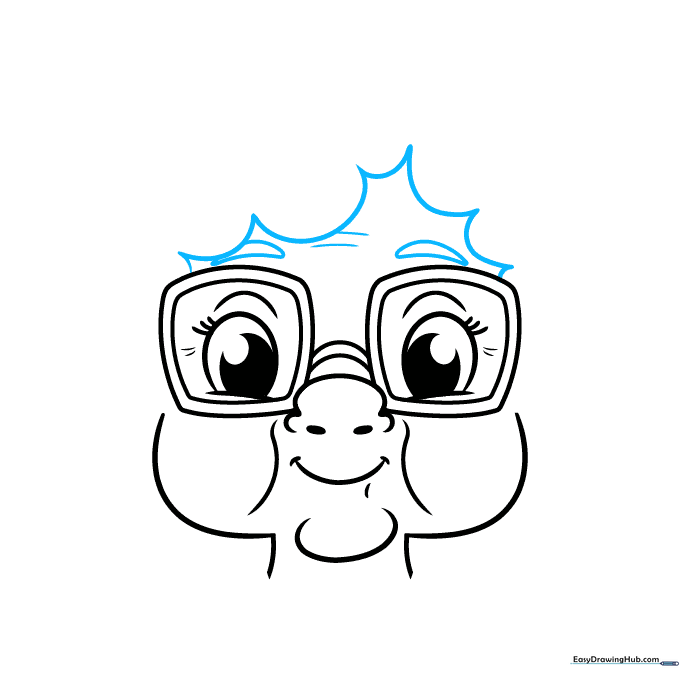
Draw curved eyebrows above the glasses and start the hair outline with soft, wavy lines. Teacher's Tip: Use short, overlapping strokes to make the hair look natural and fluffy.
Step 7: Ears and Glasses Arms
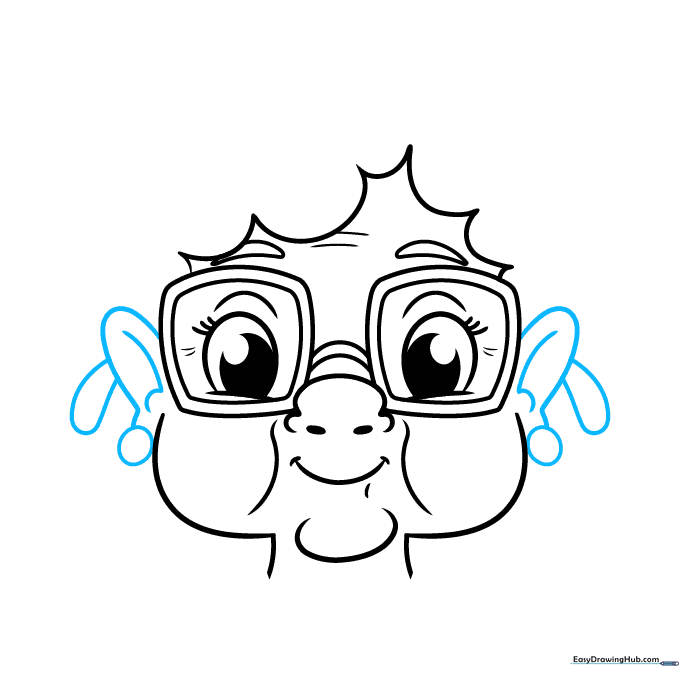
Add ears with small earrings and draw the arms of the glasses extending back. Teacher's Tip: Ensure the glasses arms align with the top of the ears for a realistic look.
Step 8: Completing the Hair
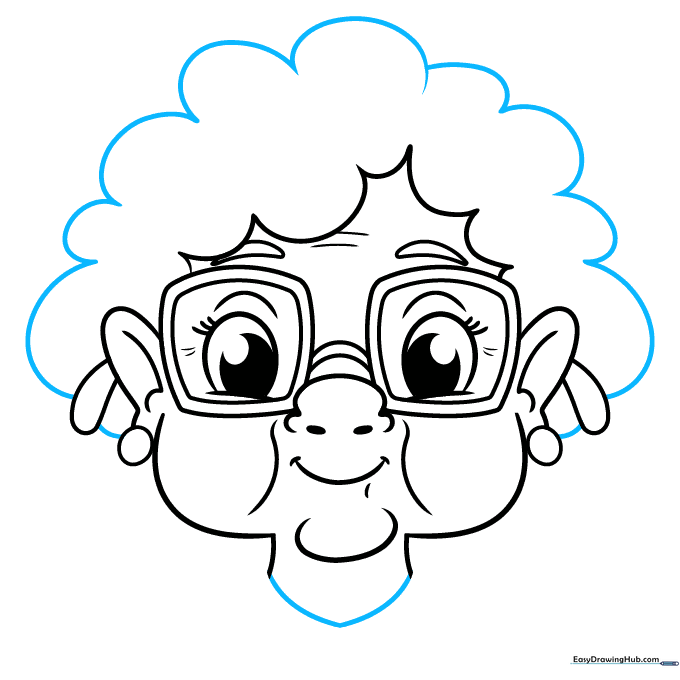
Finish the hair outline with connected curves and define the neck. Teacher's Tip: Don't worry about making the hair perfect; a few stray lines make it look more realistic.
Step 9: Adding the Collar
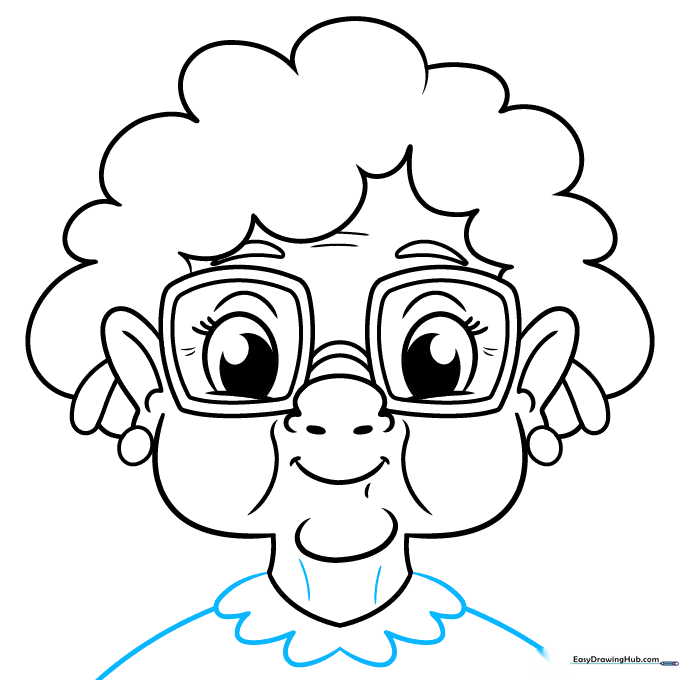
Draw a U-shaped collar around the neck and extend lines for the shoulders. Teacher's Tip: A simple collar adds a finished, professional look to your portrait.
Step 10: Bringing it to Life with Color
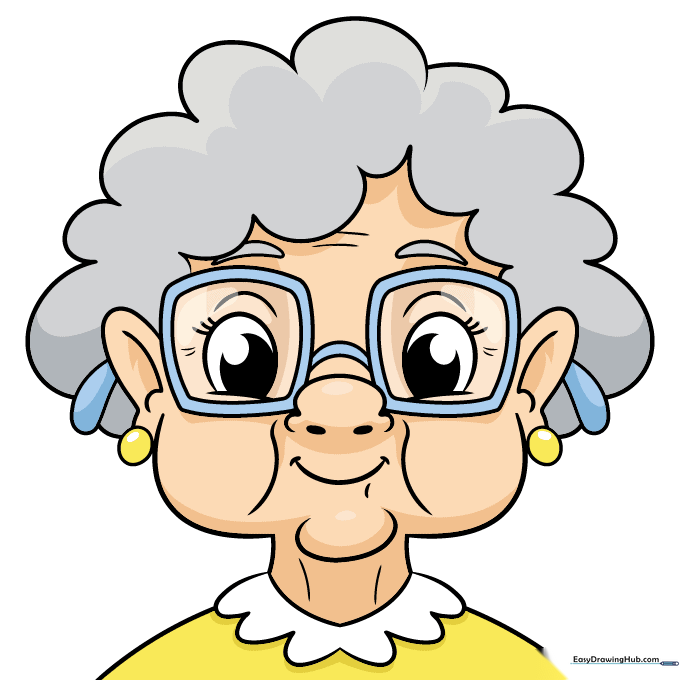
Your outline is complete! Now, choose your favorite colors for her hair, glasses, and clothing. Teacher's Tip: Use soft, warm colors to emphasize the gentle nature of your grandma character.
More Tutorials


