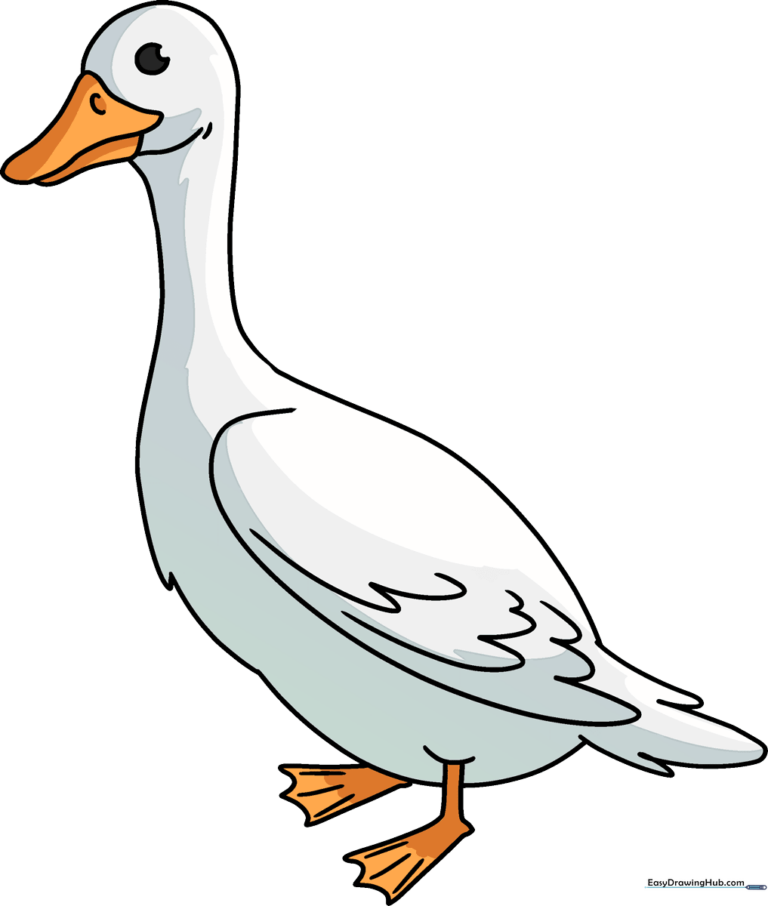
How to Draw a Goose: Easy 10-Step Guide for Kids
Ready to bring a feathered friend to life? This tutorial is perfect for young artists ages 5 and up. All you need is a pencil, an eraser, and a piece of paper to practice these simple shapes and lines. By the end, you will have a charming goose character ready for your next art project.
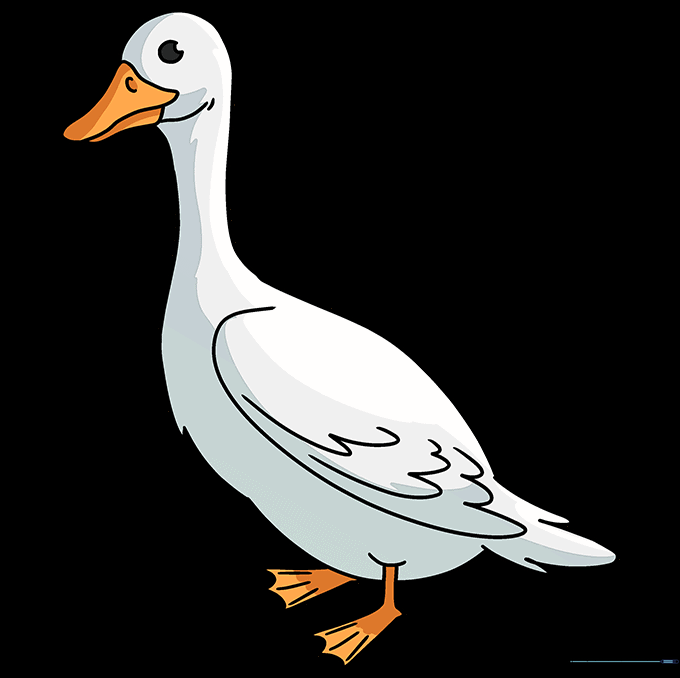
🎯 Final Result
Step-by-Step Instructions
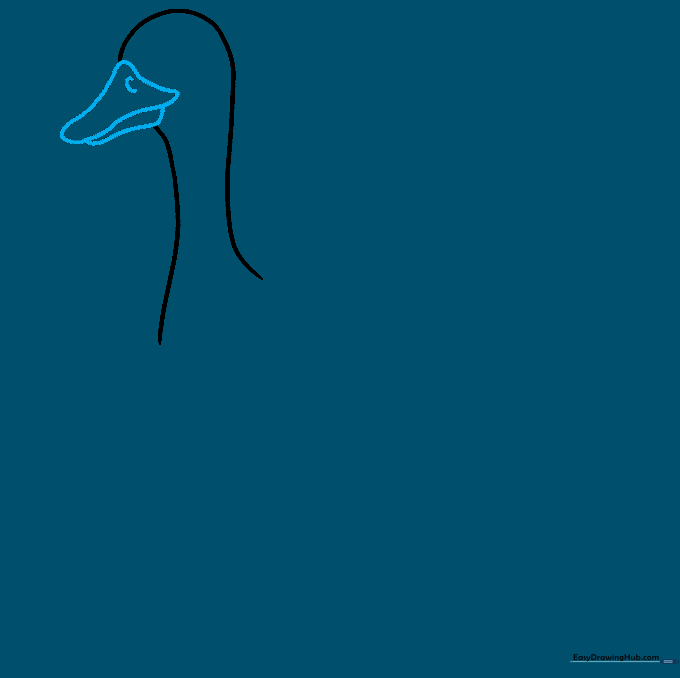
Step 1: Sketching the Head and Neck

Start by drawing a long, graceful curved line that loops back to form the neck. Teacher's Tip: Keep your pencil pressure light here so you can easily adjust the shape of the neck later.
Step 2: Adding the Beak
Draw two triangular shapes for the upper and lower bill. Add a small 'C' shape on the top bill for the nostril. Teacher's Tip: Use short, quick strokes to keep the beak looking sharp.
Step 3: Drawing the Eye
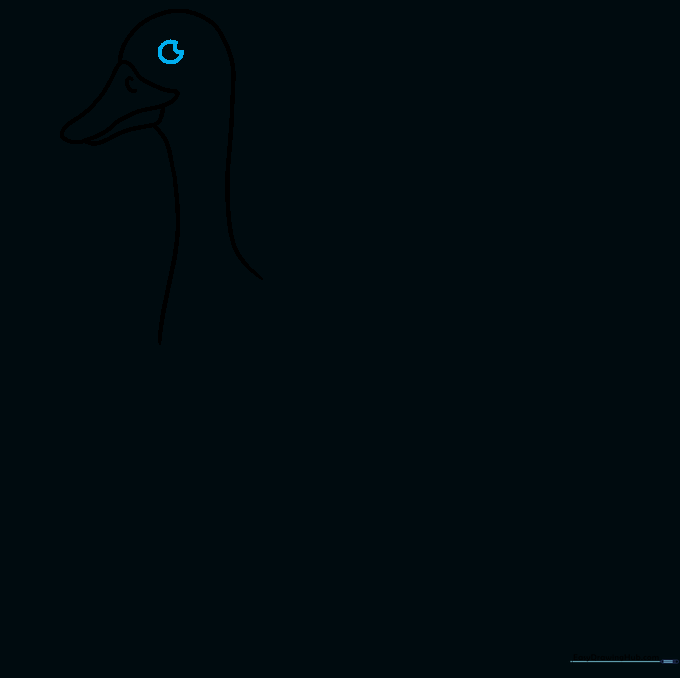
Use two 'C' shaped lines to create a crescent moon shape for the eye. Teacher's Tip: Placing the eye slightly back from the beak gives your goose a friendly, curious expression.
Step 4: Refining the Head
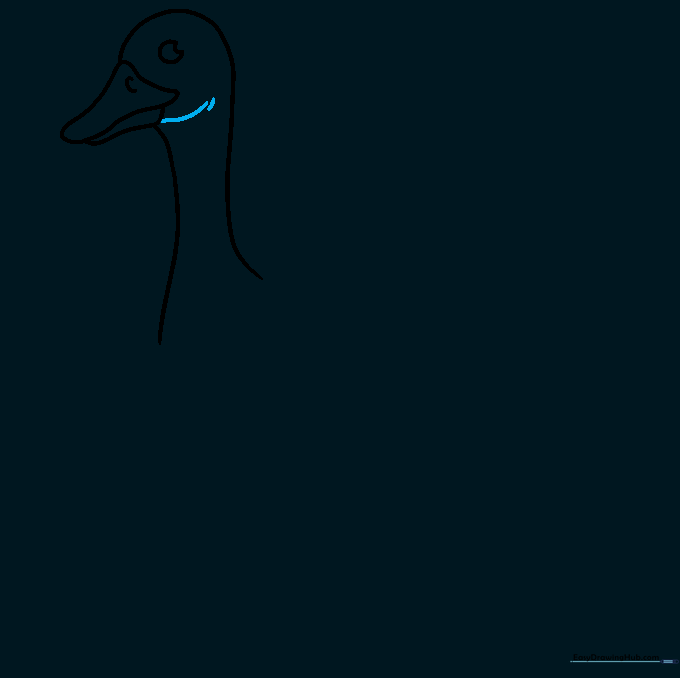
Add curved lines near the beak to contour the base of the head. Teacher's Tip: These lines help define the goose's cheek and make the head look more rounded and natural.
Step 5: Outlining the Body
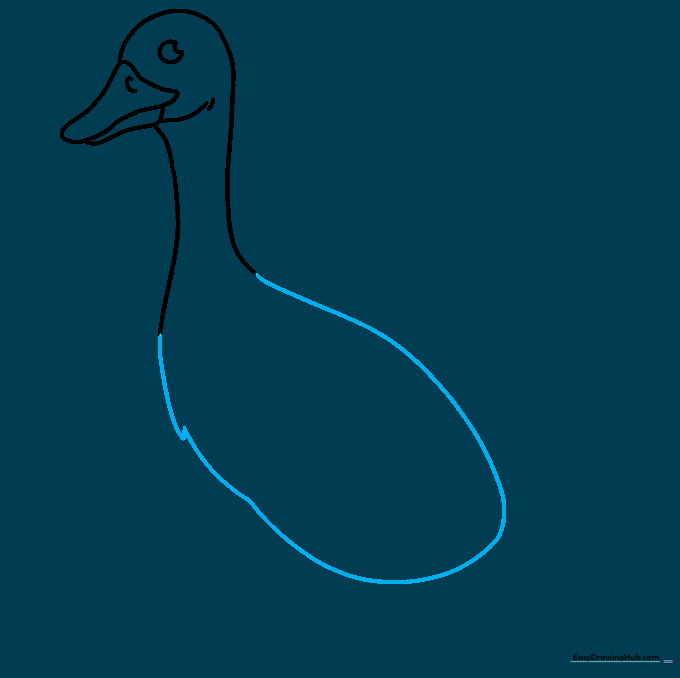
Use long, sweeping curved lines to outline the round body. Add a jagged overlap on the chest to suggest fluffy feathers. Teacher's Tip: Keep the chest line slightly uneven to make it look soft.
Step 6: Adding the Wing
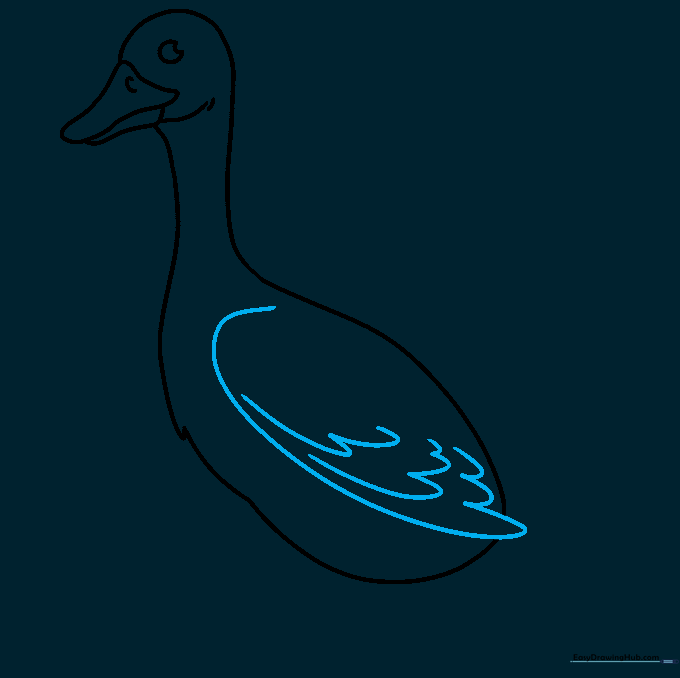
Draw a long curved line for the wing, then add connected 'U' shapes for the flight feathers. Teacher's Tip: Layering the 'U' shapes creates a realistic look of overlapping feathers.
Step 7: Drawing the Tail

Use overlapping curved lines to create the tail feathers. Make the central feather the longest for a natural look. Teacher's Tip: Don't worry if the lines overlap; it adds depth to the drawing.
Step 8: Drawing the First Foot
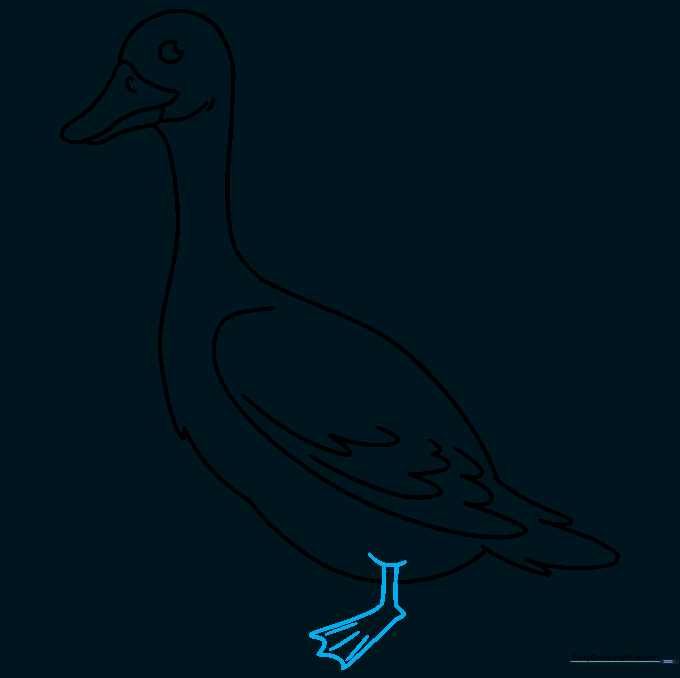
Draw the leg with two parallel lines and add a 'W' shape for the webbed foot. Teacher's Tip: Use straight lines for the toes to make them look sturdy.
Step 9: Adding the Second Foot
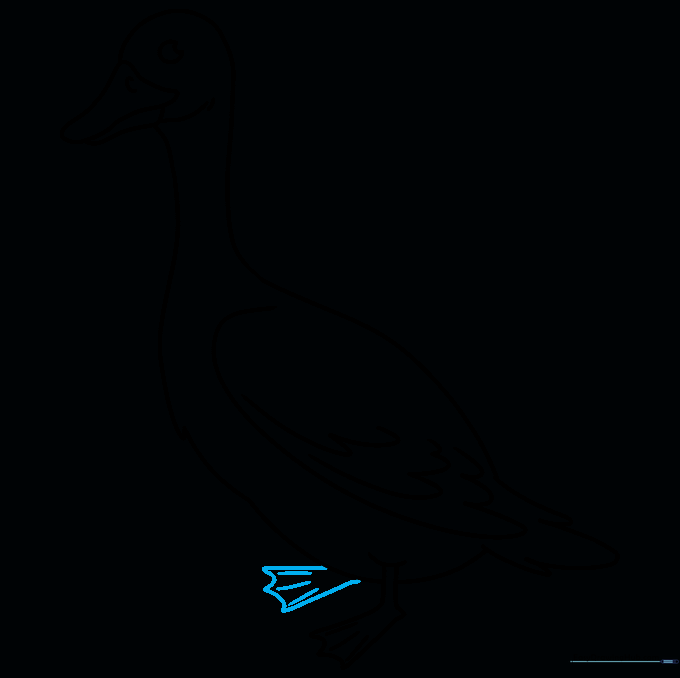
Draw the second foot slightly behind the first one to show perspective. Teacher's Tip: Keep the toes aligned with the first foot for a balanced stance.
Step 10: Adding Color
Bring your goose to life with color! Use orange for the beak and feet. You can keep the body white or try brown and black for a Canada goose look. Teacher's Tip: Use light pressure with your colored pencils to blend colors smoothly.
More Tutorials


